
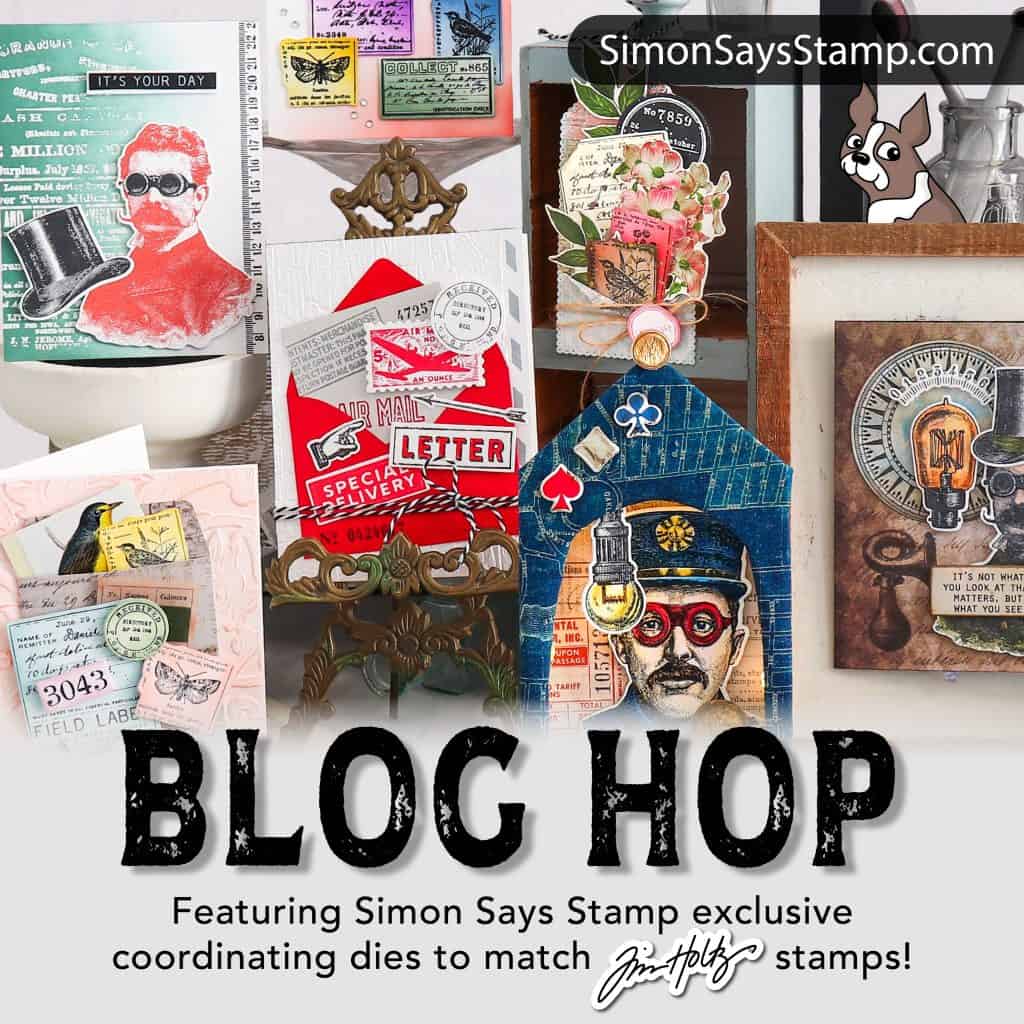
Hey friends! Simon Says Stamp has come out with some more coordinating dies to work with Tim Holtz/Stampers Anonymous stamp sets! I used some of the fabulous coordinating dies to create these cards.
These dies are exclusively available at Simon Says Stamp! 🙌
Not only do they save you from all that fussy cutting, but they also unlock a whole new world of creative possibilities, especially when it comes to layering and collage. Let’s dive in!
I am also participating in an inspiring blog hop, so be sure to read until the end to hop along and see all the inspiring makes!
Don’t want to miss any of my shares? You can subscribe to my email newsletter and choose to get an email each time I update my site- subscribe here.
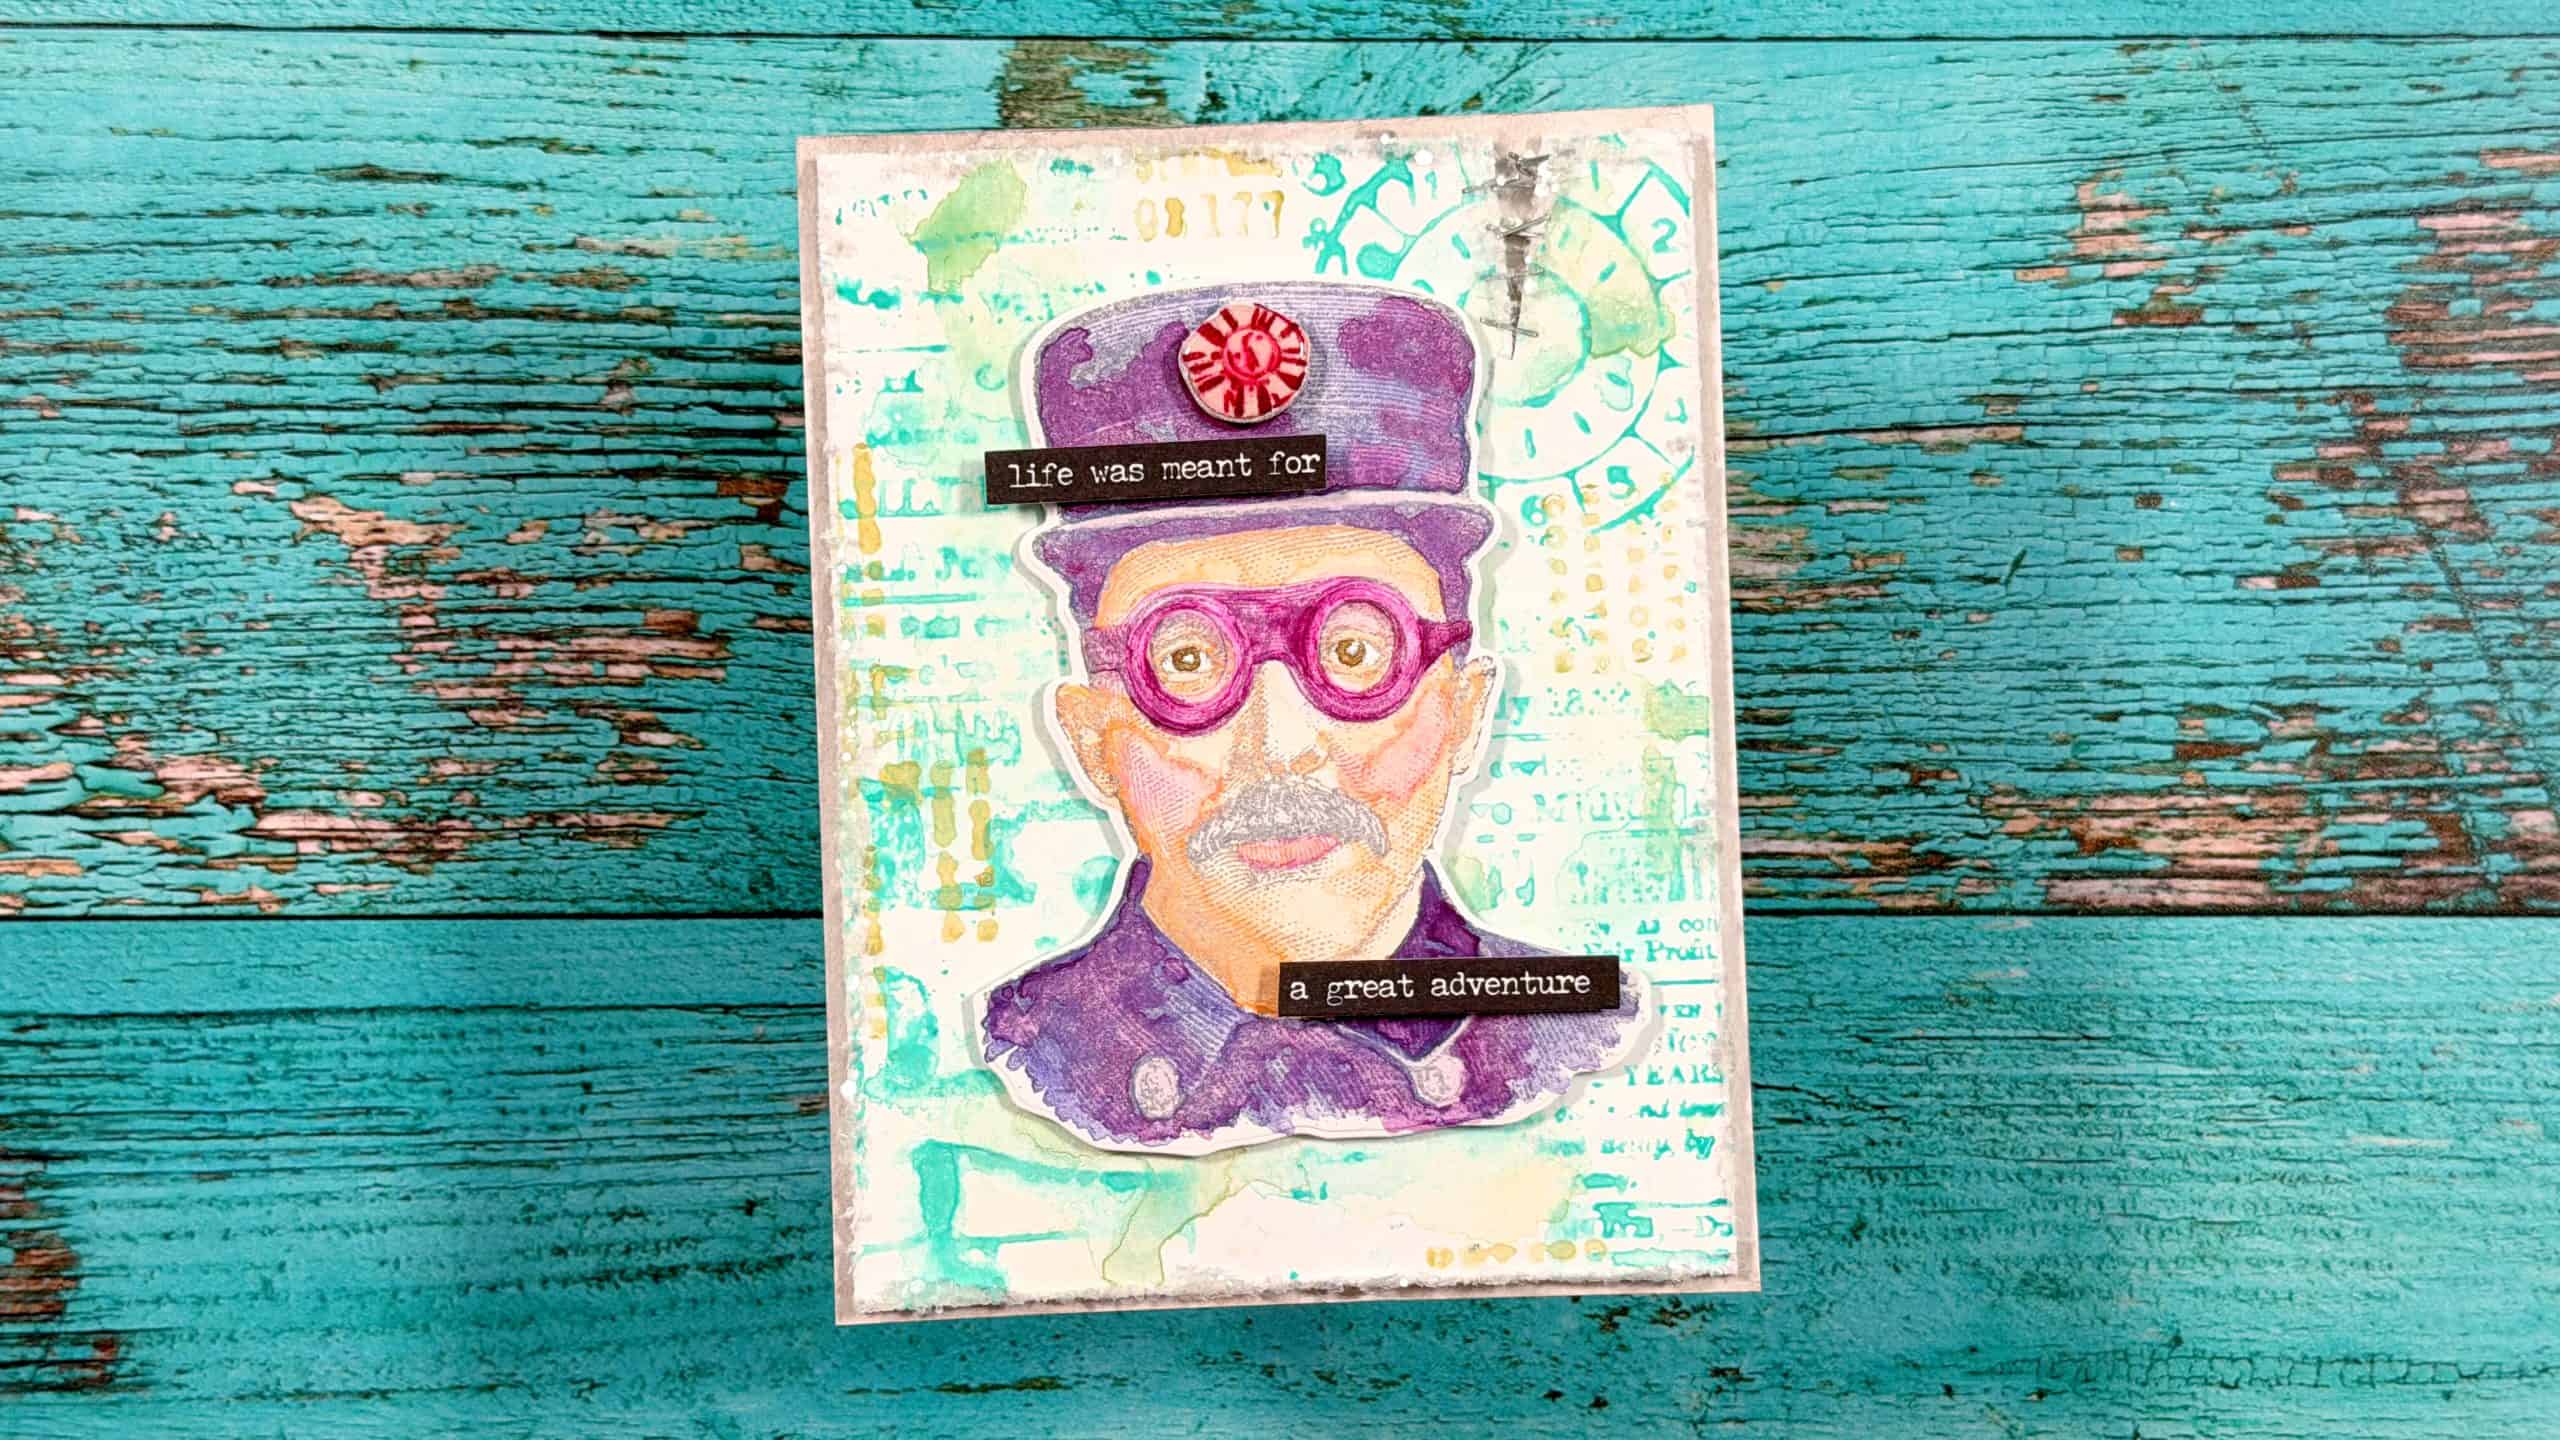
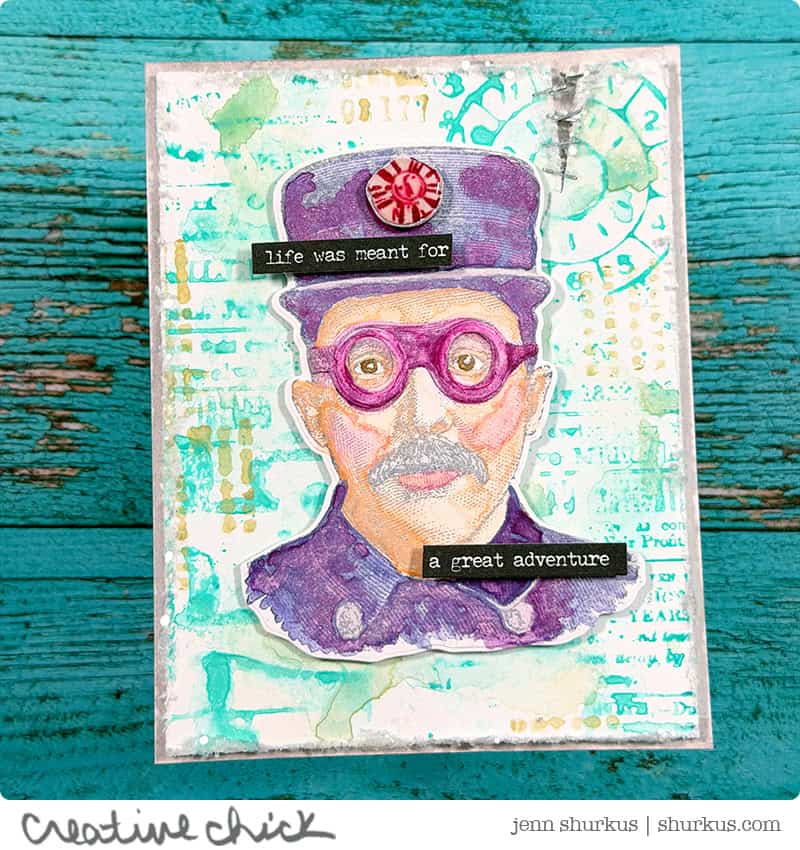
Great Adventure, Tim Holtz
For this card, I started with the background, letting the layers and texture set the tone right from the beginning.
I used images from the Professor 2 stamp set, applying Salvaged Patina Distress Watercolor Pencil directly onto the stamps and stamping them onto Distress Watercolor Cardstock. This is one of my favorite ways to get soft, imperfect impressions with lots of interest. I dried this layer, then did a bit of pigment smooshing using an Old Paper Distress Watercolor Pencil to add warmth and contrast. Once that was dry, I stamped a few more collage-style elements using the same pencil to continue building up the background.
After trimming the panel down to 4” x 5.25”, I used a paper distresser along the edges to give it a worn look. I also created a small tear in the upper right corner and “repaired” it with the Tiny Attacher, which adds such a great industrial detail. I adhered this panel onto another piece of cardstock where I had watercolored Lost Shadow Distress Watercolor Pencil around the edges to create subtle framing.
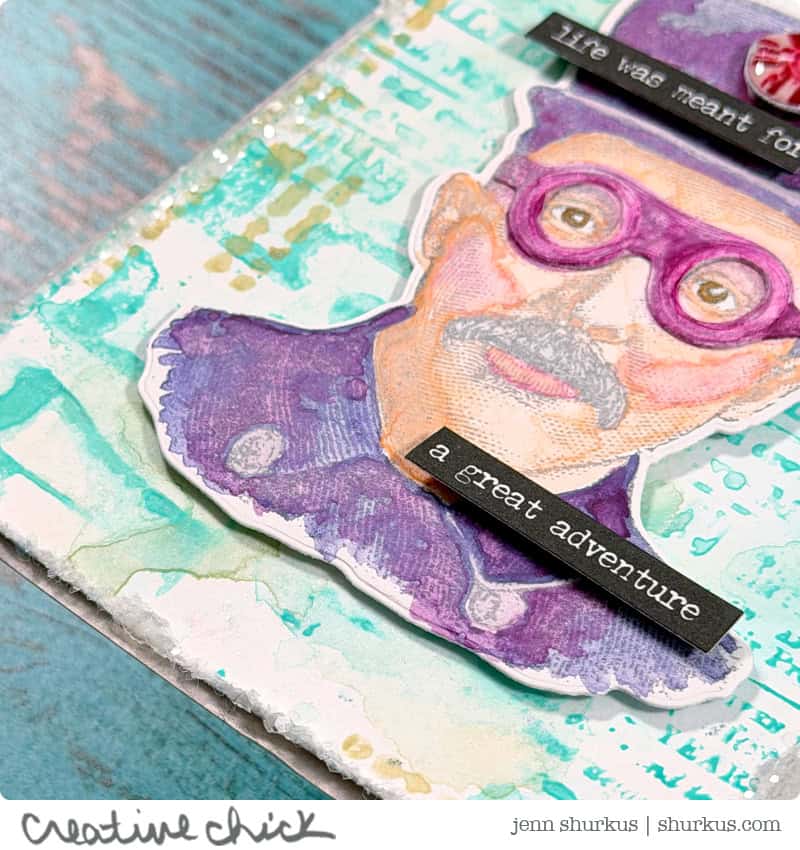
For the focal point, I used the Inspector image from the Inspector stamp set. I stamped him with the Lawn Fawn River Rock Ink Pad and watercolored him with Distress Watercolor Pencils. I’ve listed all the colors I used below in the supply list so you can easily recreate the look.
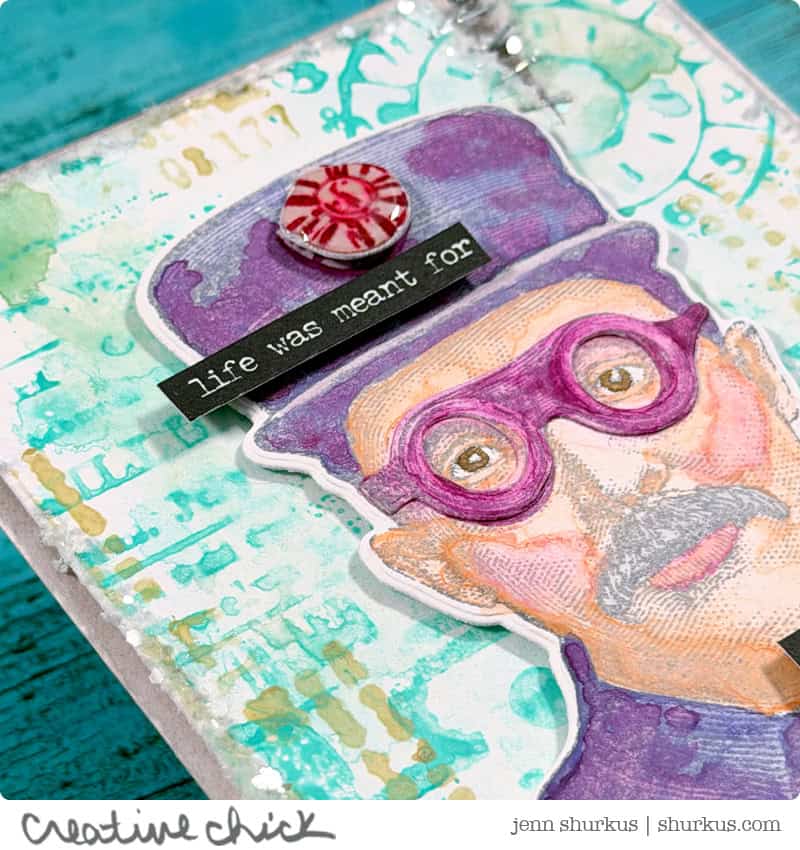
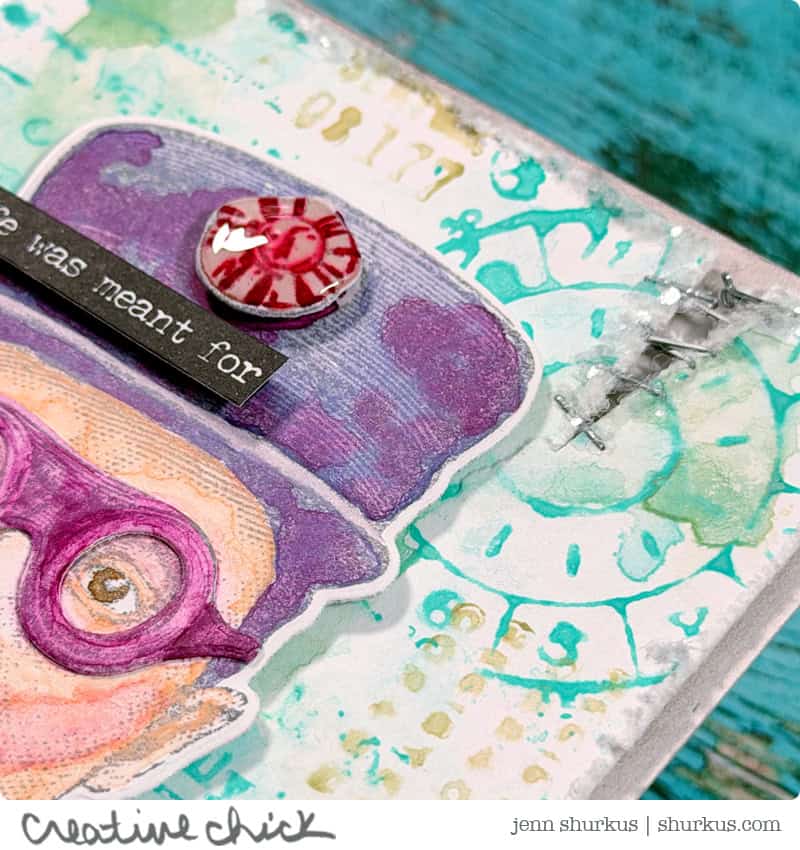
I die-cut the image using the new coordinating dies, which I am absolutely loving. The added elements, like his glasses and the medallion on his hat, really help bring the character to life. I adhered him to the card using foam squares for a bit of dimension.
To finish things off, I added a sentiment from the Tim Holtz Small Talk stickers (always a favorite), then added Glossy Accents to the medallion on his hat. I also sprinkled Distress Rock Candy Chunky Glitter along the rough edges of the background panel for a touch of texture and subtle sparkle.
This card is a great example of how layered stamping, watercolor pencils, and small mixed media details can come together to create something that feels both playful and perfectly imperfect.
👉 Be sure to scroll below the supply list to find the links to the inspiring blog hop, there is so much creativity being shared, and you won’t want to miss it!
Don’t want to miss any of my shares? You can subscribe to my email newsletter and choose to get an email each time I update my site- subscribe here.
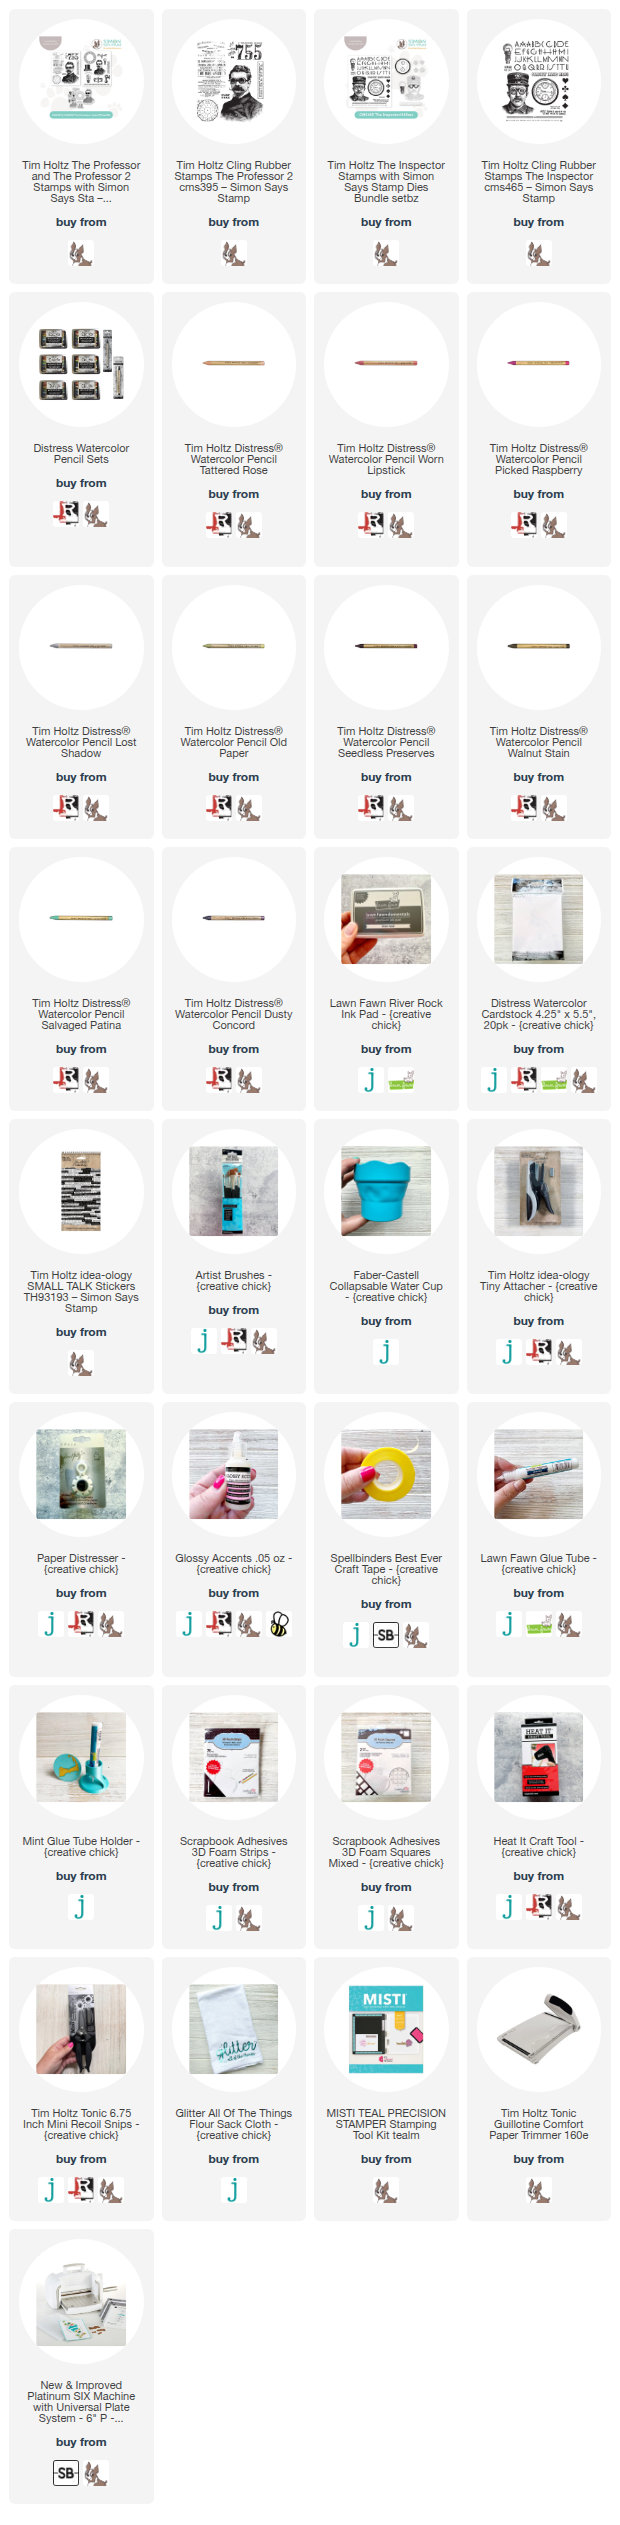
Cardmaking Supplies Used
Supplies I used are linked throughout the post. Click on the picture and you will be taken to the product. I use affiliate links when available which means if you make a purchase I get a small commission at no extra cost to you. Thank you for your support!
Blog Hop Details
Looking for some more inspiration with the new coordinating dies for some of our favorite Tim Holtz stamp sets be sure to hop along to each of these talented designers
HOP ORDER:
Jenn Shurkus <— you are here


Of course your brought the bright colors!! LOVE it!! The Inspector is so wonderful and to have these many dies to add in layers like his goggles is fabulous!!
I love all of the fabulous colors and layers you used to create this amazing card!
Great job! I love the pop-up parts!
Awesome looking card with really nice techniques used! I can stare at this all day!
Beautiful card, love your watercolor look
Ohhhhh, I love it. It is so different and just wonderful. I love the watercolor look, colors used and the overall effect of it all!!!! Nicely done
This is SO fun! LOVE the ‘Pop Art’ feel of this piece, The bright colours and wataercoloured softened lines, So cool! xoxo
Beautiful watercolors! Love the glossy accents!
Beautiful watercoloring. Love the purple
Great card! Love your techniques and choice of colors. Anything with “the inspector” is so fun and unique. No on has an inspector stamp like this but Tim Holtz, right?
I like the watercolor look!
Beautiful card…love that you used watercolor…well done!
Love the hot colors and the bright bold inspector!!! Love the edgy vibe! 💜
the purple is such an unexpected color choice! love it!
Wonderful work. Seeing this reminds me I need to use my distress watercolor pencils more
Lots of color and love the distressing and Rock Candy. Great layering on your card. I love coordinating dies as I am not a fussy cutter. It does NOT de-stress me at all. Very nice creation.
Wonderful artwork.
What? The Inspector in water color? The Impressionits are my favorites to find in art museums. Yours is brilliant. Thanks for sharing.
SO cool!! Almost Impressionist!! Love this, Jen – unexpected colors and THOSE GLASSES!
Now I want watercolor pencils seeing this! Such fun, unexpected colors!