I have so much to share with you today! I hope you are ready 😉
- I am busy being a mermaid this summer, so no in-person classes, but my fall class schedule is jam-packed with a ton wicked fun classes- see my schedule here
- I have Lawn Fawn card kits for sale in my shop! There is a VERY limited quantity left so be sure to shop soon!
Scene Building for Cardmaking, Lawn Fawn
I shared a Facebook LIVE in my {creative chick} studio share group all about scene building for cardmaking. I wanted to share some of the tips here. Also at the end of the post, you can see the replay of the LIVE tutorial. Let’s get started!
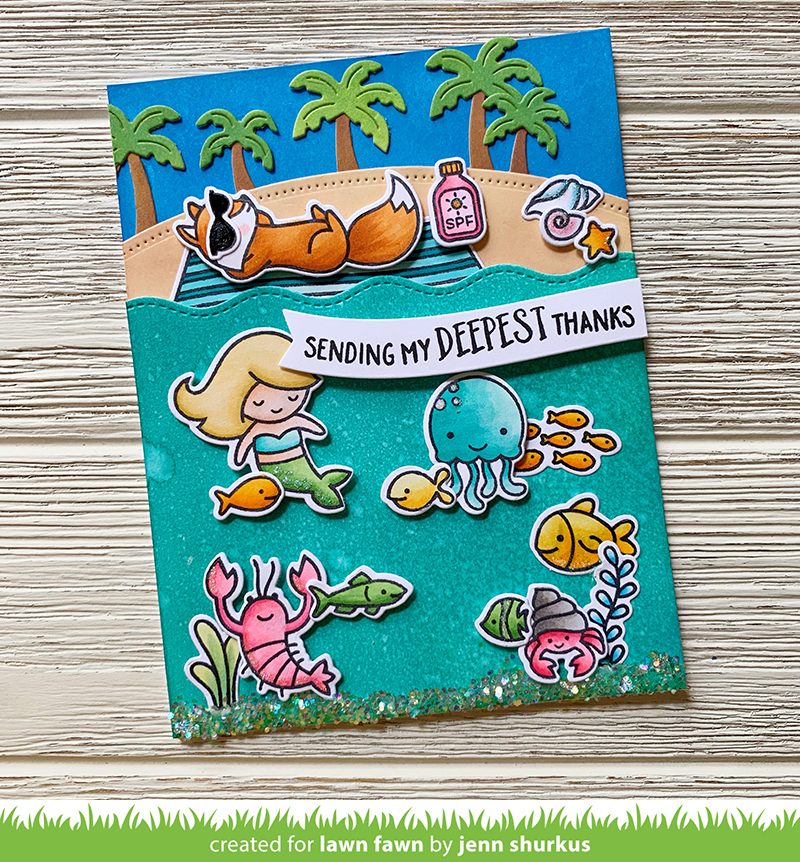
I have been admiring all the inspiration I have seen on instagram- where creative peeps have shared cards showing multiple scenes on one card. That is how I was inspired to have a beach scene AND an underwater theme. Before I get into detail about this card, I want to share with you how to approach scene building. A lot of people told me in my {creative chick} studio share Facebook group, that they find it overwhelming. Hopefully, these tips help!
Helpful terms to know
- Foreground: the part of a view that is nearest to the observer
- Background: the area or scenery behind the main object
Masking
One way to approach scene building is to do a one layer card, and mask images so that you have some in the foreground and some in the background. I didn’t go over that in my LIVE, and that is not the example I am sharing today. Maybe I will do a post about that in the future if you would find that helpful.
Start with a 3-D item
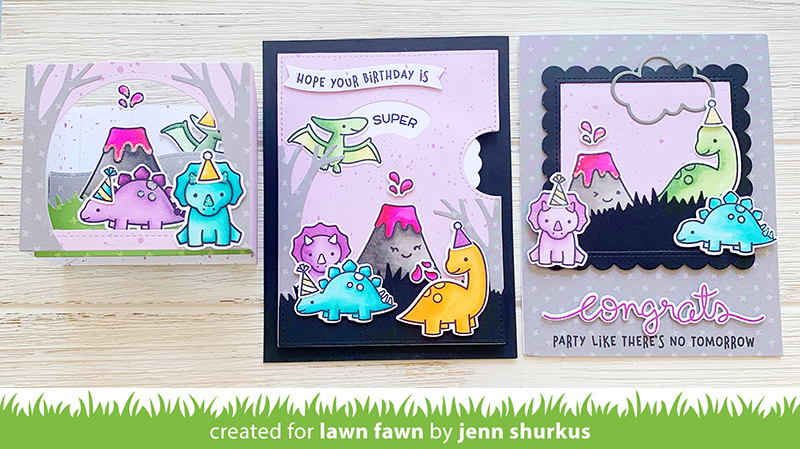
One way to master scene building is to start by creating 3-d items. Lawn Fawn’s Shadow Box Card or Scalloped Box Card Pop-Up is perfect for these. Since the item is 3-d it’s much easier to envision what will go in the foreground, middle ground, and background. Once you get that design down pat, you can recreate it onto a card which is what I did above with Lawn Fawn’s Rawr-some set.
I created a shadow box card, translated that to a reveal wheel and then to a more basic card.
All Lawn Fawn images coordinate
Since all Lawn Fawn images coordinate together, this helps in scene building as the images will be proportionate to one another and look more cohesive.
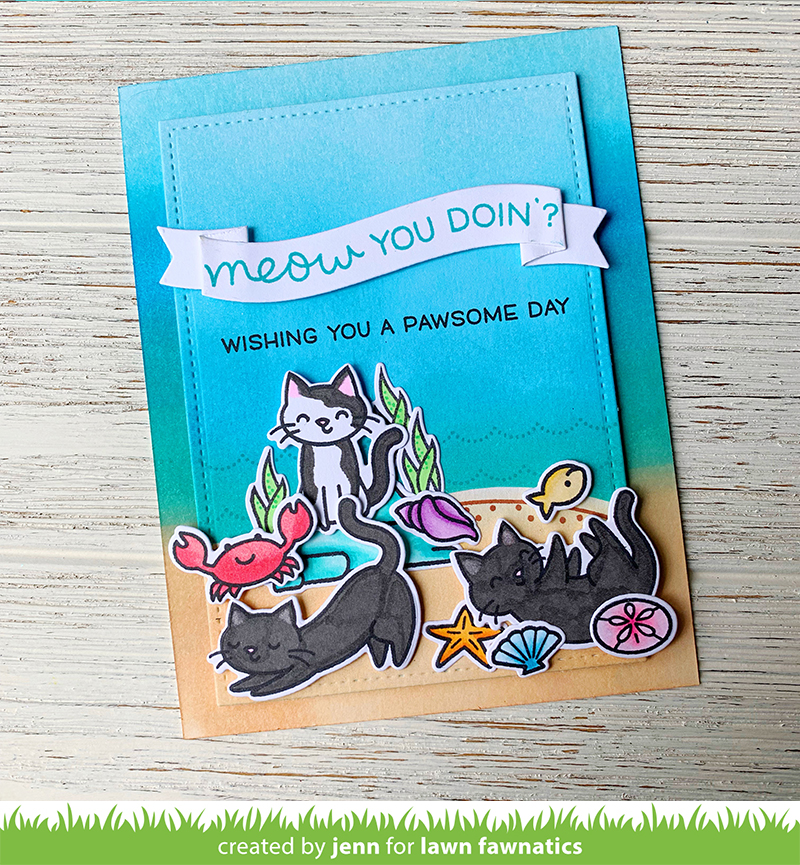
Above you can see how I used Meow You Doin’ and some nautical sets like Life is Good and Mermaid For You. This way I was able to create a unique scene, kitties on the beach, but everything looks like it goes together. (see more about this card here)
Rules of 3, clustering, touching
Another way to help your scene building is to follow a few simple rules
- Have items clustered together
- Have items touch so that they bring your eye across the page
- Rules of 3, having 3 items, always helps in the design process
You can see how I followed these rules below:
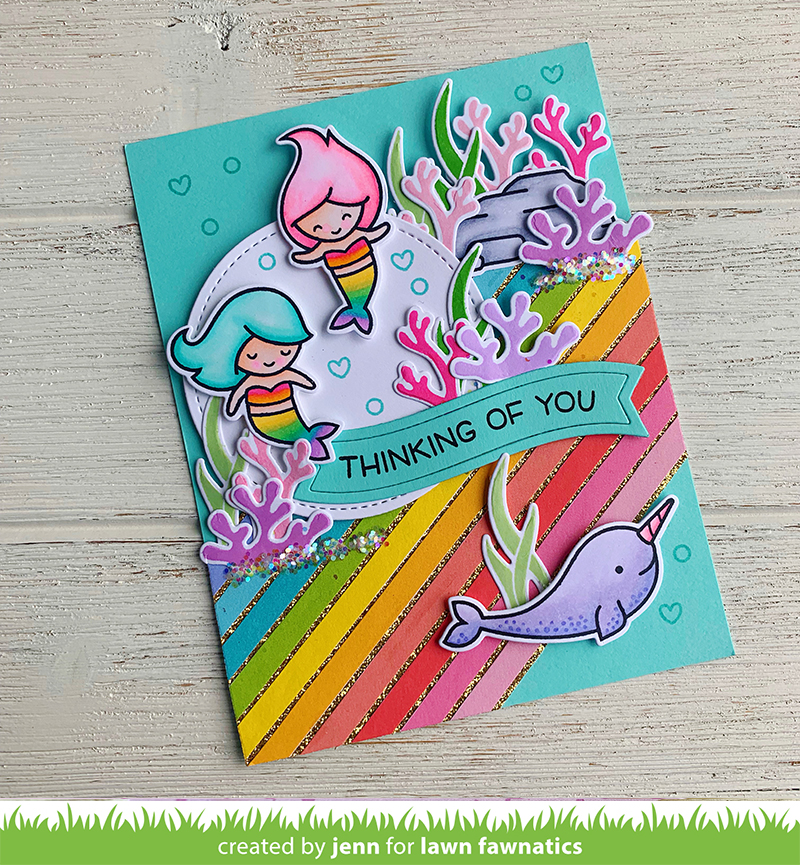
There are 3 main images the 2 mermaids and the narwhal. The seaweed is clustered and touching things throughout the card to bring your eye across the scene. (see more about this card here)
Utilizing Backdrops
Lawn Fawn has a lot of fabulous backdrop dies. These help build your scene right away. See these examples:
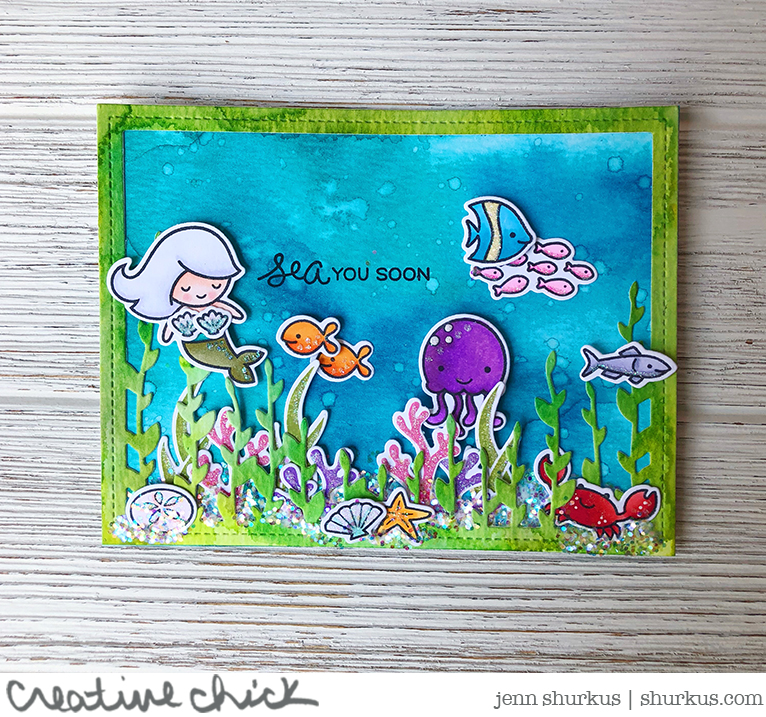
Below I used the Bayou Backdrop, flipping it to look like seaweed- this set the scene for this underwater mermaid card. (see more about this card here)
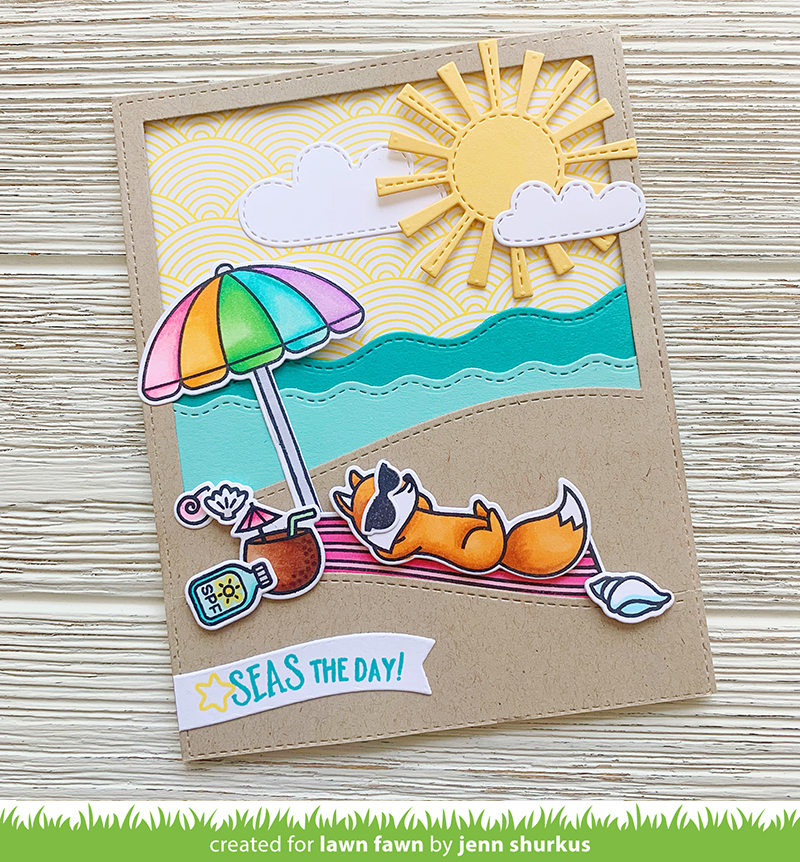
Below I am using the Stitched Hillside Backdrop Portrait, to create the beachy hillsides and frame. This helped me know where to arrange my other images to create this beachy card (see more about this card here)
Focus on one panel at a time
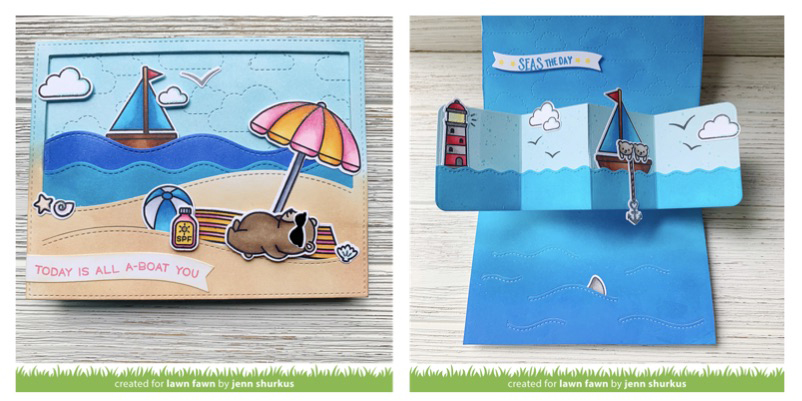
If you are going to create a more in-depth card, where you have a front, and inside designed. Focus on one panel at a time. This is how I designed the following pivot pop-up card.
- focus on the front scene
- design the pivot pop-up panels
- design the inside top panel
- design the bottom inside panel
(see more about this card here)
No grass or sunshine needed
You don’t need elements like grass, sun, clouds, etc to build a “scene” stick to a cohesive color scheme to build a scene. See these examples where I used rainbow.
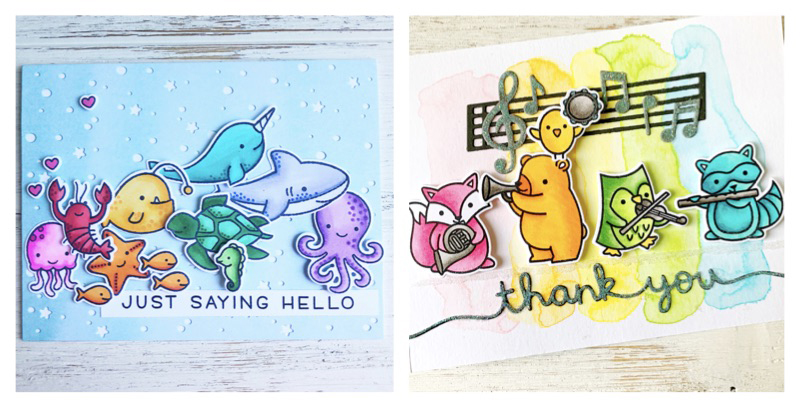
see more about the rainbow nautical card
see more about the rainbow critter card
More Tips & Tricks
- Once you get all of your images colored and die cut, lay them out on your card and move things around until you are happy. Then snap a pic with your phone so you can remember the placement of all images and as you start to adhere the images.
- Try to sketch out card ideas on an A2 (4.25″ x 5.5″ paper) (tip from my friend Chari)
- Try to not over think it- if you create more things will come to you much easier
- Limit yourself to very few supplies ( example: one stamp set, and a couple dies ) I share this a lot when I create with the Simon Says Stamp Card Kits
- Adding dimension with foam tape, for the images you want to the front
Watch the replay of my Facebook LIVE going over scene building:
In the above replay, I mentioned the organization of my Distress Ink Handles, you can see more information about that here
I also was using a glue tube holder, you can get that in my shop here
Sending my Deepest Thanks
As I mentioned earlier, I wanted to create a scene that had an underwater scene AND a beach scene on one card. To see the video tutorial on how I created the card below you can watch the replay of my Facebook LIVE and cut right to the creation of this card here
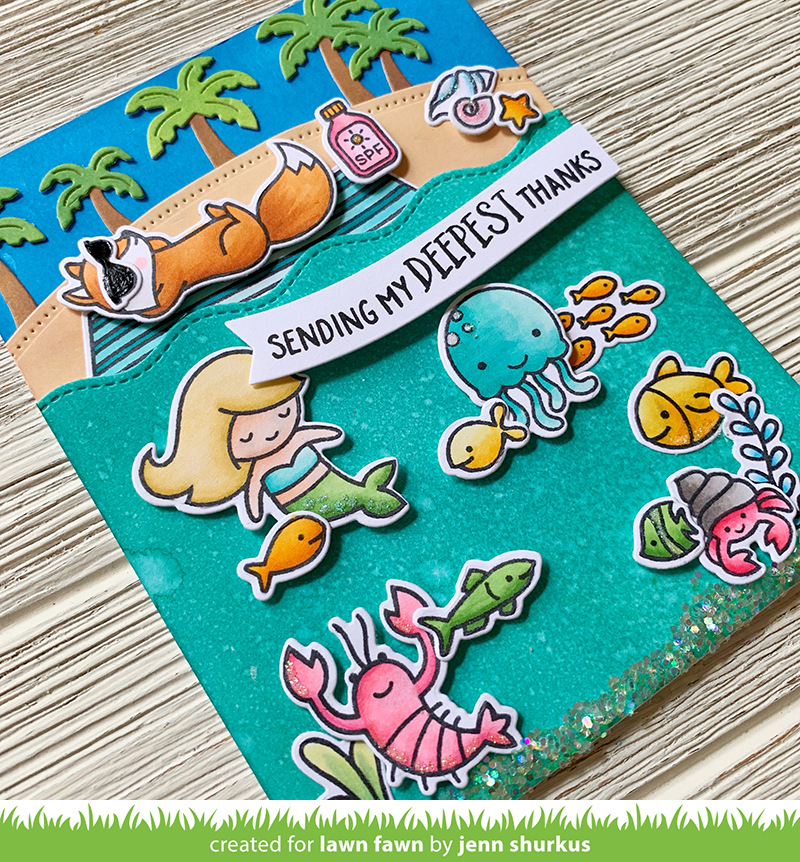
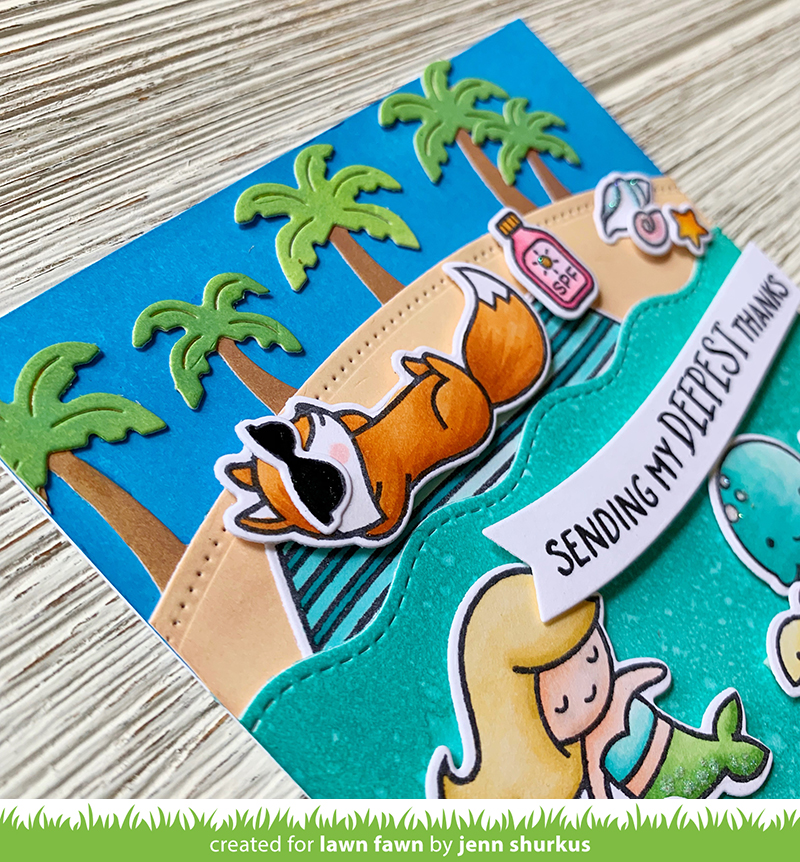
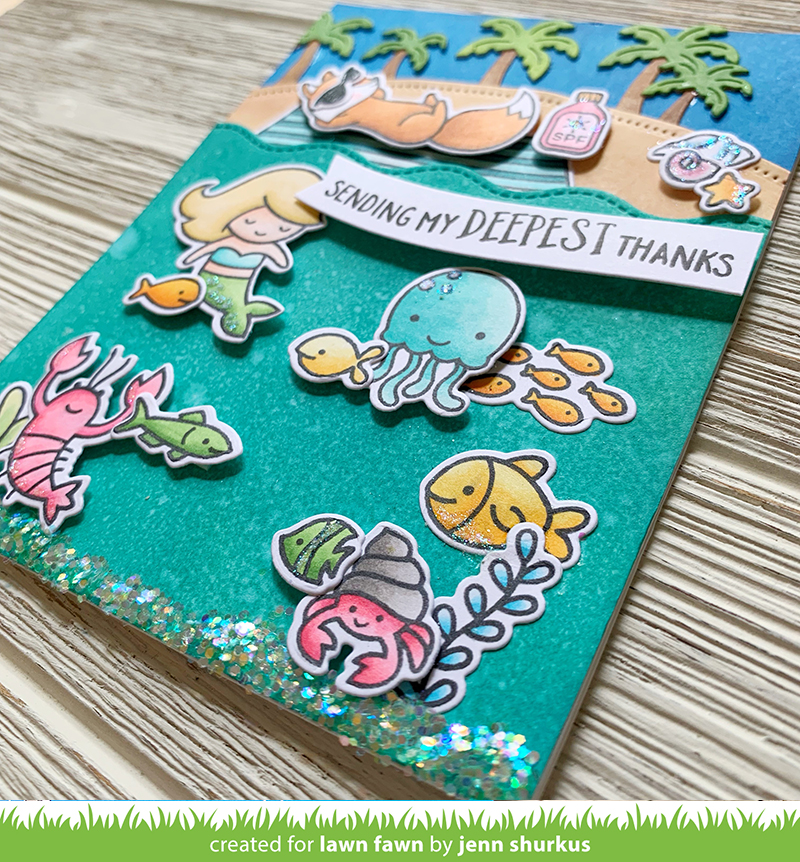
This card has a lot of yummy ink blending with Distress Oxides and coloring with Copics. All of the supplies are listed below.
I really hope you have found this information helpful, and scene building will be less intimidating.
Head over to the Lawn Fawn Blog to see more of this project!
You can join my facebook group {creative chick} studio share here
Supplies Used:
Supplies I used are linked below. Click on the picture and you will be taken to the product. I use affiliate links when available which means if you make a purchase I get a small commission at no extra cost to you. Thank you for your support!
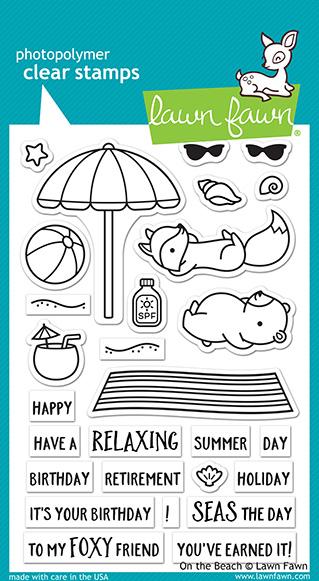 Lawn Fawn, On the Beach Shop at: SSS |
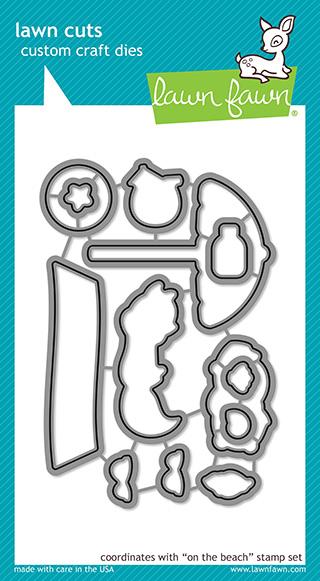 Lawn Fawn, On the Beach Lawn Cuts Shop at: SSS |
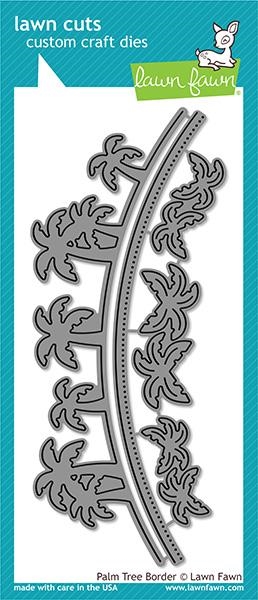 Lawn Fawn, Palm Tree Border Shop at: SSS |
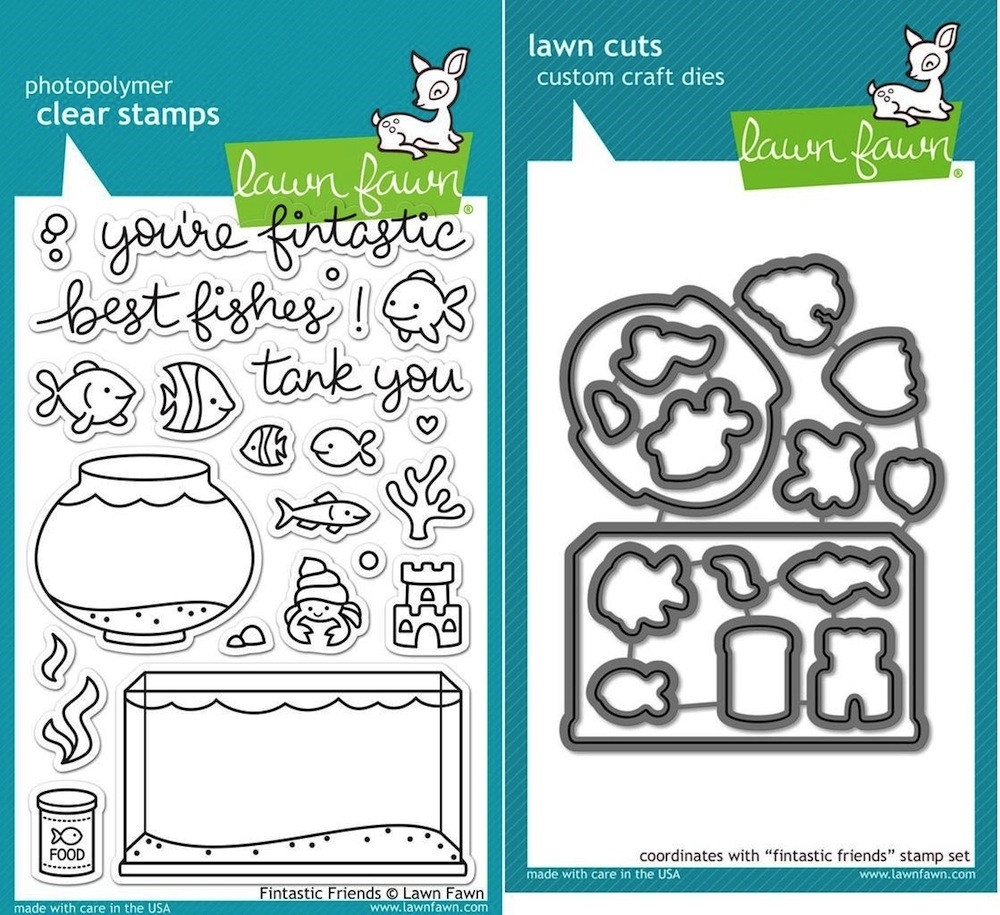 Lawn Fawn, Fintastic Friends Stamps & Lawn Cuts Shop at: SSS |
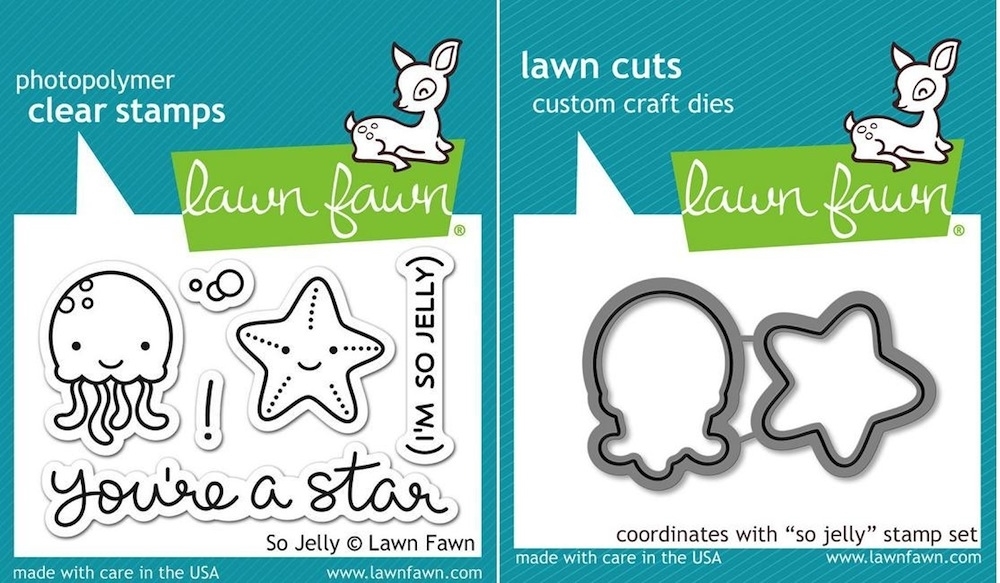 Lawn Fawn, So Jelly Shop at: SSS |
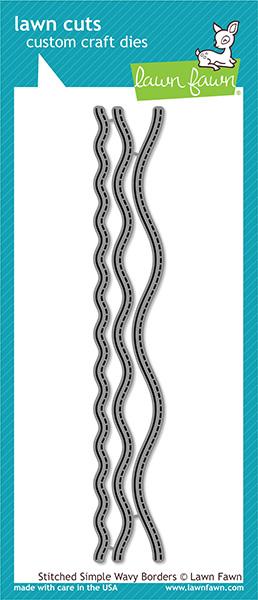 Lawn Fawn, Stitched Simple Wavy Borders Shop at: SSS |
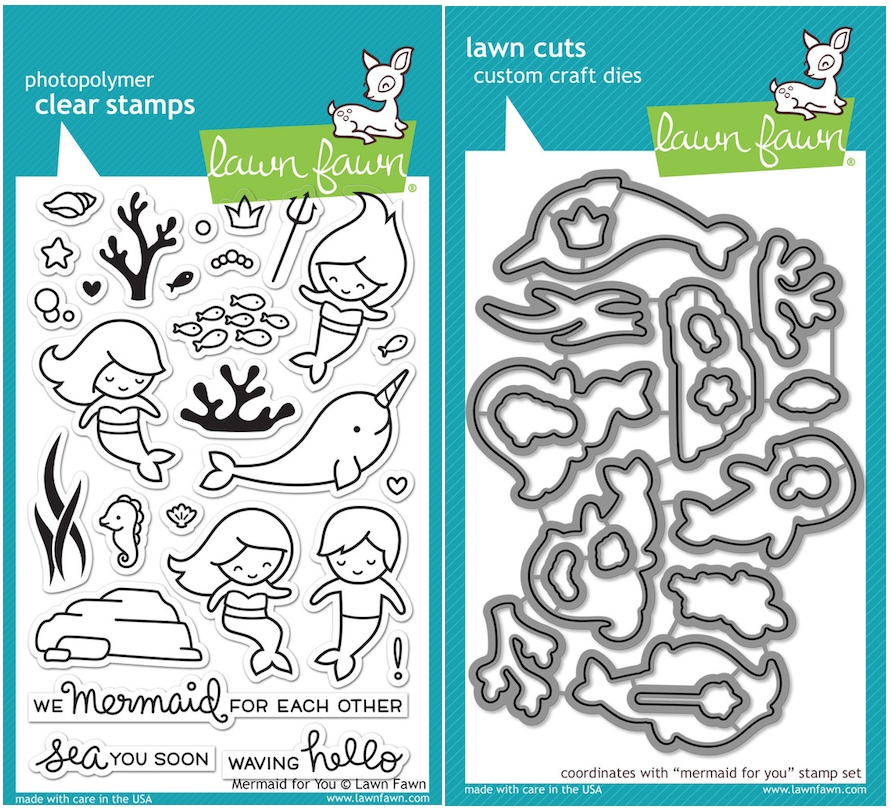 Lawn Fawn, Mermaid For You Stamps & Lawn Cuts Shop at: SSS |
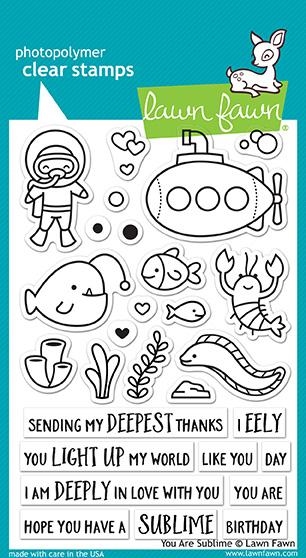 Lawn Fawn, You Are Sublime Shop at: SSS |
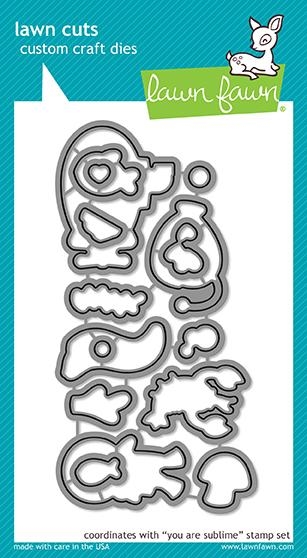 Lawn Fawn, You Are Sublime Lawn Cuts Shop at: SSS |
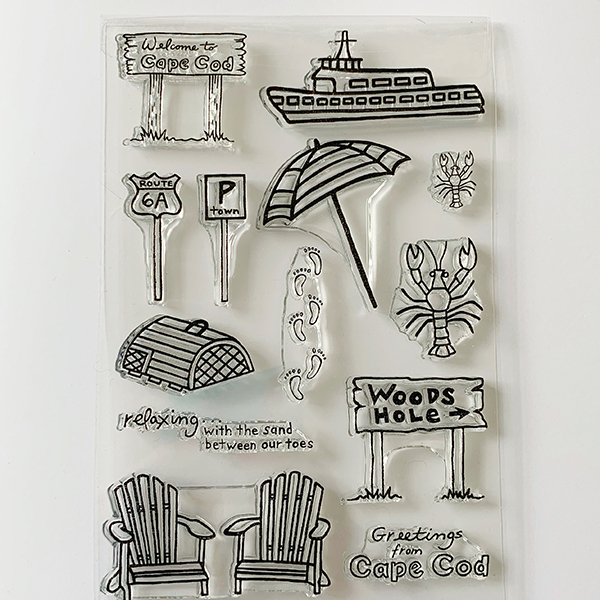 Exclusive Cape Cod Stamp Set, shurkus.com Shop at: shurkus |
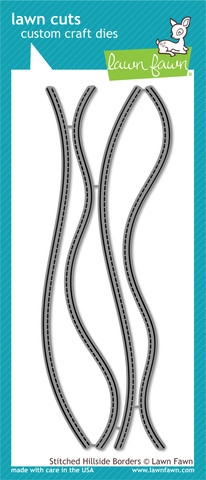 Stitched Hillside Borders, Lawn Fawn Shop at: SSS |
 Distress Oxide, Peacock Feathers Shop at: SSS |
 Ranger Mini Round Ink Blending Tools Ibt40965 Shop at: SSS |
 Lawn Fawn, 80 LB WHITE 8.5 x 11 Inch Cardstock Shop at: SSS |
 Lawn Fawn Glue Tube Shop at: SSS |
 Lawn Fawn, Jet Black Premium Ink Pad Shop at: SSS |
 Sakura Black Glaze Gel Pens Pen 2 Pack 38495 Shop at: SSS |
 Lawn Fawn, Chunky Glitter Shop at: SSS |
 Original Misti Shop at: SSS |
 Copic Markers Shop at: SSS |
 Lawn Fawn Prisma Glitter Shop at: SSS |
 Sakura Quickie Glue Pens Shop at: SSS |
3M Scotch DOUBLE-SIDED FOAM TAPE Permanent Shop at: SSS |
 Lawn Fawn Stamp Shammy Shop at: SSS |
 Distress Oxide, Vintage Photo Shop at: SSS |
 Ranger Non Stick Craft Sheet Shop at: SSS |
 Tim Holtz, Distress Oxide Tea Dye Shop at: SSS |
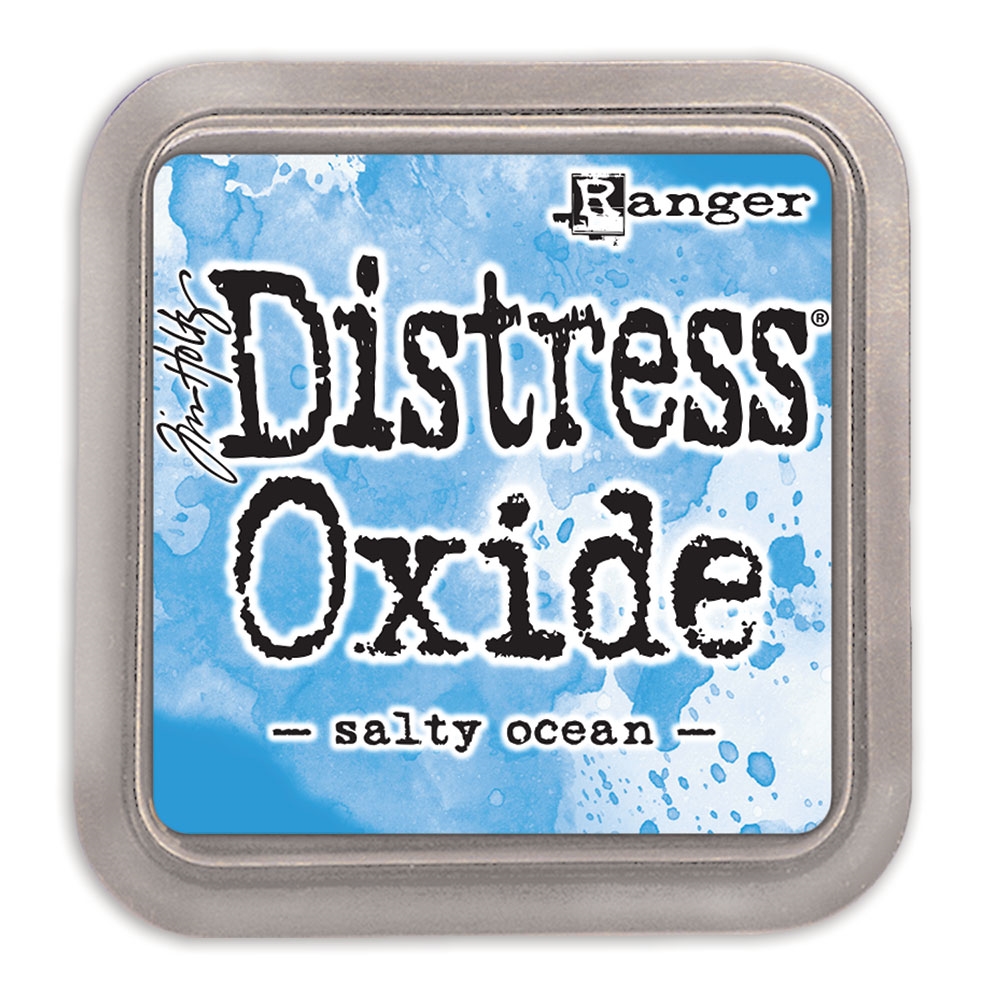 Tim Holtz, Distress Oxide Salty Ocean Shop at: SSS |
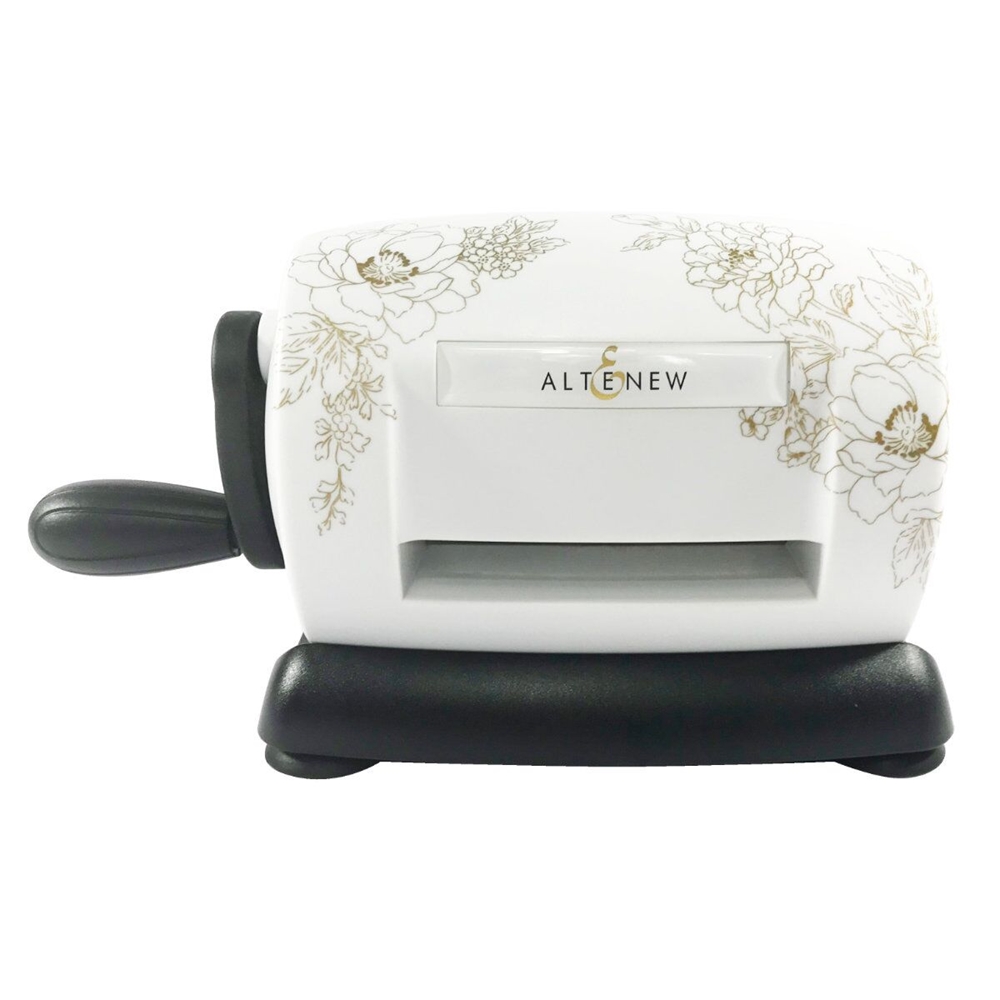 Altenew, Mini Blossom Die Cut machine Shop at: SSS |
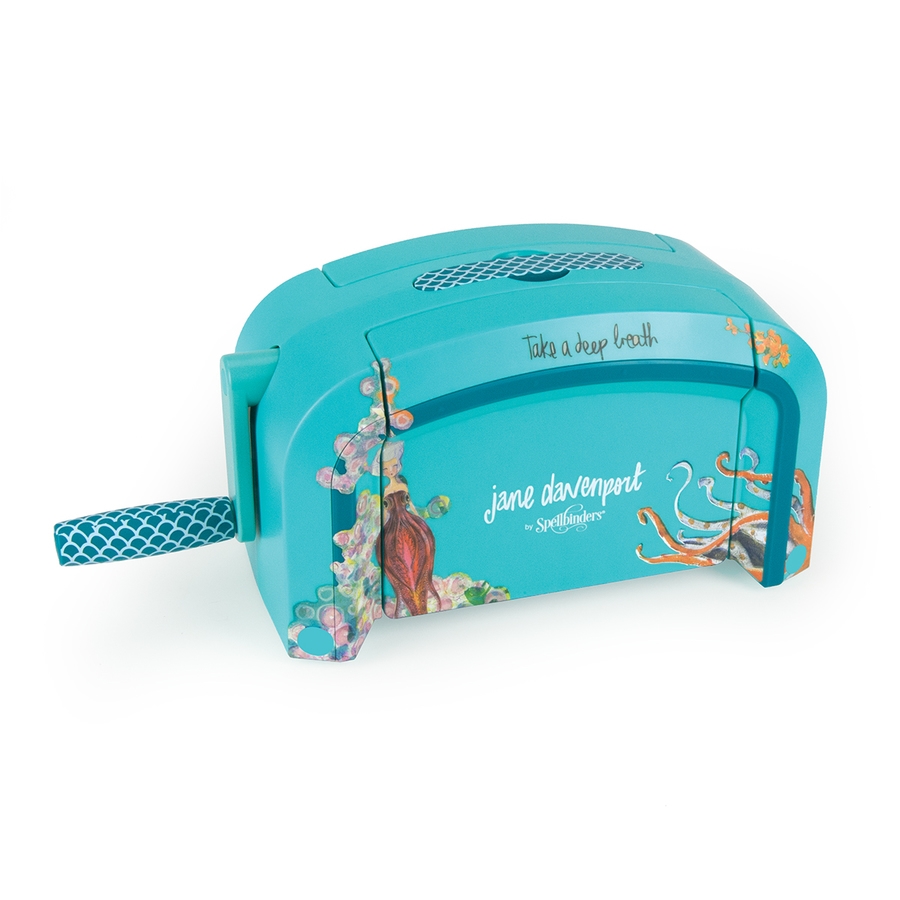 Spellbinders Deep Sea Die Cutting and Embossing Machine Shop at: SSS |
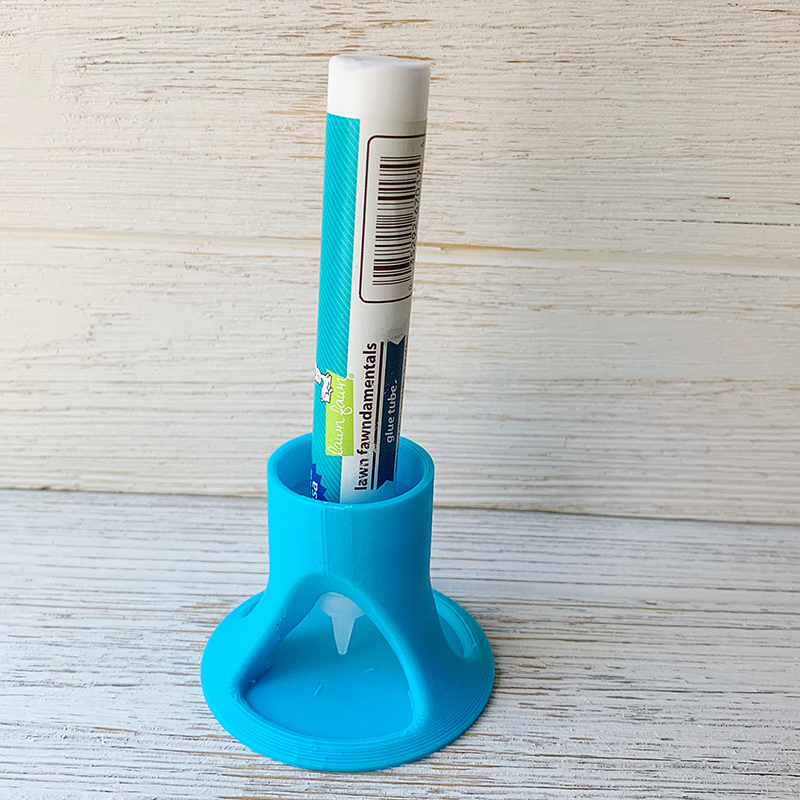 Glue Tube Holder Shop at: shurkus |
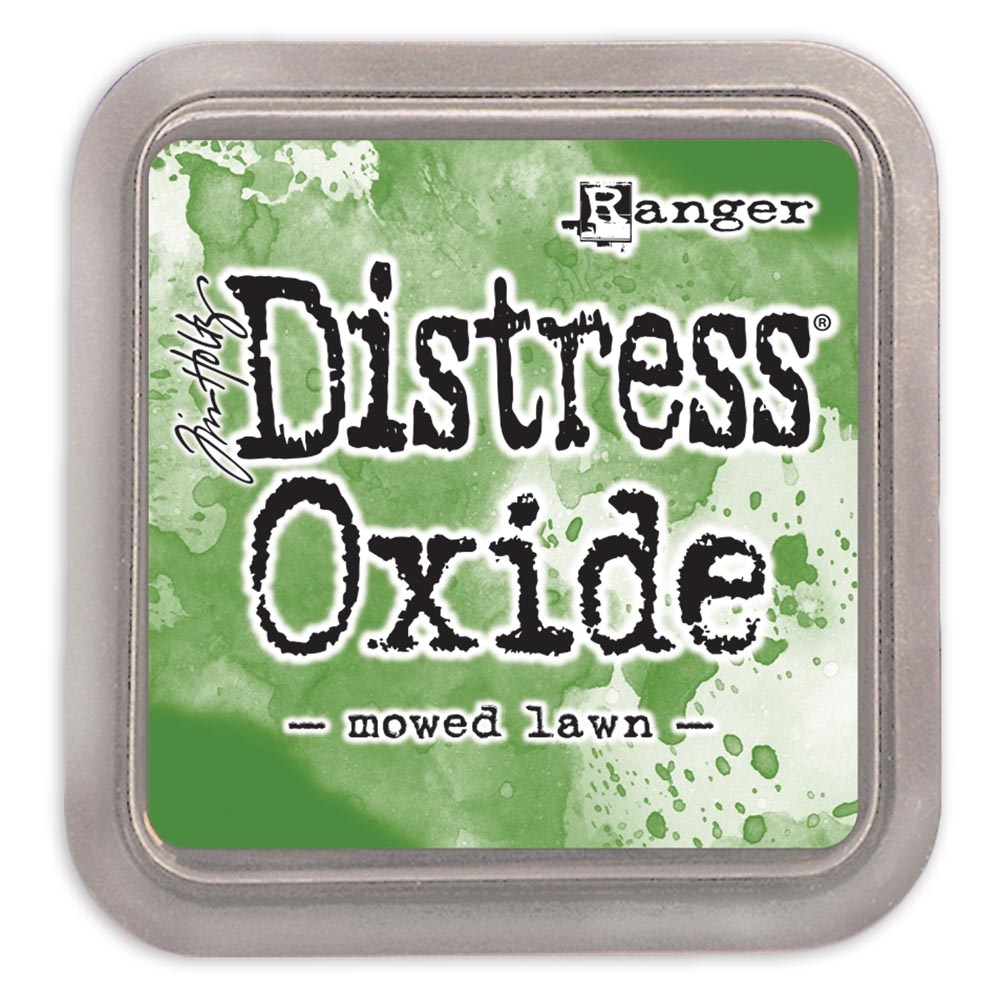 Tim Holtz, Distress Oxide Mowed Lawn Shop at: SSS |









Jenn, posts like this I find fabulous as it has so much good, solid advice in one place for makers like me. I would adore to attend one of your classes but would need to add airfare & accommodation on to the cost, my bank manager says no ! Thank you for sharing your video & advice, please keep it coming x
Jenn, thank you for writing this up! I struggle to create cards all the time and spend a lot of time staring at my items, lol. I’m definitely going to try these tips.
Ok this post is incredible. I will have to watch the live sometime soon. I love how all the ideas are in one place! Such wonderful tips.
I watched your live on getting started in copics, and got a small collection going in January. Your tips for blending and shading have changed the way I color in all the mediums. It has really helped my coloring improve! Thank you!!!