 I am back with a Simon Says Stamp Wednesday Challenge card! Thank you for joining us for the Anything Goes challenge and we hope you will all join us again this week too. This week the challenge is Let’s Get Sentimental. Have fun, be creative and enter up to 5 times! 🙂
We are showcasing Tim Holtz this week. You don’t have to use them to join in but if you have some we would love to see them used. As always Simon Says Stamp will be giving away $50 voucher to shop at the fabulous Simon Says Stamp Store
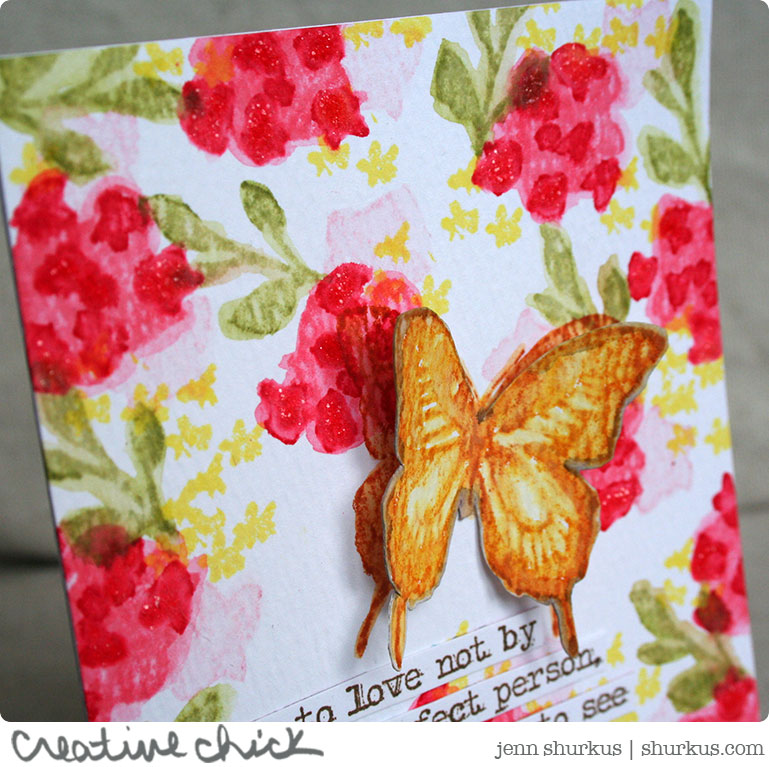
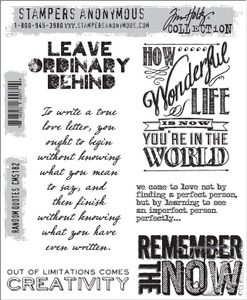
I wanted to use a few new Tim Holtz sets that I purchased during the April Loft Art Retreat. I used Random Quotes & 2015 Watercolor Cling Stamp Sets. Combining these stamps with Distress Inks and Watercoloring, I just LOVE how this card came out. Instead of going to my usual colors I tried REALLY hard to use a different color combo. I love the warm feel this card gives. Be sure to keep scrolling as I share with you step-by step how you can recreate this look!
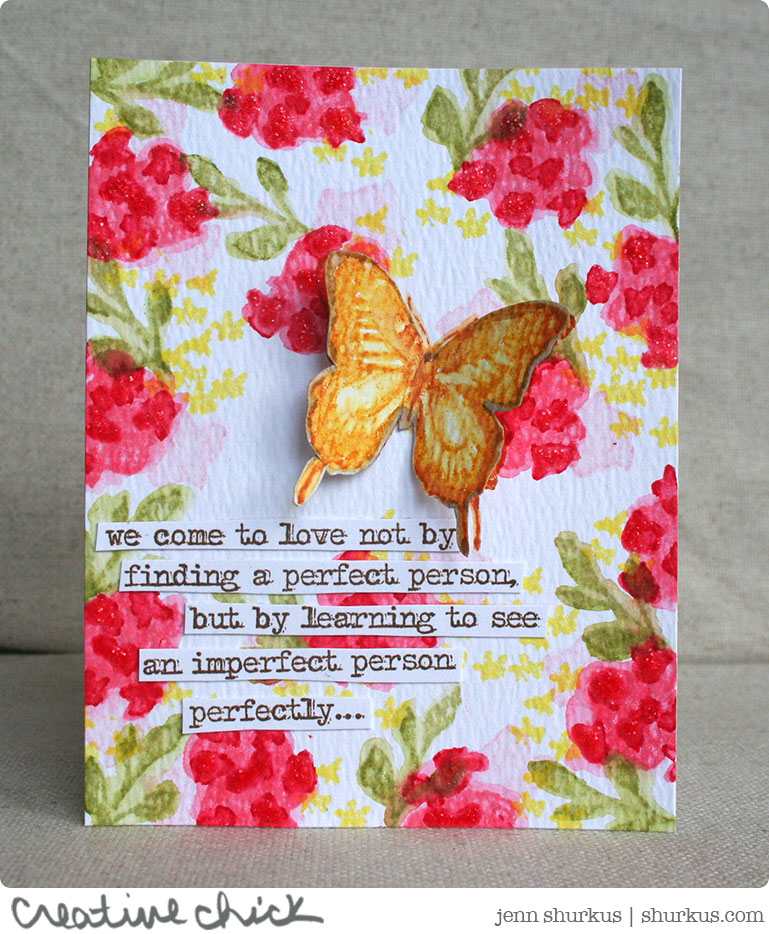
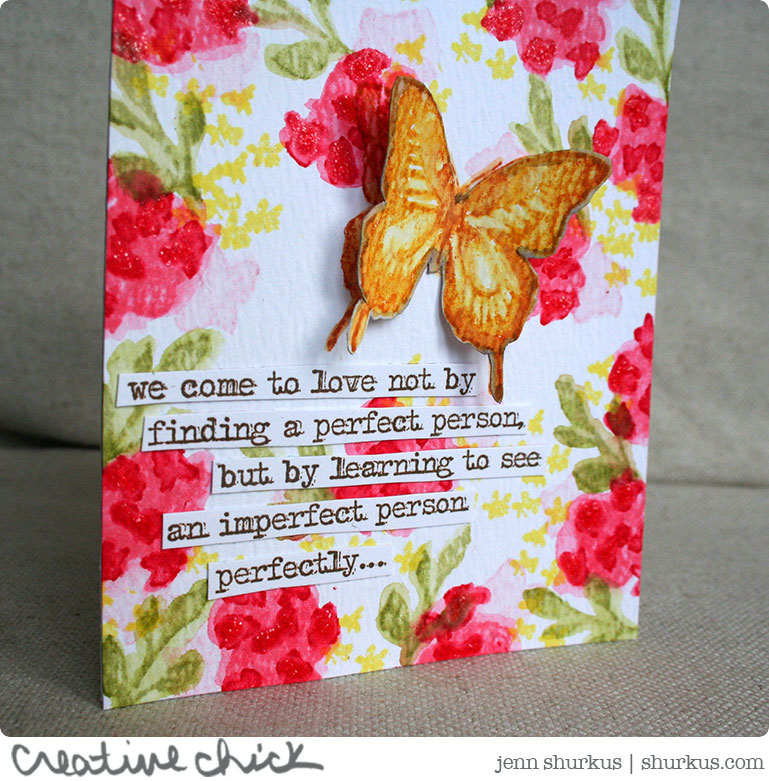
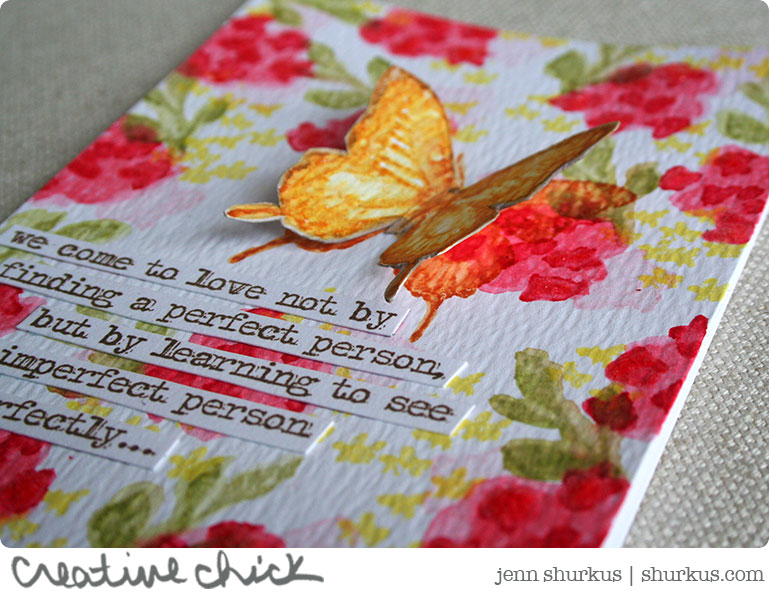
Step-by-Step Instructions:
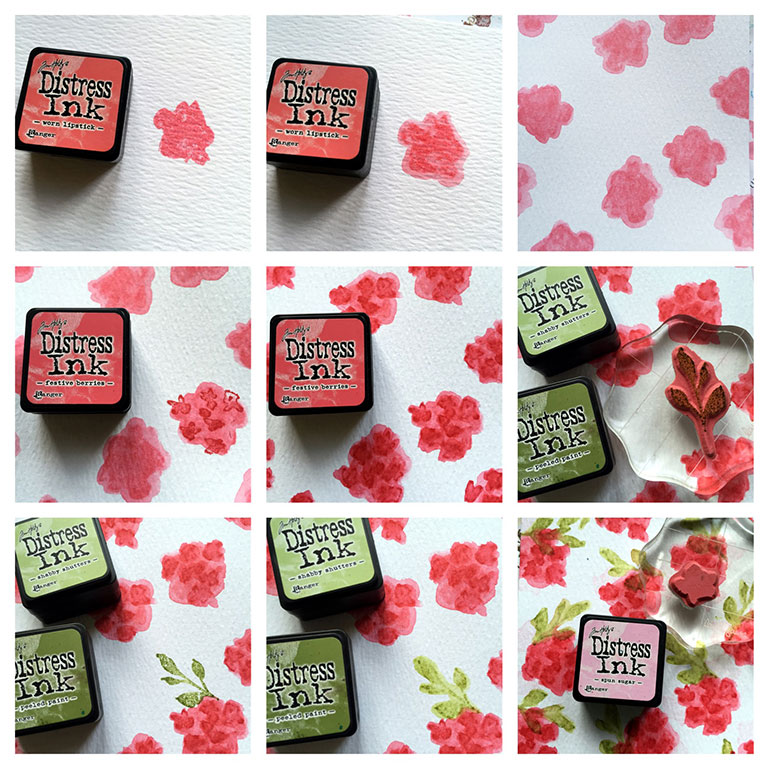
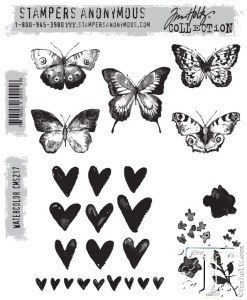
Note: all the stamps used for this card (except for the sentiment) are part of the Watercolor 2015 Cling Stamp Set! How awesome is that?!
- Start by stamping the larger solid flower with Worn Lipstick Distress Ink on Distress Watercolor Cardstock
- Then using your waterbrush while the ink is still wet, water over the image to move the color around. Go out of the lines 😉
- Repeat this step until you have your background filled the way you like. Remember to stamp off the edge and to turn the stamp different orientations to create movement throughout your piece.
- Using Festive Berries Distress Ink stamp the larger detailed flower stamp over one of the flowers already there.
- Immediately waterbrush over this image.
- Repeat on top of all the flowers. The trick is to stamp and paint, stamp and paint. This way the ink is wet when you go to water over it helping the color move.
- I then heat set the paper so that the red inks wouldn’t blend anymore for my next steps
- Using the leafy stamp ink up the top part (I avoided the stem) in Shabby Shutters Distress Ink, then dab a little Peeled Paint Distress Ink on some of the edges
- Stamp the leaves so they are touching one of the flowers
- Waterbrush over the leaves. Remember go out of the lines, so move the color off of the stamped image a bit to give a more watercolor look
- Repeat the leaves until you have as many as you would like. I changed the orientation of the leaves, rotating the stamp and having it touch the flower in different areas. Again stamp off the edge of the cardstock and “Stamp & Paint, Stamp & Paint” so the ink doesn’t dry.
- Using Spun Sugar Distress Ink stamp the smaller solid flower all over the back ground. I chose to over lap the edges onto the red flowers. This is just a subtle detail and I didn’t waterbrush over these.
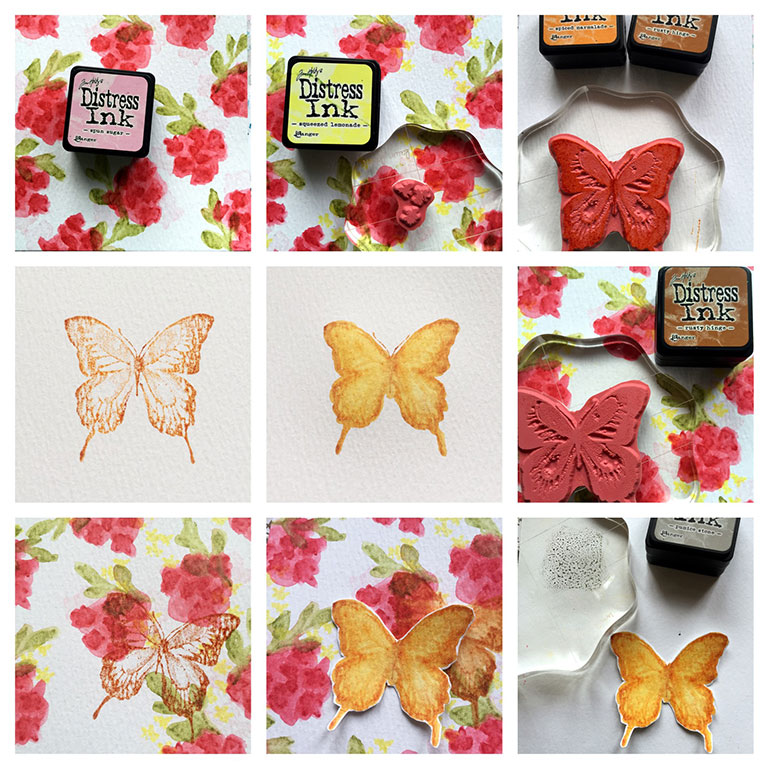
- Using Squeezed Lemonade Distress Ink stamp the smaller cluster of detailed flowers. I stamped these all over and used them to fill in the areas that needed some color. Overlapping onto images already stamped and stamping off the edge. I didn’t waterbrush these. Set your background aside.
- Using one of the butterflies from the Watercolor 2015 Cling Stamp Set, ink the whole butterfly in Spiced Marmalade Distress Ink and then dab some Rusty Hinge Distress Ink on the edges. Stamp onto a new sheet of Distress Watercolor Cardstock
- Waterbrush over the butterfly, going off the stamped image a bit.
- Ink the butterfly again in Rusty Hinge Distress Ink and stamp it onto your background, where you want it on the final card. Waterbrush over the butterfly. This is so we don’t have to fussy cut the antennae out AND to add dimension to the card when we layer the other butterfly on top.
- Fussy cut out your other butterfly. Leaving a little bit of white around the edges. Remember you don’t have to fussy cut out the antennas.
- Squish a little bit of Pumice Stone Distress Ink onto an acrylic block and use that to watercolor the white edges of the butterfly. Its ok to over lap on some of the orange.
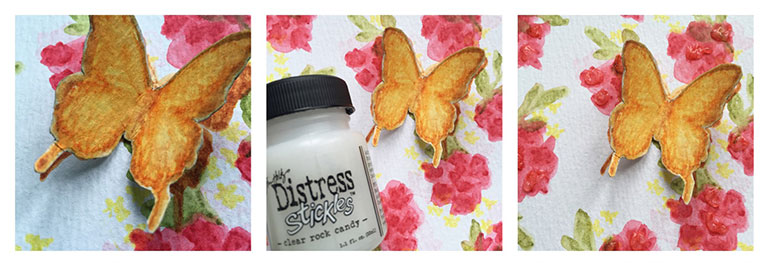
- Crease both of the wings on the butterfly. Using a dab of Multi Matte Medium adhere the fussy cut butterfly over the stamped butterfly on the background.
- Dab some Rock Candy Distress Stickles randomly on the dark petals of the flowers.
Voila! You have a watercolor masterpiece!
Ok- so now it’s time for YOU to enter the challenge. Remember, Let’s Get Sentimental is the theme so break out those sentiment stamps! Just by playing along and linking up your project to the SSS Wednesday Challenge post you can qualify to enter a $50 shopping voucher to the Simon Says Stamp store.And remember if you are on instagram tag your photo with #ssswchallenge 🙂
There will be ONE lucky winner that will be chosen at random, it could be you!
 I really hope to see some of my blog readers join in on all the fun and play along with the challenge. I can’t wait to stop by some of your blogs and take a peek at what you have made. Have a wicked fun time creating!










The colors are so vivid, pretty, pretty card!
Such a beautiful card! Love the flowers.
Thank you for the step-by-step instruction.
amazing project Jenn! 🙂
Absolutely gorgeous card Jenn! Thanks for providing the details for the watercolor technique you used.
I know I told you this on facebook, but this is absolutely stunning and so I’ll say it again. Wow! Wow! WOW! I adore this color palette – it’s so romantic and gorgeous!
super sweet Jenn! hope you have a FAB weekend!
sparkle & shine *~*
Absolutely stunning card Jenn!! I so need those 2 stamp sets now!! Gorgeous card!
hugs…
I love this card!! Watercolor is my soft spot….and I love that you stepped outside your ‘comfort zone!’
Oh what a beautiful card.
luv
Debby
I think that can even do this easy technique. Thanks so much.
Beautiful card, Jenn, and lovely sentiment!
A gorgeous card Jenn, a fabulous watercoloured background – lovely technique and sparkling !!
hugs
Heather xx
Gorgeous card, Jenn! I love this watercoloring technique!
*mwah*
Steph
Simon Says Stamp!
Gorgeous – looks like fabric!
Gorgeous background you created, Jen! Thanks for sharing your creative process and the photo visuals are so wonderful! Way to rock this week’s challenge!
Love your beautiful flowers this week, Caryn! Thanks for sharing your process!