

Hey crafty friends! 👋 I’m popping in to share a card I made using some of my favorite Tim Holtz stamps and stencils from Stampers Anonymous.
Fun fact: Stampers Anonymous doesn’t retire their Tim Holtz designs, so there’s a huge library of awesome stamps and stencils you might not have seen in a while (or totally forgot you had 😉).
Hope this project sparks some inspiration to dig into your stash and get creative! ✨
Don’t want to miss any of my shares? You can subscribe to my email newsletter and choose to get an email each time I update my site- subscribe here.
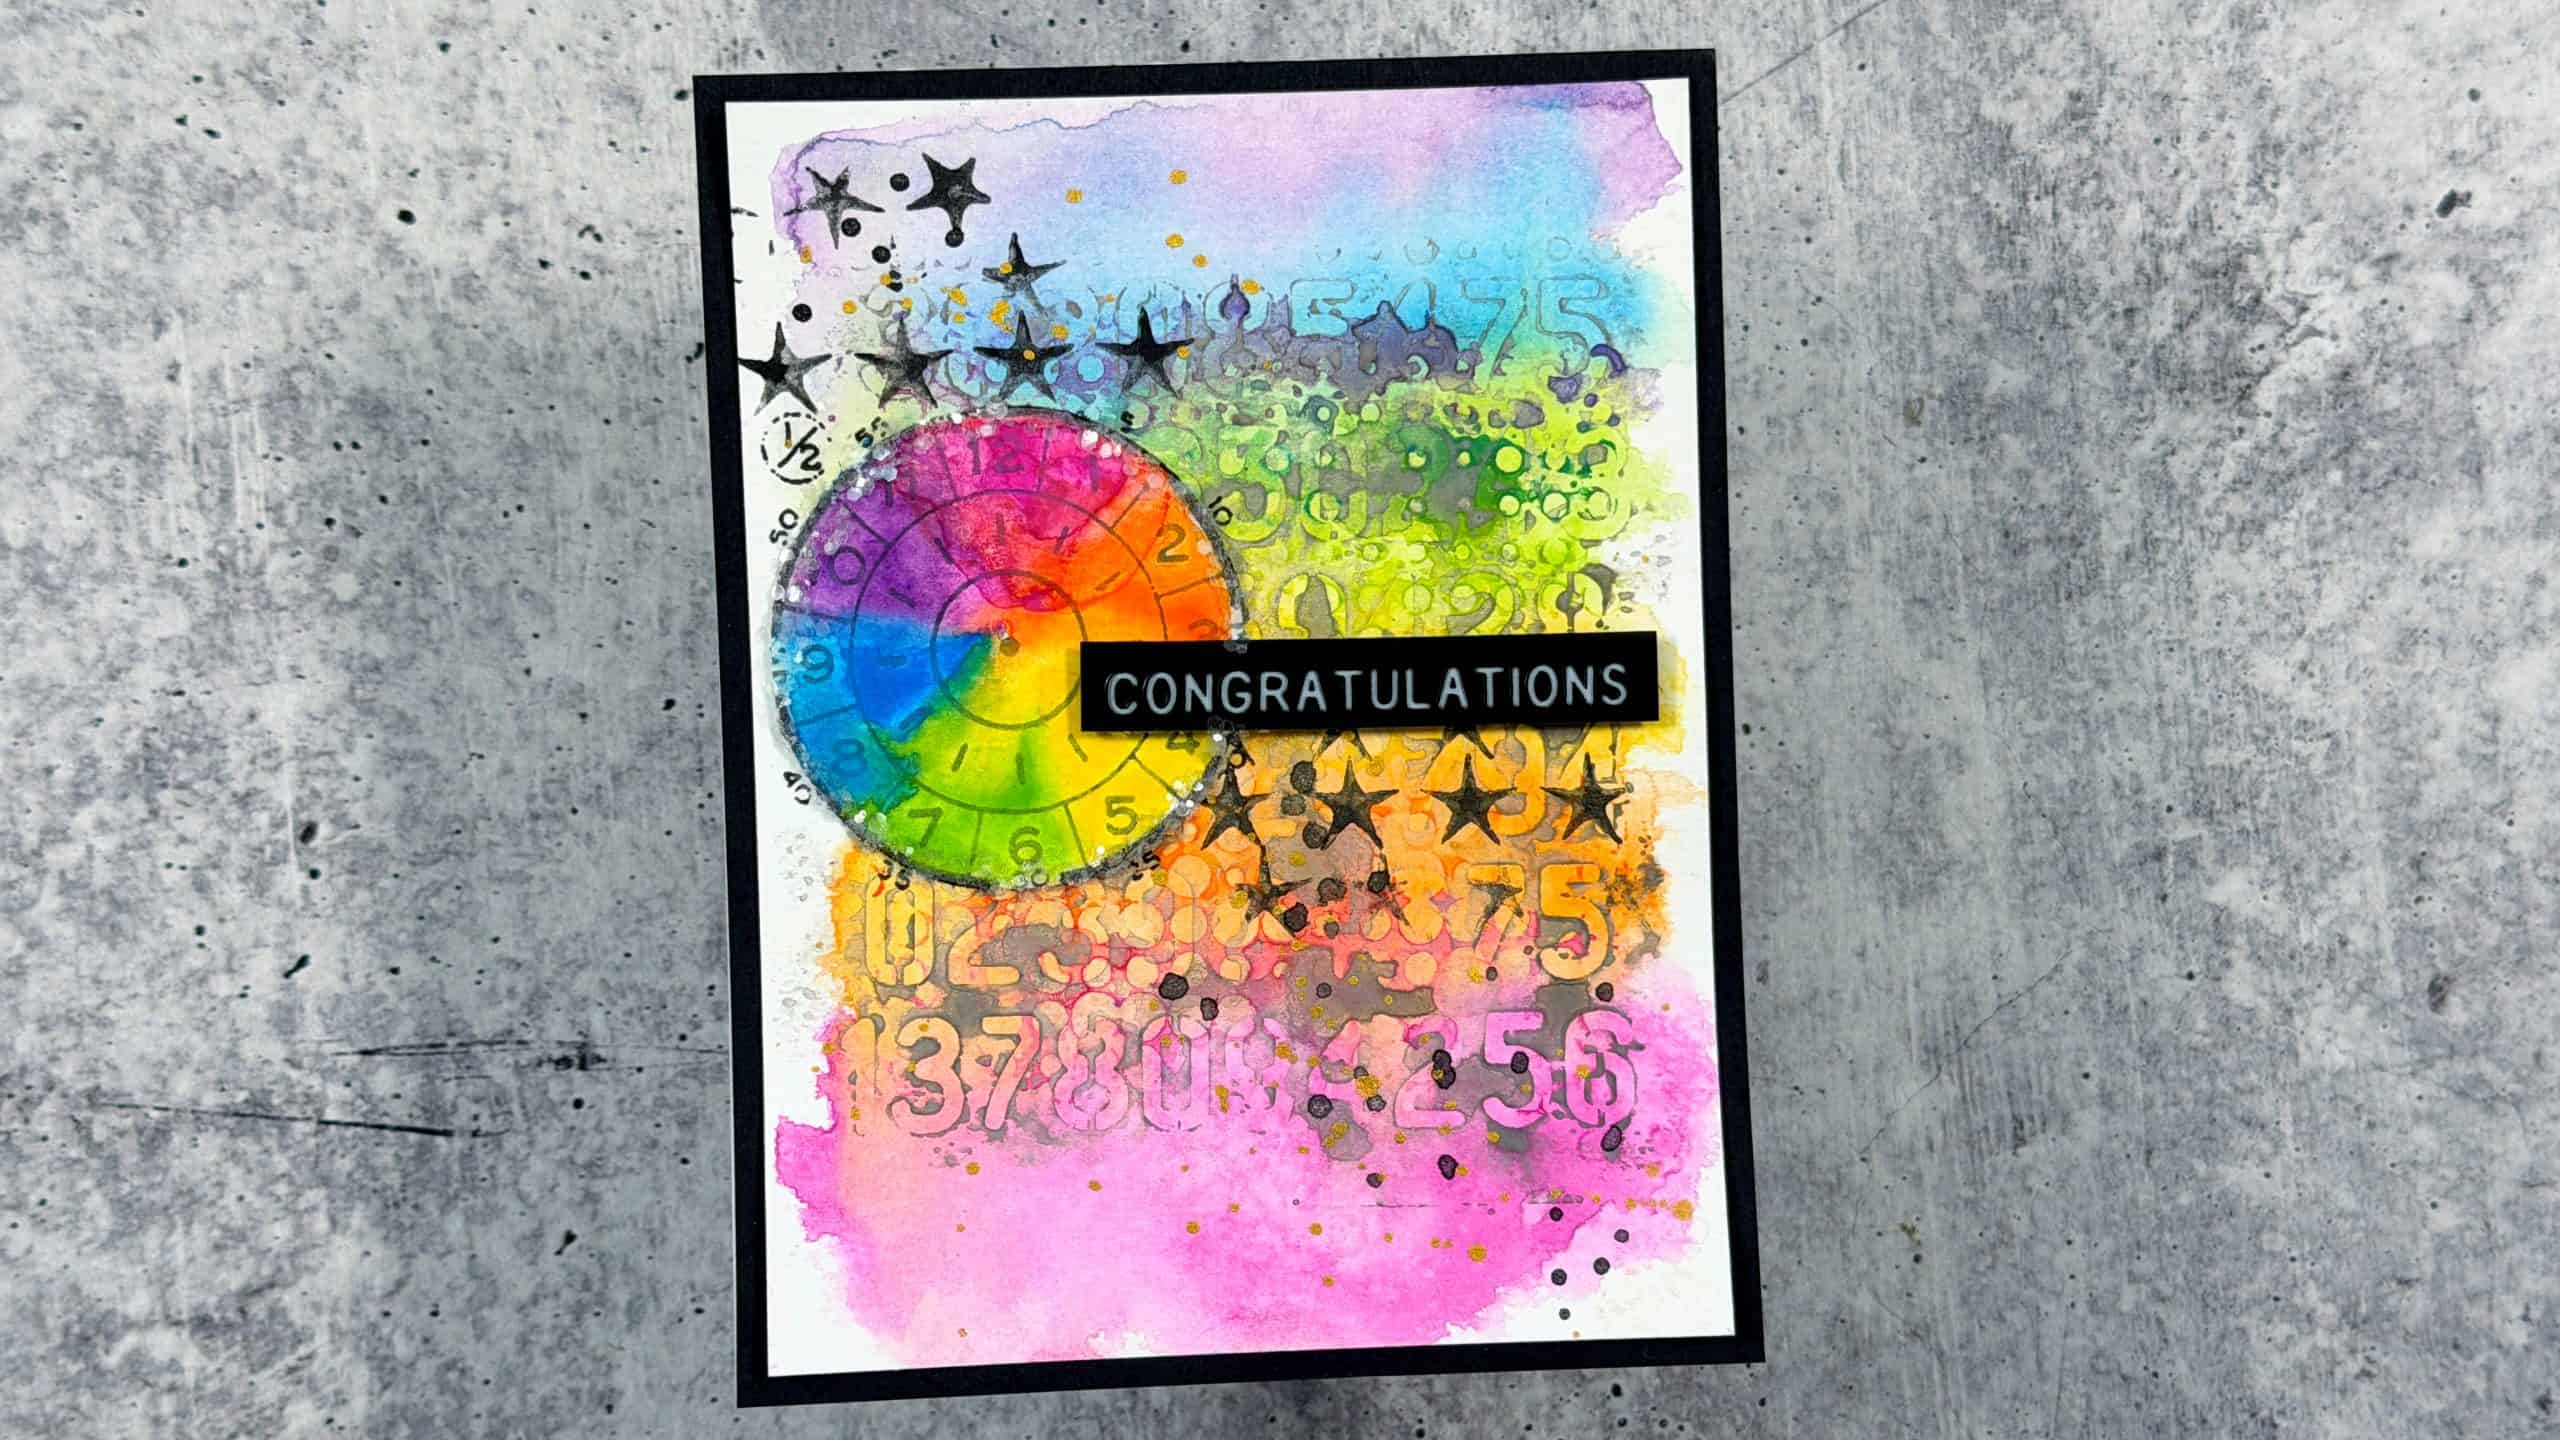
Rainbow Congratulations, Tim Holtz
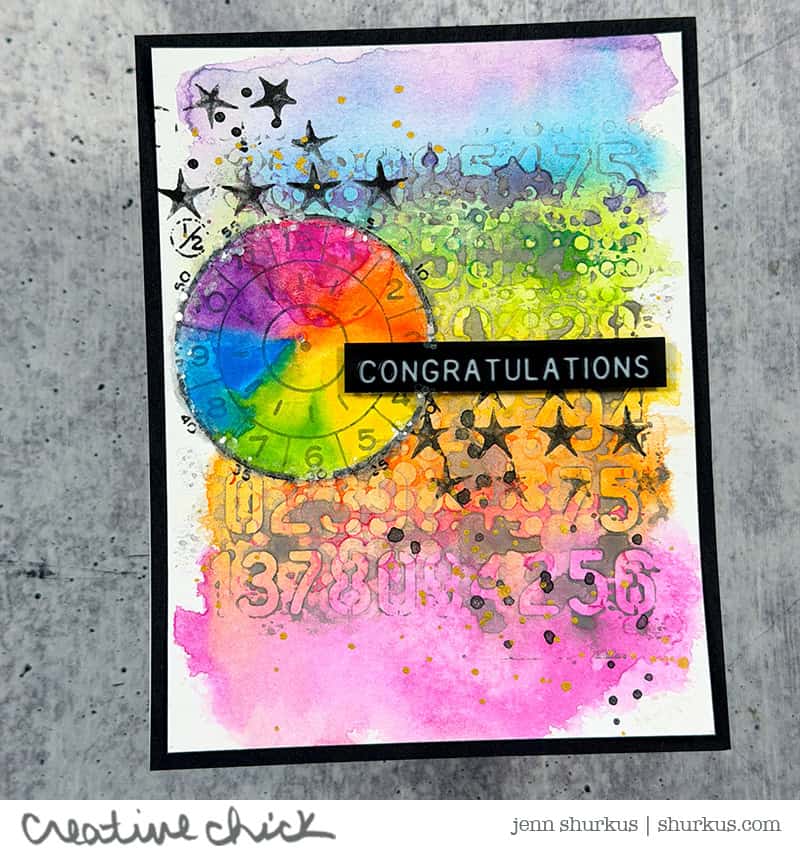
For this card, I reached for another stamp + stencil combo set, and I have to say again how much I love working with these. It’s so nice to be able to pull out just a few supplies and still create a full card design with lots of interest and texture.
After reading through the details below, you’ll find the full supply list at the bottom of this post.
Creating the Background
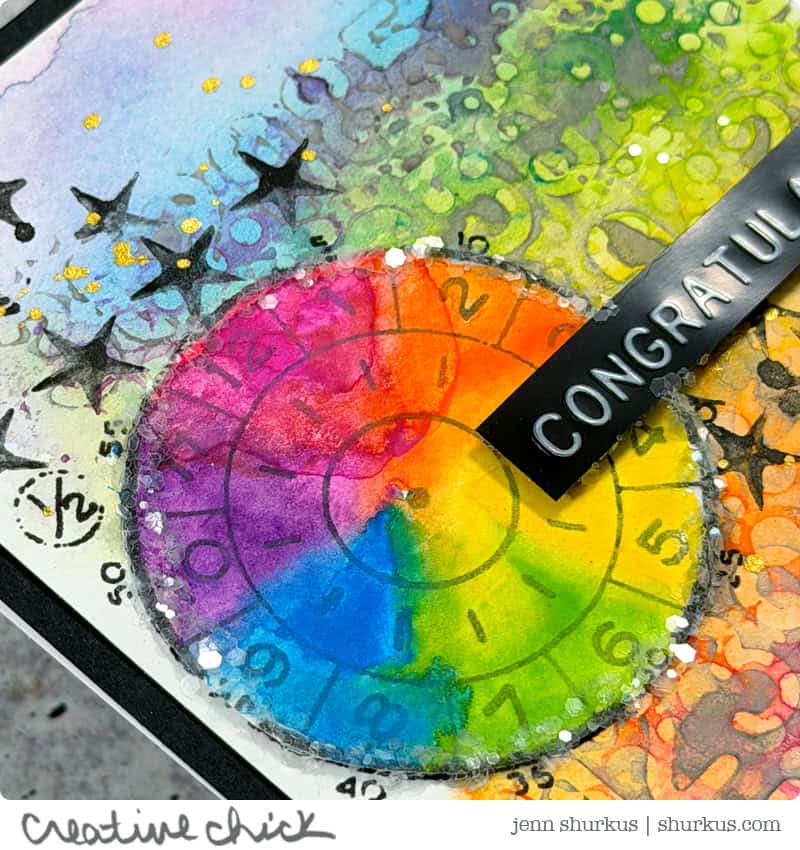
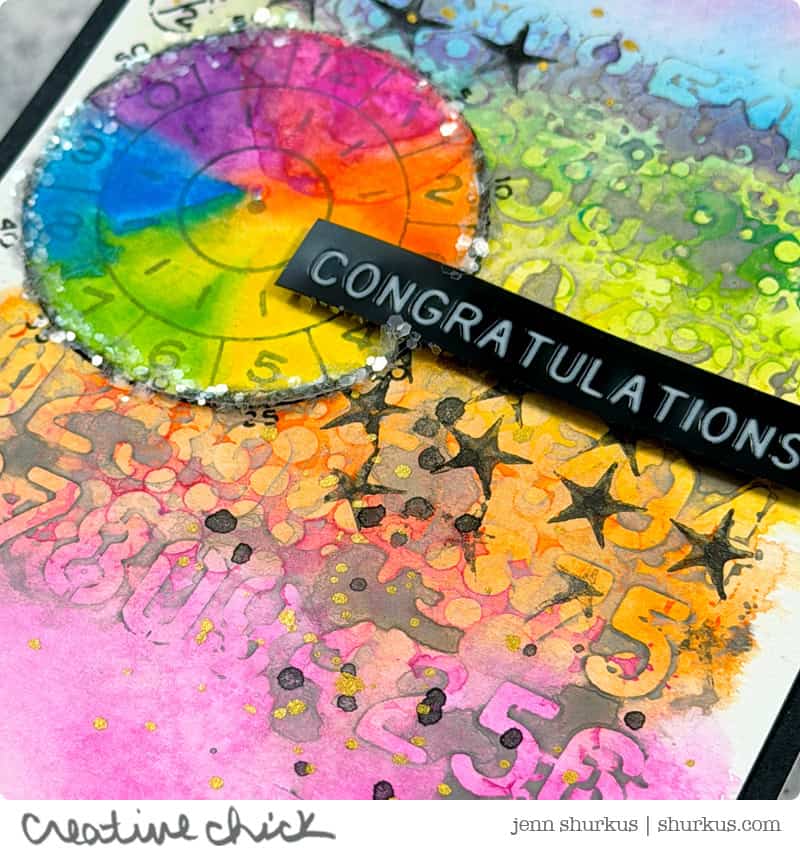
I started by creating a rainbow wash of color on the background using Distress Watercolor Pencils and a piece of acetate.
To do this, I scribbled the pencils onto the acetate, spritzed it lightly with water, and then pressed the acetate onto the cardstock. This gives you a really fun, organic watercolor look with lots of variation in the color.
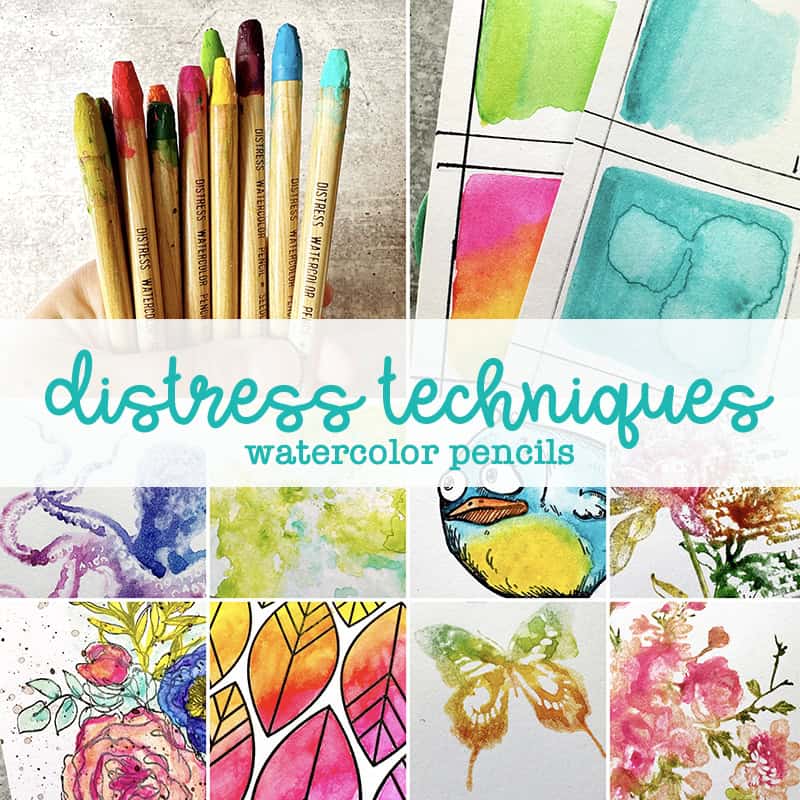
If you’re looking for more guidance on working with these pencils, be sure to check out my two online technique classes dedicated to Distress Watercolor Pencils. They are packed with tips and techniques to help you get the most out of them.
Adding the Stenciled Texture
Once the watercolor background was dry, I added the stenciled elements.
I scribbled Distress Watercolor Pencil directly onto one half of the stencil, spritzed it lightly with water, and pressed the stencil onto the background to create a print.
Then I repeated the process with the other half of the stencil, being careful to make sure the numbers would transfer in the correct orientation. This creates such a cool layered effect with the numbers and textures blending into the background.
Creating the Dial Element
Next, I stamped the dial image and colored it in rainbow colors using Distress Watercolor Pencils to coordinate with the background.
I also stamped a few of the stars using Black Soot Distress Watercolor Pencil, and used that same pencil to create some splatter across the panel for added texture.
Finishing the Card
Once everything was dry, I trimmed the panel down to 4” x 5.25” and matted it onto black cardstock to help all of those bright colors really pop.
I adhered the rainbow dial flat onto the card front.
For the sentiment, I grabbed one of the Tim Holtz sentiment stickers from my stash and adhered it with foam squares to give it a little dimension.
To finish the design, I added Distress Rock Candy Chunky Glitter around the circle of the dial. It adds just a little bit of sparkle and magic to the focal point.
This card is a great reminder that you can create a really dynamic mixed media background with just a few supplies. Distress Watercolor Pencils are incredibly versatile, and combining them with stamps and stencils opens up so many creative possibilities.
If you try this technique, I would love to see what you create! Be sure to share your projects and tag me so I can cheer you on.
Don’t want to miss any of my shares? You can subscribe to my email newsletter and choose to get an email each time I update my site- subscribe here.
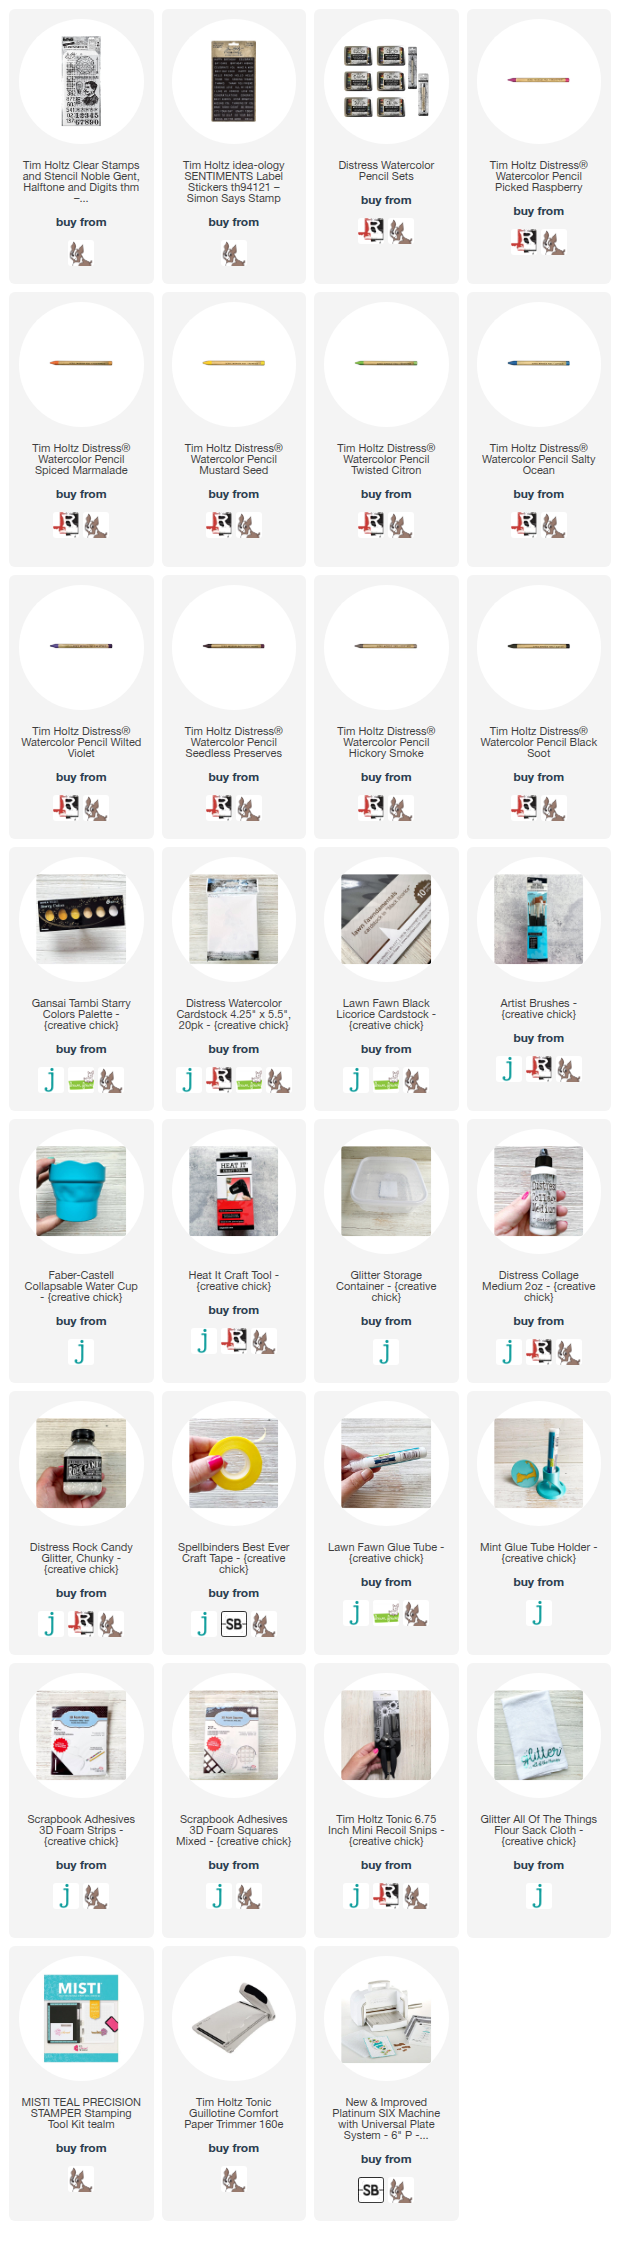
Cardmaking Supplies Used
Supplies I used are linked throughout the post. Click on the picture and you will be taken to the product. I use affiliate links when available which means if you make a purchase I get a small commission at no extra cost to you. Thank you for your support!


Love it! Thank you for sharing the tips to make it.
This is so pretty.