 Hey everyone! Welcome to another week on the Simon Says Stamp Wednesday Challenge! Thank you to everyone who joined us for our Thinking of You Challenge last week and we hope you will all join us again this week too. This week the challenge is Thanks/Thanksgiving!
We are featuring Tim Holtz Products this week. You don’t have to use them to join in with the challenge, but if you have them we would love to see them used! As always Simon Says Stamp will be giving away $50 voucher to shop at the fabulous Simon Says Stamp Store! YAY!
Multi-Color Resist with Distress Inks, Tim Holtz
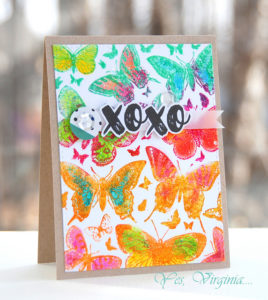
One of the most fave cards I have seen lately is this one that Virgina made. I have been obsessed with it since she posted it in March. It is my main source of inspiration for the card I made for today’s challenge.
I love how she used the Misti to be able to “seal in” one layer of colors before adding more. She used Distress Crayons, but I chose to just use Distress Inks. See below for step-by step just how I did that!

I used Tim Holtz’s Leaf Prints Cling Stamps. I won these from Tim and Mario in a giveaway they were doing. I love the variety of leaves in the set!
Step-by-step Instructions:
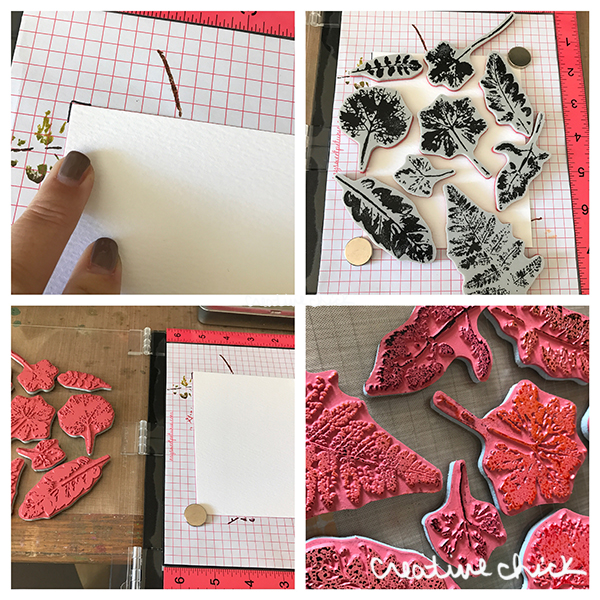 1.Center Distress Watercolor Cardstock that is cut 4.25″ x 5.5″ within your Misti. I marked where I want to line the cardstock up. (Did you know you can get Distress Watercolor cardstock in 8.5×11″ now?)
2. Lay out the leaf stamps to decide where you want them to be, and cling them to the top of your Misti.
3. Ink up the various leaves with Distress Inks. When using multiple inks on one stamp I like to ink the whole image with the lightest color, then dab around with the darker colors. (see below for some fun color combos that I used)
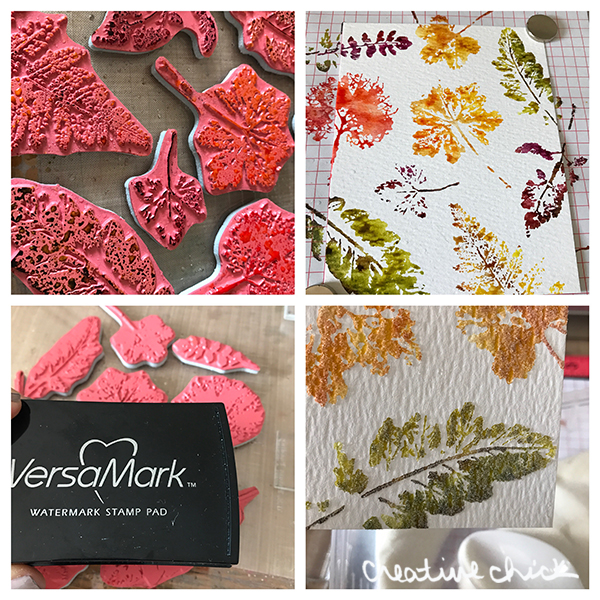 4. Gently mist the stamps with the Distress Sprayer, stamp down onto the Distress Watercolor Cardstock. Dry with a heat tool.
5. Clean off the stamps, prep the cardstock with your powder too to minimize cling on the cardstock.
6. Ink up the stamps with Versamark, stamp.
7. Sprinkle the cardstock with Detail Clear Embossing powder.

8. Melt the embossing powder with your heat tool. Let cool.
9. Ink blend over the whole background with Vintage Photo Distress Ink. Add some droplets of water on the background and then blot once it is noticeable. (The Distress Sprayer is perfect for this because it sort of “spits” onto the paper making the best droplets!)
10. Take a piece of Crinkle Ribbon and rub Distress Inks Directly on it. I used Aged Mahogany and Rusty Hinge. ( I love this ribbon because you can always make a ribbon to match your project!)
11. Spritz the ribbon with water and mush it around to make sure the ink is covering all of the ribbon.

12. Heat the ribbon until dry, this is when it will crinkle 🙂
13. Pick out a few word bands and rub some Distress Crayons into the words.
14. Assemble the cards with a bit of Postale Tissue Wrap. ( I have some of this in my stash, but this piece is from the giveaway I got from Tim and Mario, they wrapped it in this tissue wrap)
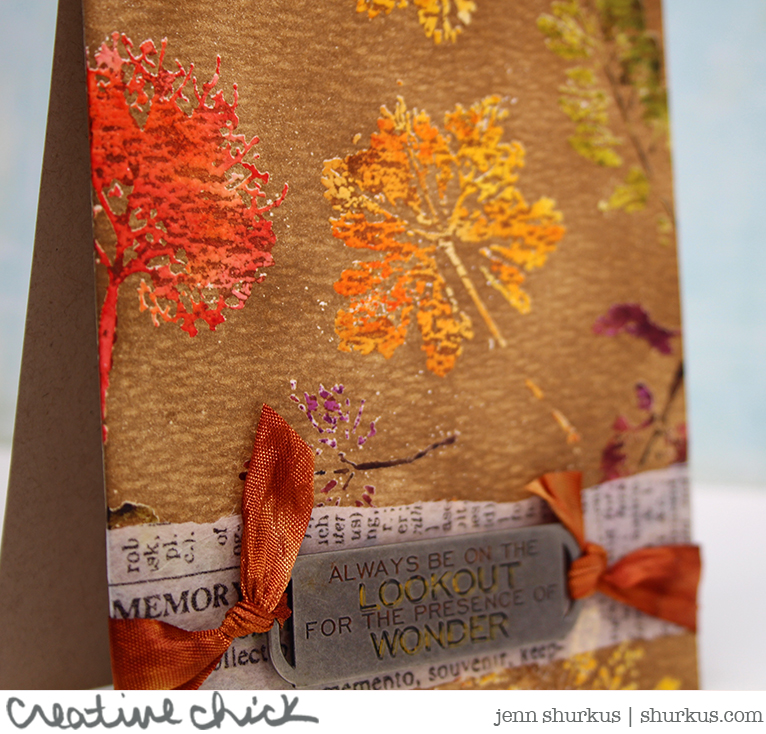
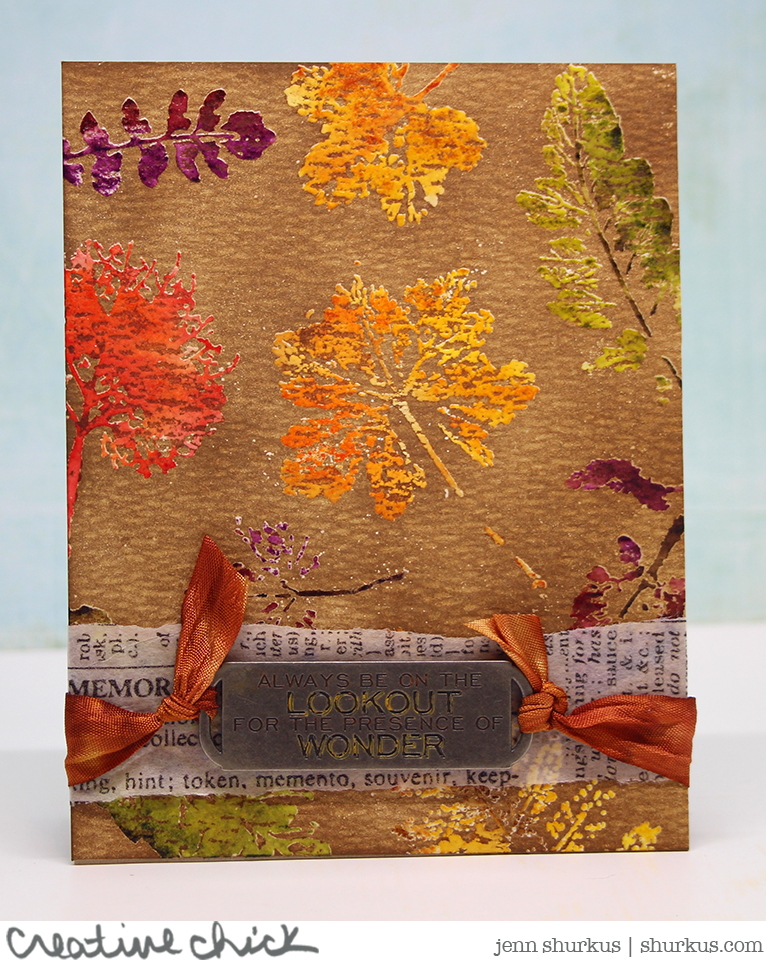
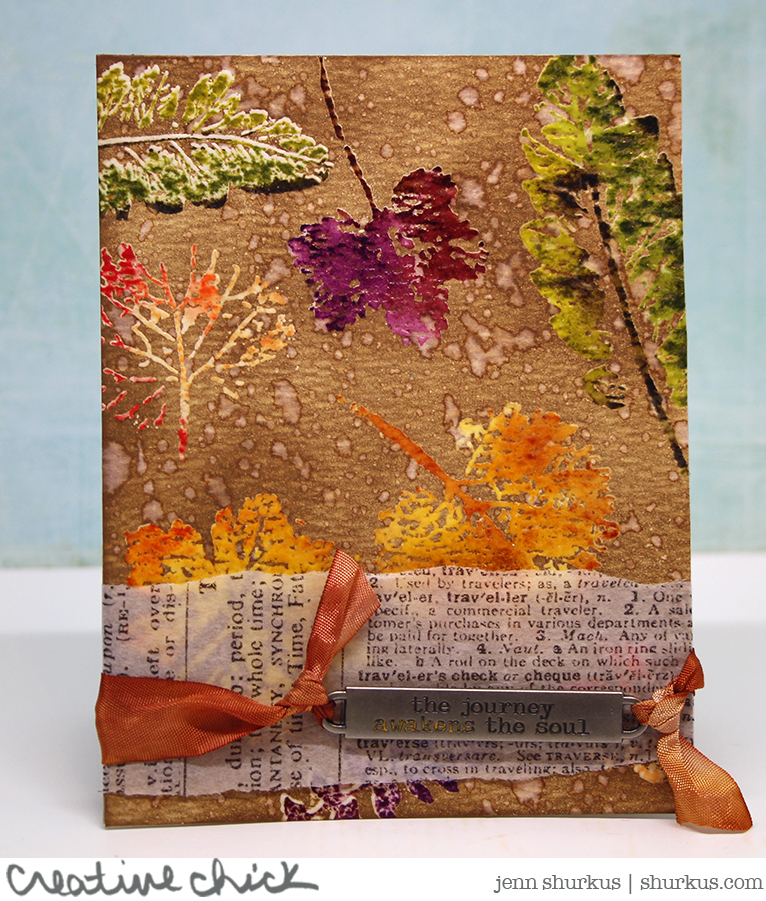
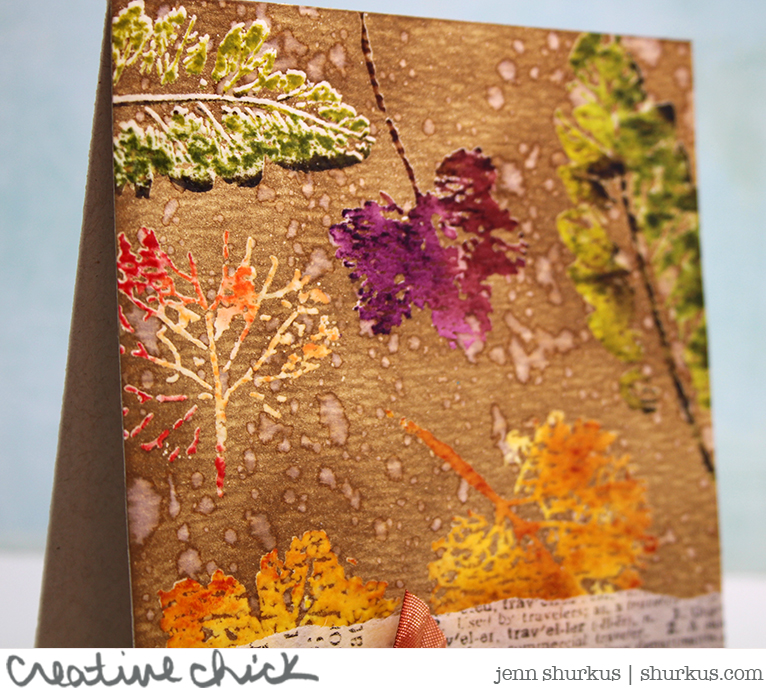
Aren’t the colors just beautiful!? I love how you can “seal” them in with the clear embossing powder so that you can still ink over them. It’s like magic! I have some color combos below for you that I used to help you get started but really- JUST PLAY!!!!
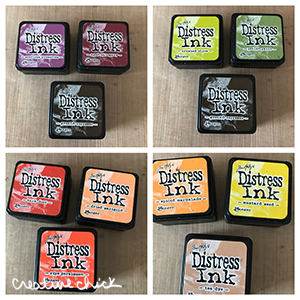
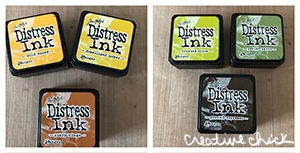
Click the pics of the Distress Inks to be taken to Simon Says Stamp where you can purchase individual colors!
Distress Ink Colors Listed in Order: Seedless Preserves, Aged Mahogony, Ground Espresso | Crushed Olive, Peeled Paint, Ground Espresso | Fired Brick, Dried Marigold, Ripe Persimmon | Spiced Marmalade, Mustard Seed, Tea Dye | Wild Honey, Fossilized Amber, Rusty Hinge | Crushed Olive, Peeled Paint, Ground Espresso
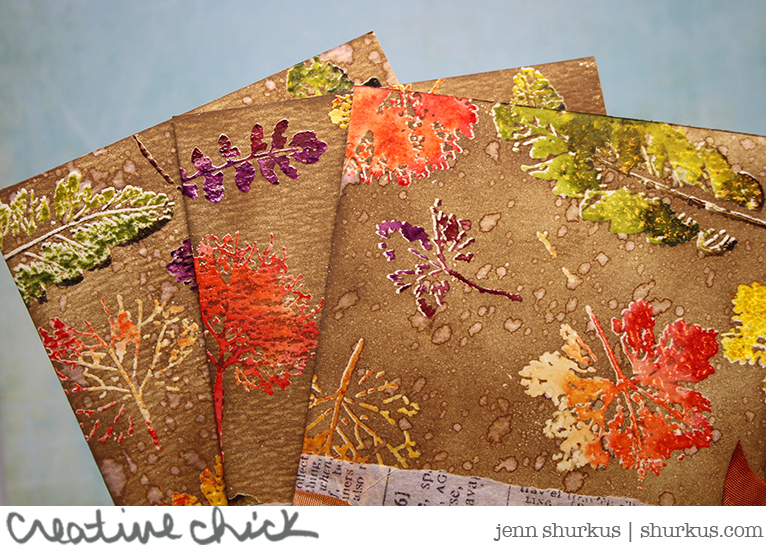
These cards are really a TON of fun to make.. I got carried away and ended up with 3 of them, but I really could’ve created more! Hope you try this technique out and share it with me!
Ok- so now it’s time for YOU to enter the challenge. Remember, Thanks/Thanksgiving is the theme so have fun! Just by playing along and linking up your project to the SSS Wednesday Challenge post you can qualify to enter a $50 shopping voucher to the Simon Says Stamp store.
Also if you are on instagram tag your photo with #ssswchallenge 🙂 There will be ONE lucky winner that will be chosen at random, it could be you!
 I really hope to see some of my blog readers join in on all the fun and play along with the challenge. I can’t wait to stop by some of your blogs and take a peek at what you have made. Have a wicked fun time creating!
Supplies Used
Supplies I used are linked throughout the post. Click on the picture and you will be taken to the product. I use affiliate links when available which means if you make a purchase I get a small commission at no extra cost to you. Thank you for your support!













I adore this card! I particularly love the leaf colors. I can not see exactly which colors were used. The pictures were too small for me to tell and when I clicked the link it gives me all the Distress colors. Help!!!
So pretty Jenn! Love the rich fall colors with the Kraft base.
hey thanks so much for sharing! gorgeous cards….
This is absolutely amazing. I definitely need to try this. Thank you 🙂
gorgeous card!! Love the effects you used to make it look like falling leaves in the falling rain.
gorgeous jenn! have a great weekend!
sparkle & shine, kindness *~*
Cool technique with a STUNNING result, Jenn! I mean WOW!!
*mwah*
Steph
Simon Says Stamp!
Jenn, love this look!! I have been playing with a similar technique using glossy paper, embossing and black ink over the images. I really love this fall look with the brown inks and am definitely going to try it. Thanks for sharing.
The colors you achieved with the distress inks is amazing! These cards become even more gorgeous when you follow the embossing with the overall vintage photo! Perfect color combos. I love these! You just inspired me to join this challenge!
Love this so pretty am deathly perfect for Thanksgiving. Thanks for sharing this technique!
This is AWESOME!!! Love these cards.
Jenn I think these are possibly my favourite cards of yours, they are stunning !!!!
STUNNING results, Jenn! I am so glad that my butterfly card inspired you. I really LOVE the look of the Distress Inks and your step-by-step tutorial is awesome. You make TH Leaf Cling Stamps truly SHINE! Well done indeed! 🙂