{creative chick} | shurkus.com

Jenn Shurkus | designer, creative instructor, artist

  • shop
  • about
  • blog
  • Jennabler Alert
  • online classes
  • events
    • *Virtual* Creative Journey Art Retreat
    • *Virtual* Crop on the Cape Details
    • Creative Journey: an art retreat on Cape Cod
    • Crop on the Cape
  • tutorials
  • Cart
  • My Account
You are here: Home / cards / Clearsnap Guest Tutorial: Create an Ombre Letterpress Background with Pigment Inks

Clearsnap Guest Tutorial: Create an Ombre Letterpress Background with Pigment Inks

04/15/2016

Create an Ombre Letterpress Background with Pigment Inks, Clearsnap | shurkus.com

Clearsnap Guest Tutorial: Ombre Letterpress Background with Pigment Inks

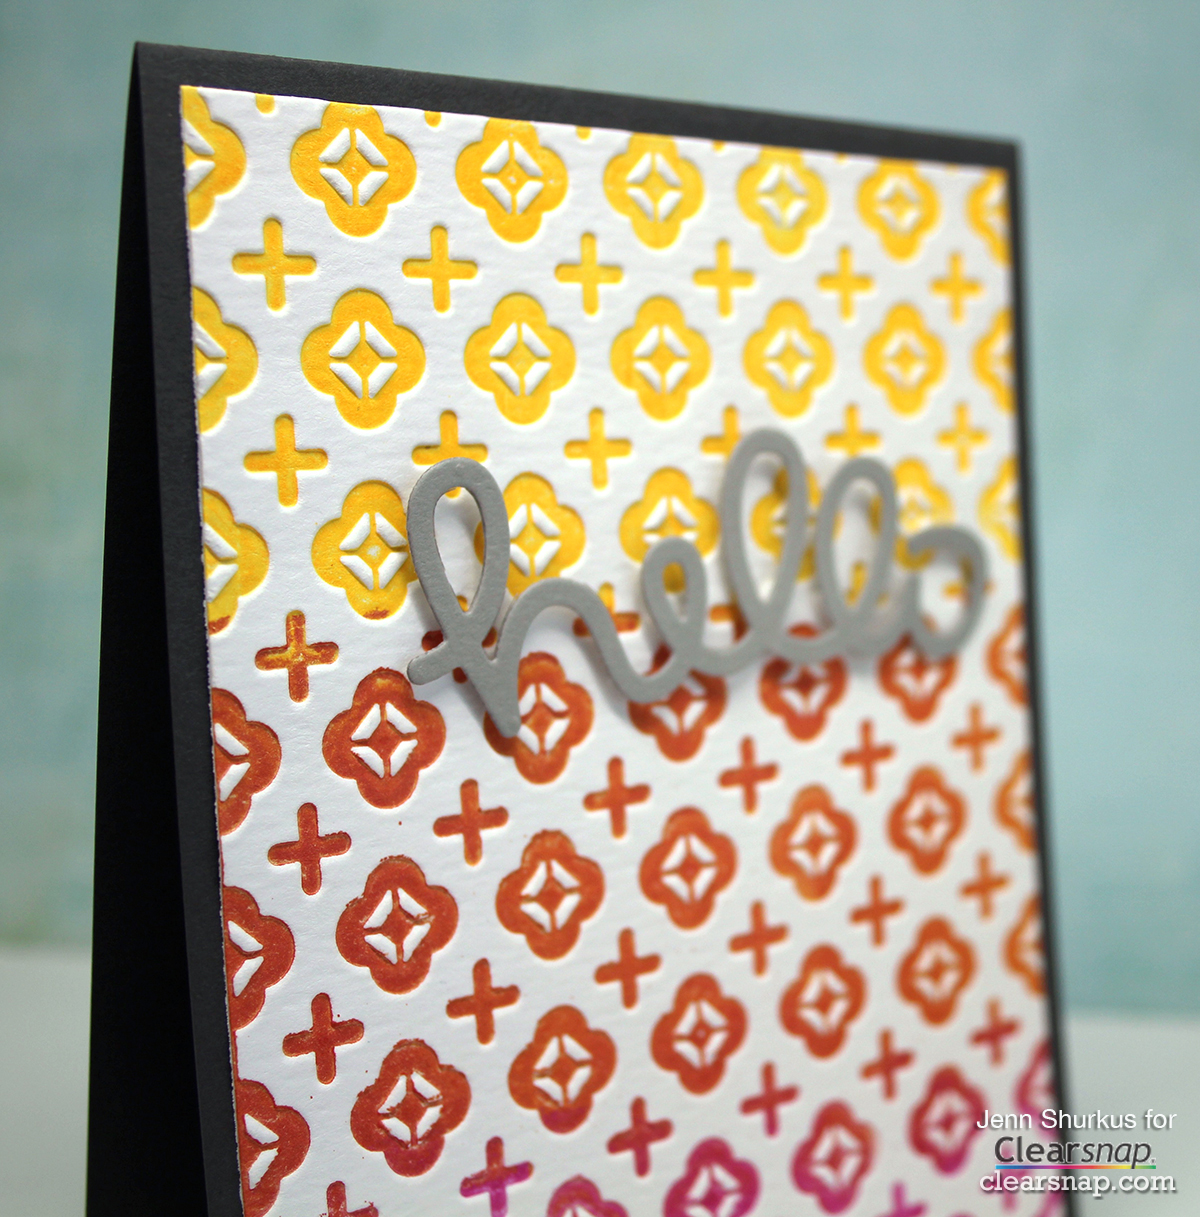
Hey Everyone! Hop on over to the Clearsnap Blog where I am sharing with you a tutorial on how to Create an Ombre Letterpress Background with Pigment Inks

The ColorBox® Pigment Inks are going to give you such rich colors since they are opaque and vibrant. Using Watercolor cardstock will help fool people into thinking you really did run this through a letterpress! I then trimmed up my backgrounds and added them to cards with a simple greeting. This stunning background is enough to make a friend smile when they get your card!

Supplies Used:

  • ColorBox® Pigment Refills ( Razzberry and Marigold used)
  • Watercolor Cardstock
  • Embossing Folder
  • Brayer or ColorBox Art Wheel
  • Clear Acrylic Blocks
  • Die-cut Machine

Just think of all the different cards you could create with this technique the possibilities are endless with all the options of ColorBox® Pigment Inks colors be sure to check them out!

See the full tutorial Create an Ombre Letterpress Background with Pigment Inks

  • Twitter
  • Facebook
«
»

Filed Under: cards 1 Comment

Comments

  1. Jeanne Jordan says

    April 22, 2016 at 12:17 pm

    That Ombre Letterpress effect is very cool, Jenn. I like the colors you chose. I am surprised you didn’t pick a blue and green to make aqua in the middle! I just bought an actual gelli plate after seeing a friend use one and had some fun with it last night. I always forget about the embossing folders and don’t use them enough! This is a good way to use them more. Thanks for the inspiration and step by step method. JJ

    Reply

Leave a Reply Cancel reply

Your email address will not be published. Required fields are marked *

This site uses Akismet to reduce spam. Learn how your comment data is processed.

Hey everyone! I'm Jenn- just a {creative chick} that likes to create things. I'm wicked excited that you are here! Learn more about me here or contact me. Enjoy!

  • Email
  • Facebook
  • Instagram
  • Pinterest
  • YouTube

Archives

Disclosure

I participate in affiliate programs. I receive a commission when products are purchased through links on this website. All products linked below the posts of my creations are the actual products I used in creating my projects. I do not, and will not, share or review products that I would not personally recommend or use.

Copyright © 2021 · Adorn theme by Restored 316

Copyright © 2021 · Adorn Theme on Genesis Framework · WordPress · Log in

Subscribe to the {creative chick} email newsletter!
You will receive creative inspiration and updates on my classes and events (online and in-person).
Your information will *never* be shared or sold to a 3rd party.