

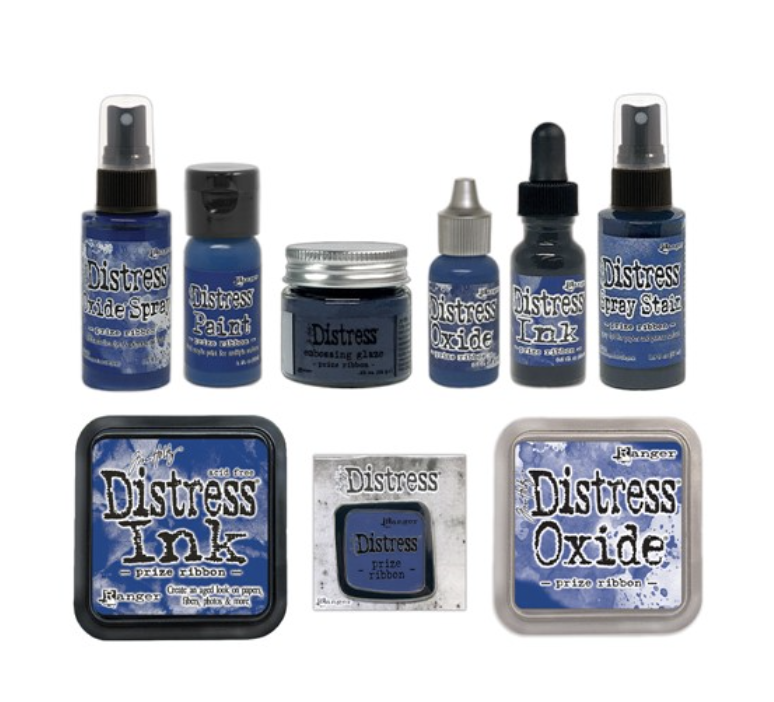
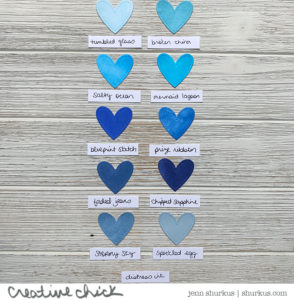
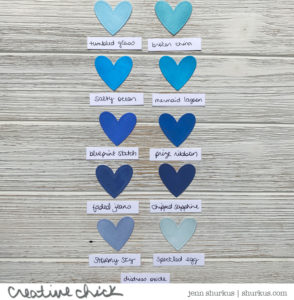
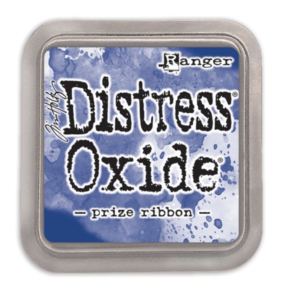
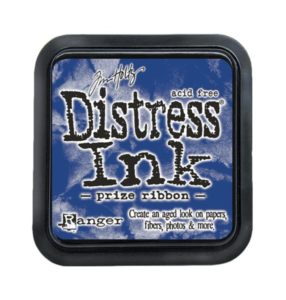
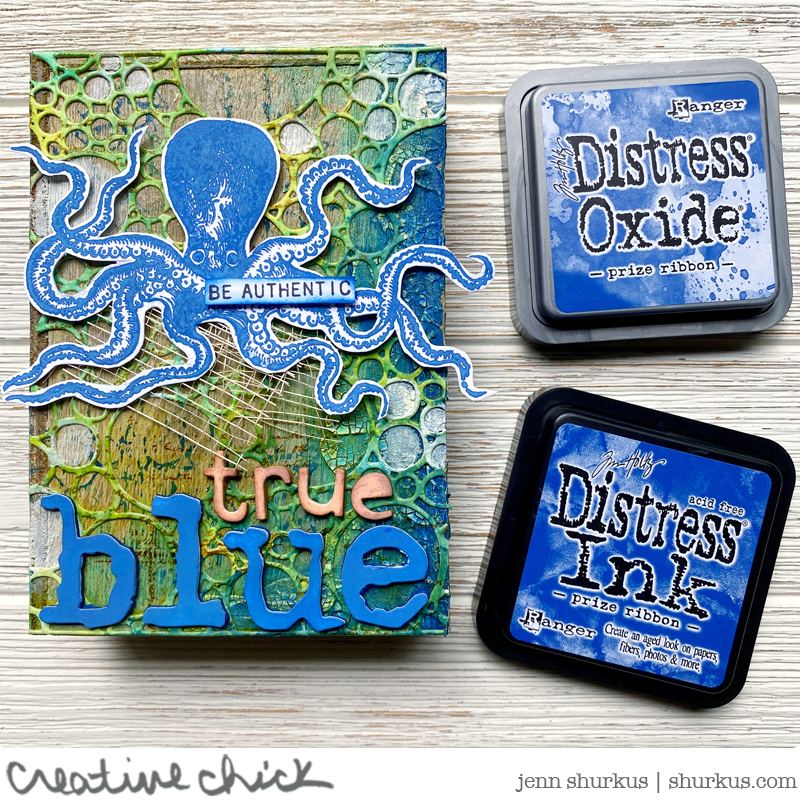
Hi everyone! Are we wicked excited about the new Distress color? Prize Ribbon is the blue we didn’t know we needed, but now that I see it compared to the other blues I am so happy to have it! Did you see my post where I shared ink comparisons?
I am a HUGE fan of the whole Distress line, and I get so excited about adding a new color to my collection. If you have followed me for a while you know, I use Distress on the majority of my projects. I am here today to share with you a fun piece I created with the new Tim Holtz/Ranger Distress Color, Prize Ribbon. I am honored to be a Tim Holtz maker and am so excited to inspire you more with his products!!! It has been fun to create some 3-d projects and break free of a card base.
Don’t want to miss any of my shares? You can subscribe to my email newsletter and choose to get an email each time I update my site- subscribe here.
True Blue, Tim Holtz/ Ranger Ink Tutorial
I am so excited to be back again with another tutorial. Thank you for all the sweet feedback and encouragement to share more of these after I shared my tutorial about the SOAR tag I created.
All supplies are linked throughout the post, and a complete list is at the end of the post.
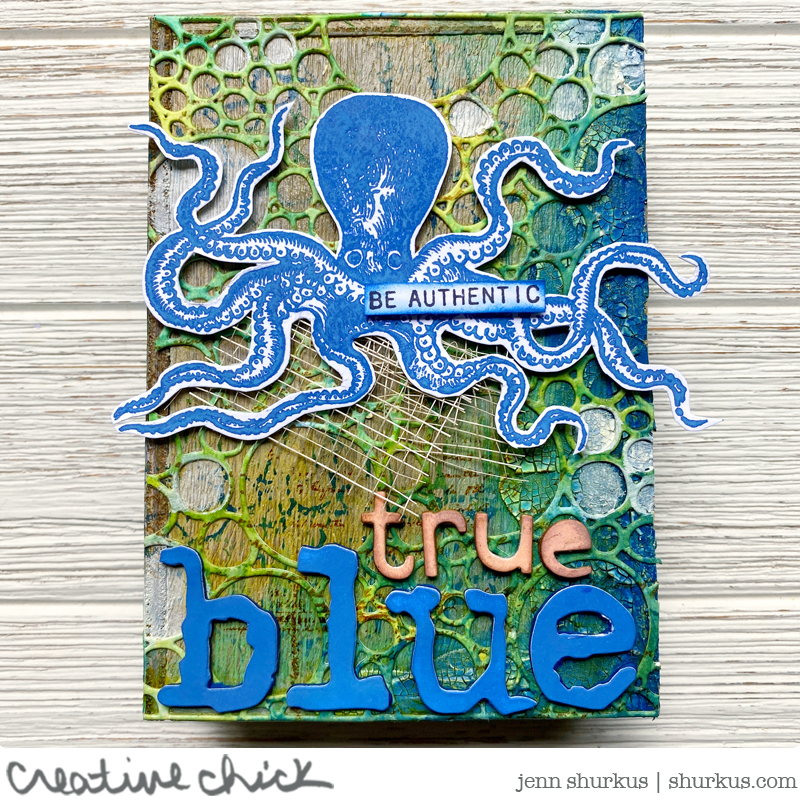
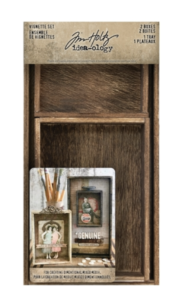
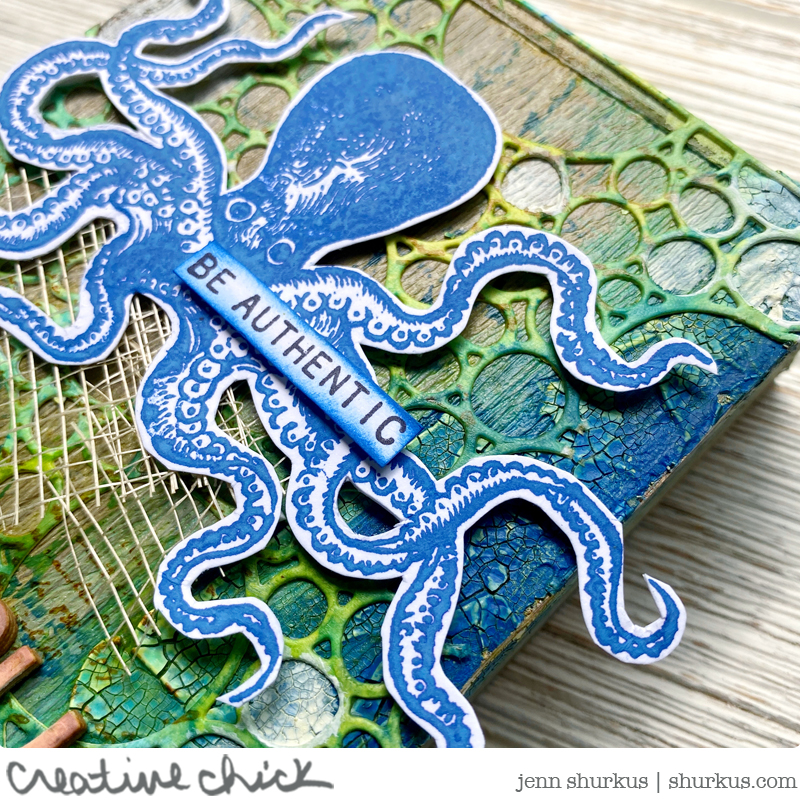
When I saw this color I immediately thought of this fabulous octopus from Tim’s Sea Life stamp set. I created this piece of art on the back of a Tim Holtz Vignette Box. It measures approx 3.875 x 5.5 inches.
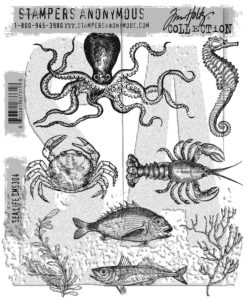
I started by stamping the Octopus in Prize Ribbon Distress Oxide, on Distress White Heavystock.
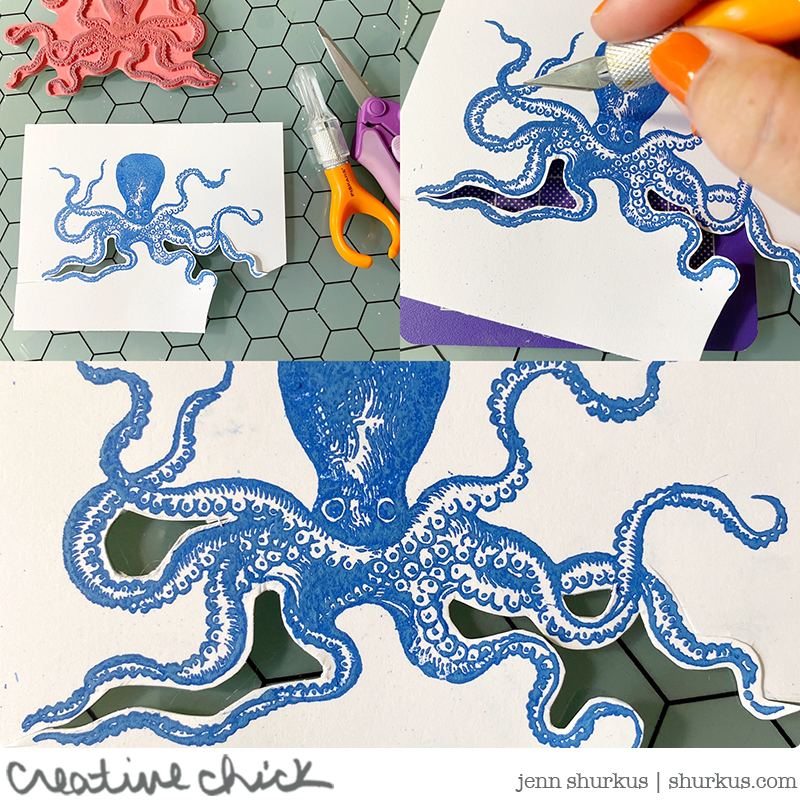
I know people have a love/hate relationship with fussy cutting, but I find if you approach it in a certain way, with the right tools, it can be quite easy.
If an image has any spaces in the inner part of the image that need to be cut out and scissors won’t reach them. I find cutting these out with a fingertip x-acto first before you cut out the rest of the image, is best. This way you have more paper to hold onto, and there is less chance of tearing or ruining the other parts of the image.
With a fingertip x-acto, it is shorter, so it is easier to control, and maneuver. I also am a HUGE fan of spring-action scissors. These don’t have the loops for your fingers to go through, so it makes it easier to move the scissors around your paper and is easier on your hands.
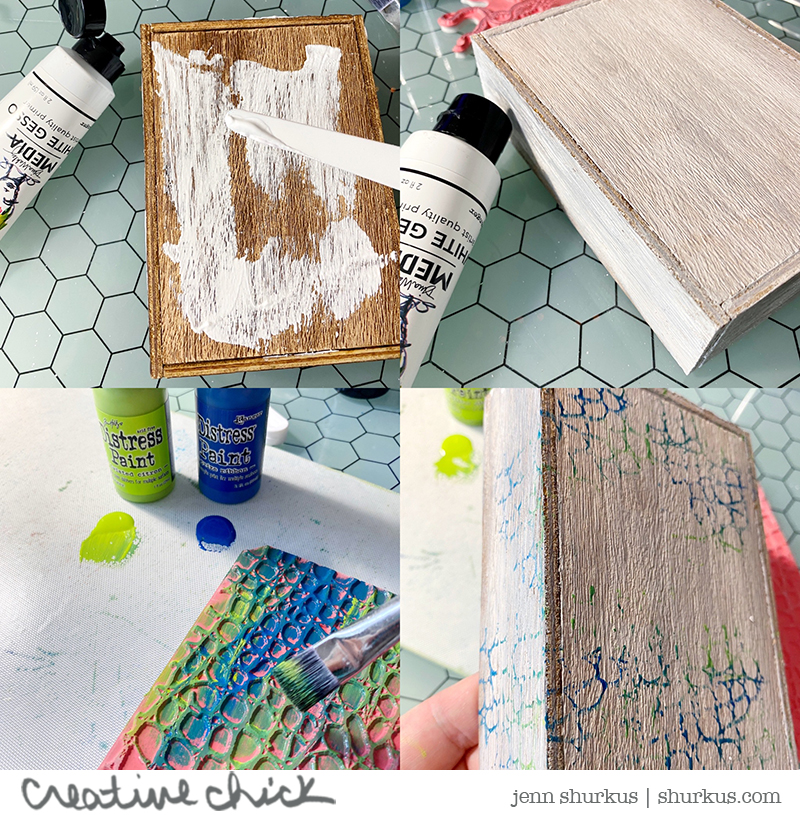
I wanted to tone down the brown color of the vignette box a bit so I painted on some white gesso on the back and sides of the vignette box. I also find when starting a mixed media project, sometimes just adding some texture to get warmed up and get started helps get the project started, even if you don’t see it much in the finished piece. To do this I used the Croc stamp from Tim’s Graph & Croc set.
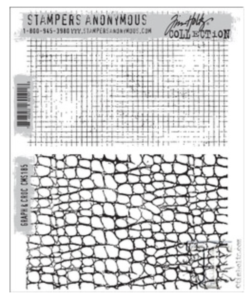
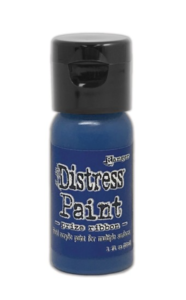
I painted on some Twisted Citron and Prize Ribbon Distress Paint and pressed the stamp all over the Vignette Box.
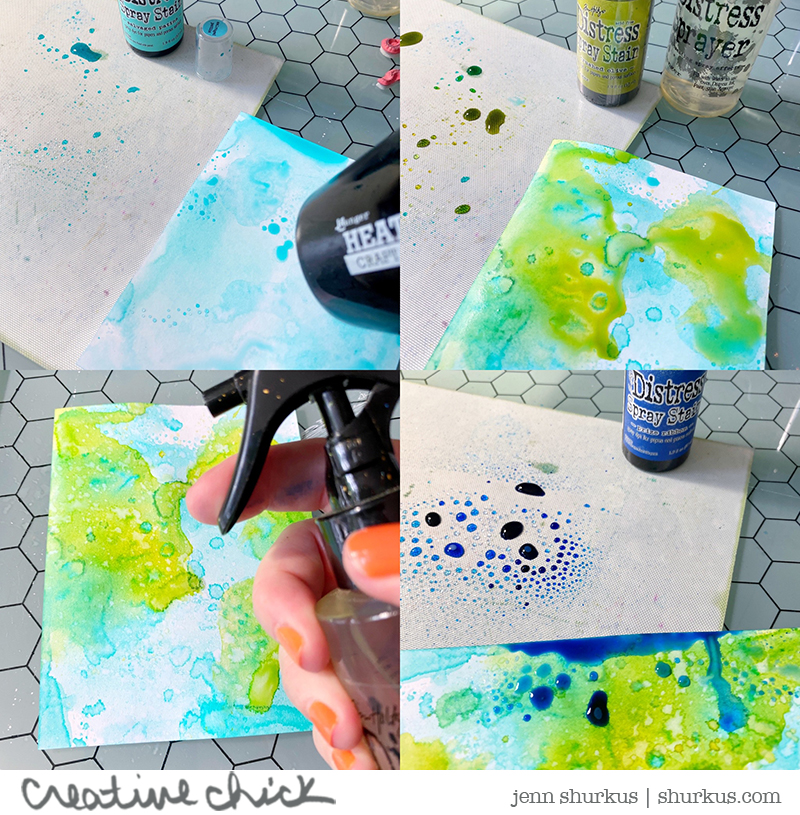
I then started to create a background that I will be die-cutting from. I started with Salvaged Patina Distress Spray Stain. I spritzed it onto a craft mat, added some water with the Distress Sprayer. Using a piece of Distress White Heavystock (my MOST favorite surface to play with Distress Inks with) cut to 4.25″ x 5.5″, I plopped it into the ink, drying it with the Ranger heat tool in between layers.
I then did the same steps with some Crushed Olive Distress Spray Stain.
I added some water droplets with the Distress Sprayer, blotting the water away to reveal spots without color.
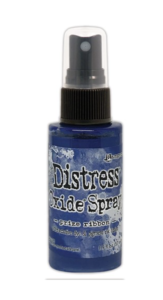
And lastly, added some Prize Ribbon Distress Spray Stain along one side, and towards one end.
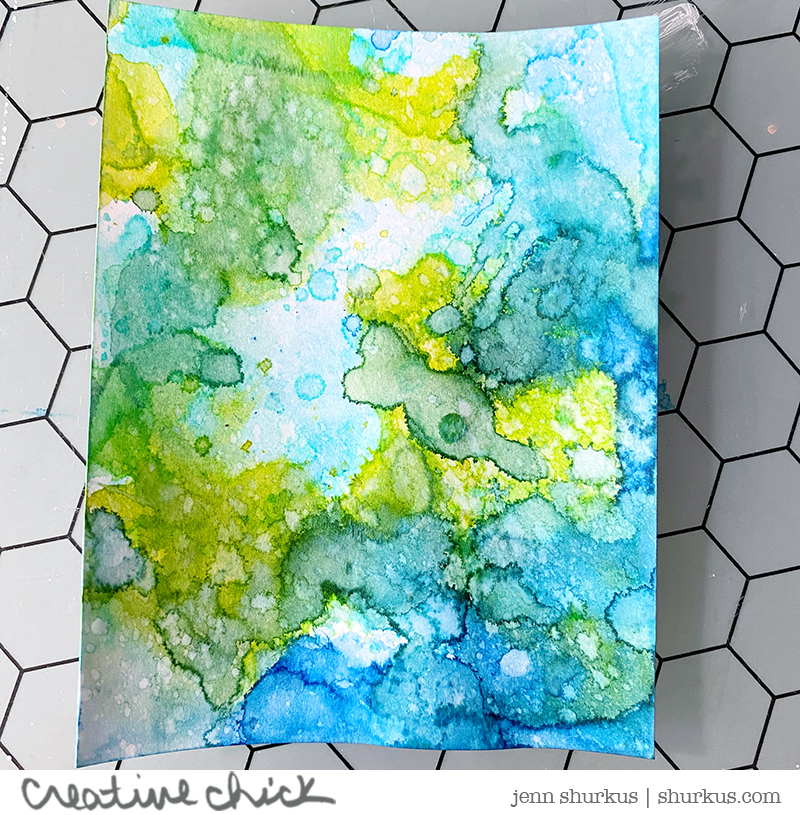
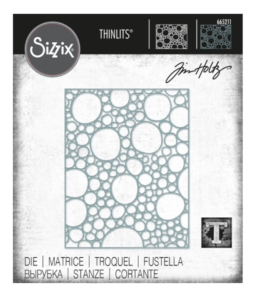
I could make backgrounds like this all day, every day. They are so much fun, so inspiring, and no two ever look the same. I almost didn’t want to diecut it, but I knew I could make more backgrounds another day. So I diecut this with the Tim Holtz/Sizzix Bubbling Thinlit die.
You will see soon what I did with this die-cut/background.
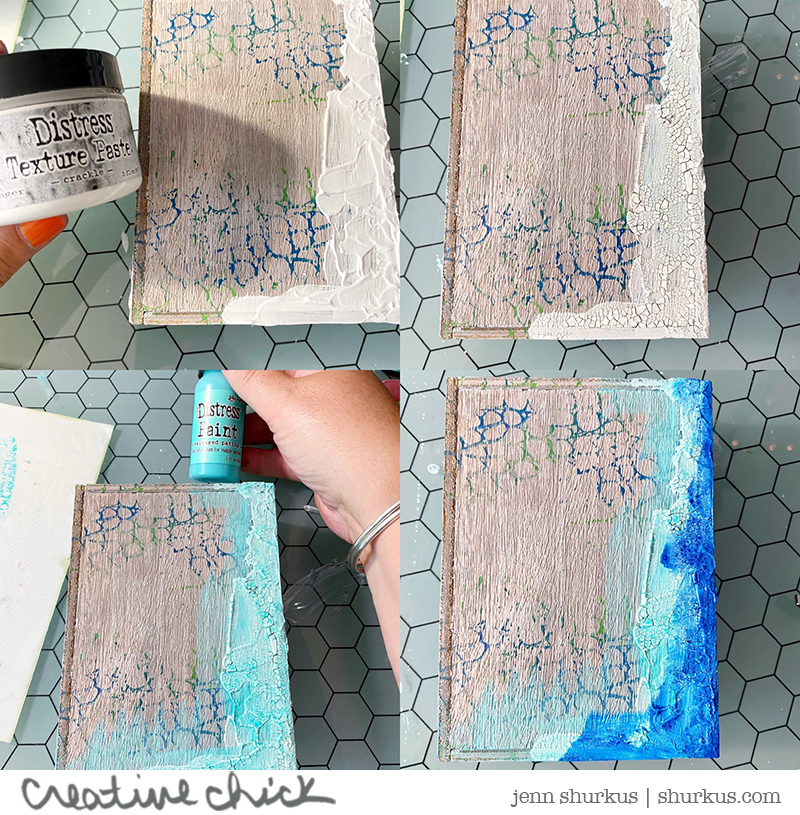
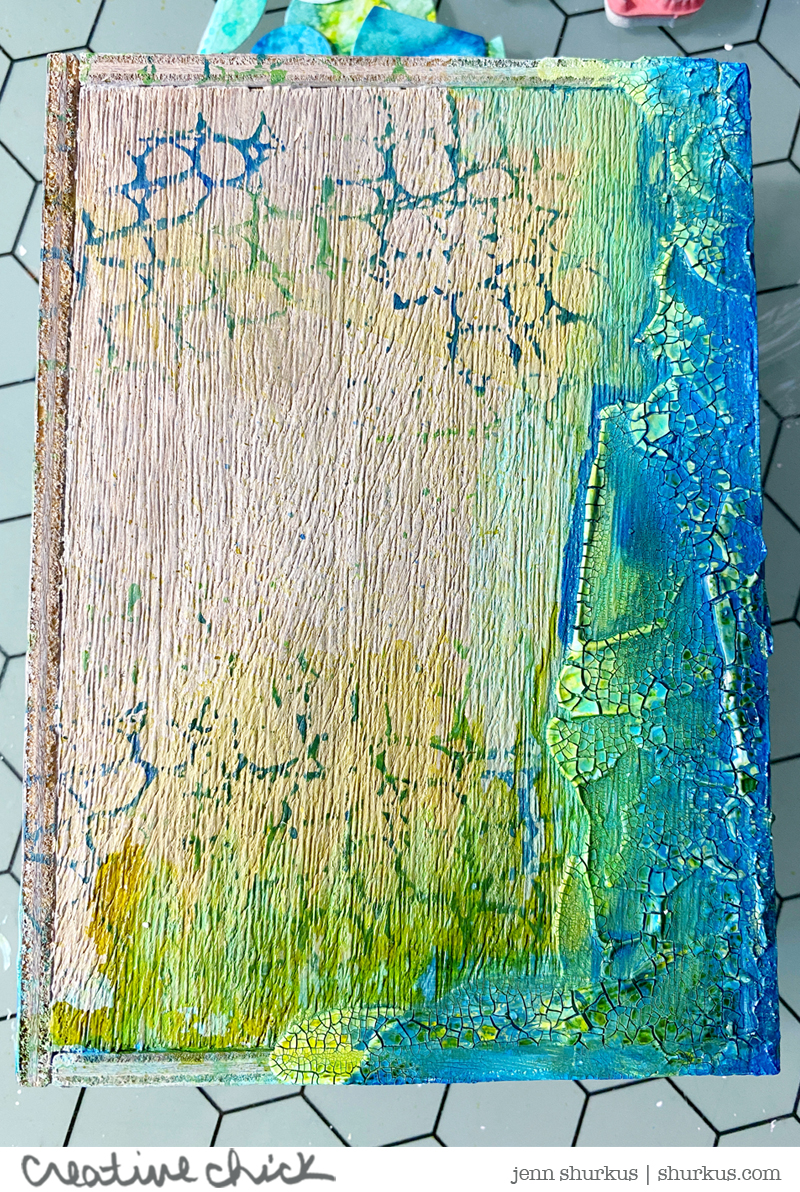
Working again on the Vignette Box, I added some Crackle Distress Texture Paste. I was fairly generous with it, applying it thickly. I also added some to the sides here are there. Once it was dry, and all those wonderful cracks appeared I painted on some Salvaged Patina Distress Paint, and then also some Prize Ribbon Distress Paint on top of that.
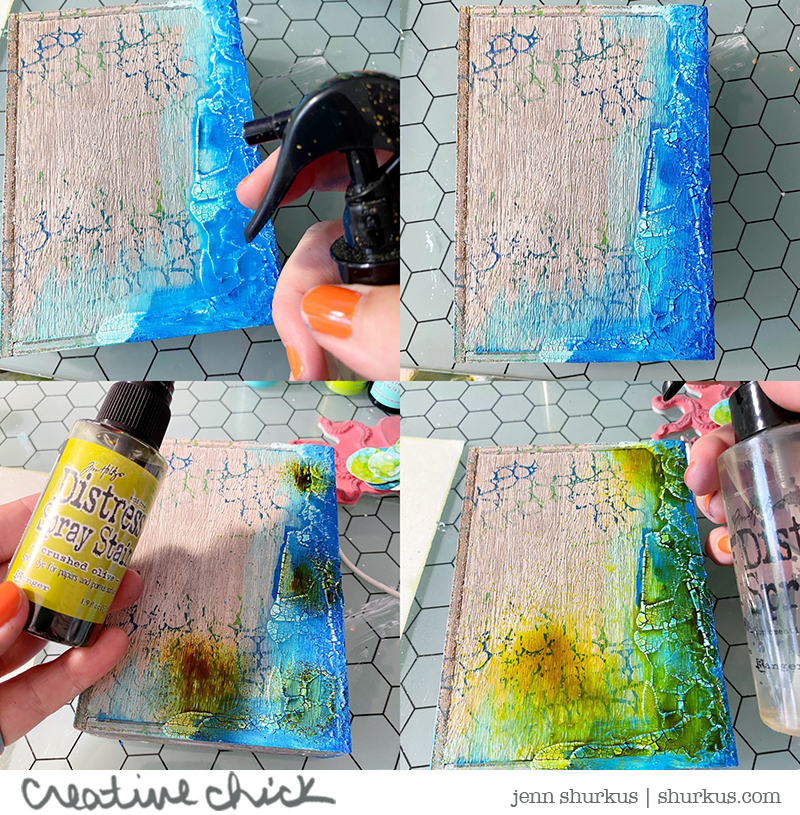
Adding water thinned out the paint, even more, allowing it to get into the cracks. I also spritzed some Crushed Olive Distress Spray Stain, and water and moved that around with a paintbrush.
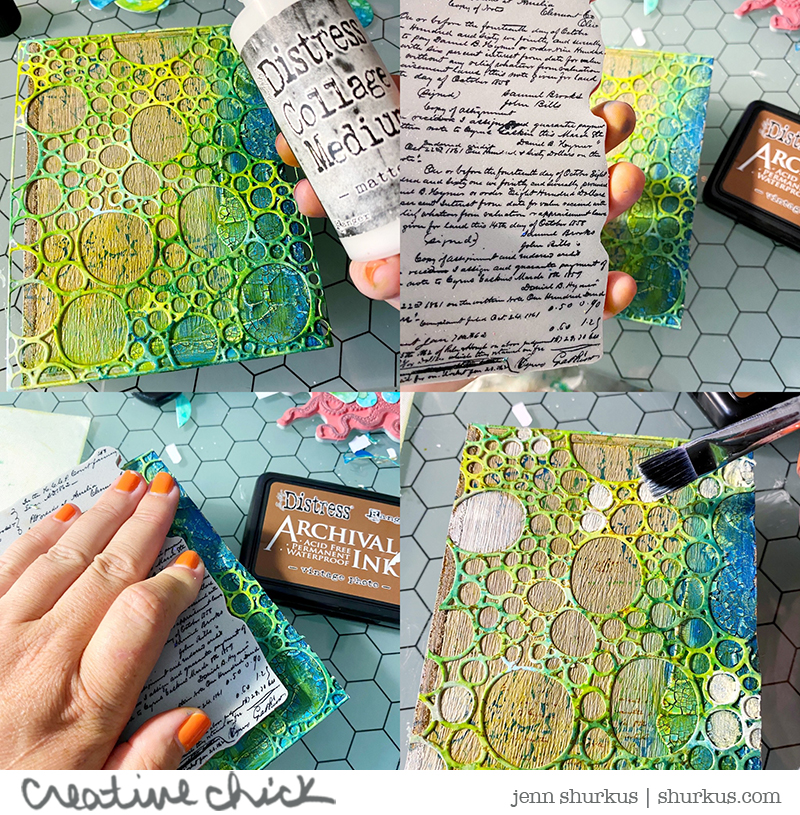
Remember that Bubbling die-cut background? I used some Distress Collage Medium to adhere it to the Vignette panel and trimmed off the edges.
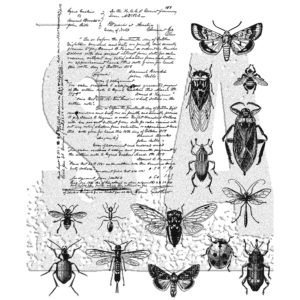
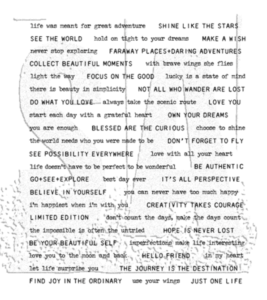
I then stamped some text all over the background. I used Tim’s Entomology stamp set and Vintage Photo Archival Inkpad. I didn’t use an acrylic block, just my hand pressing the stamp here and there. I then used some white gesso and roughly painted in some of the bubbles.
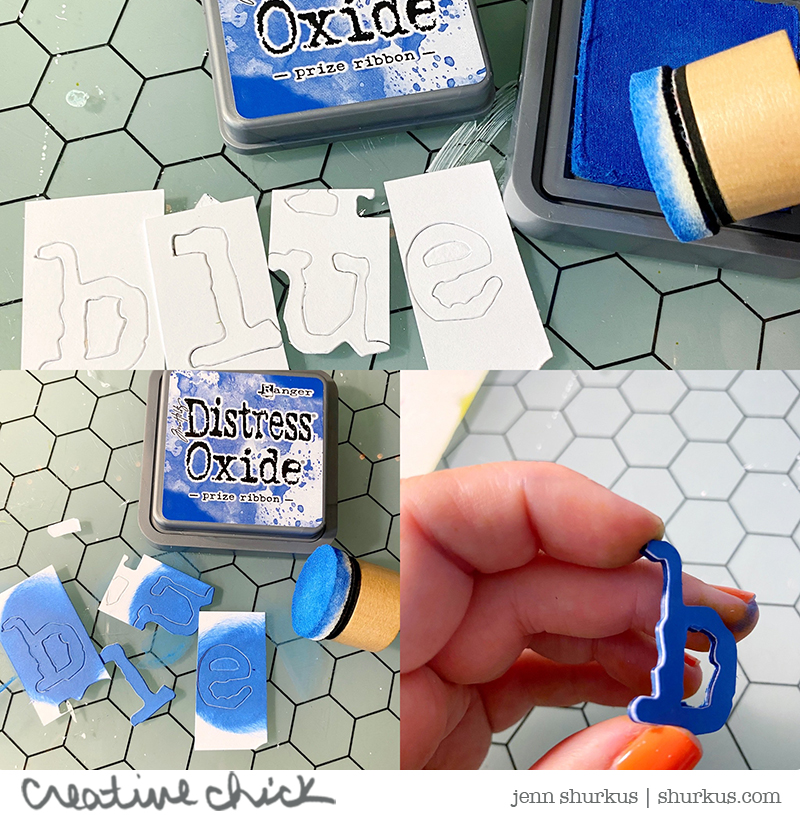
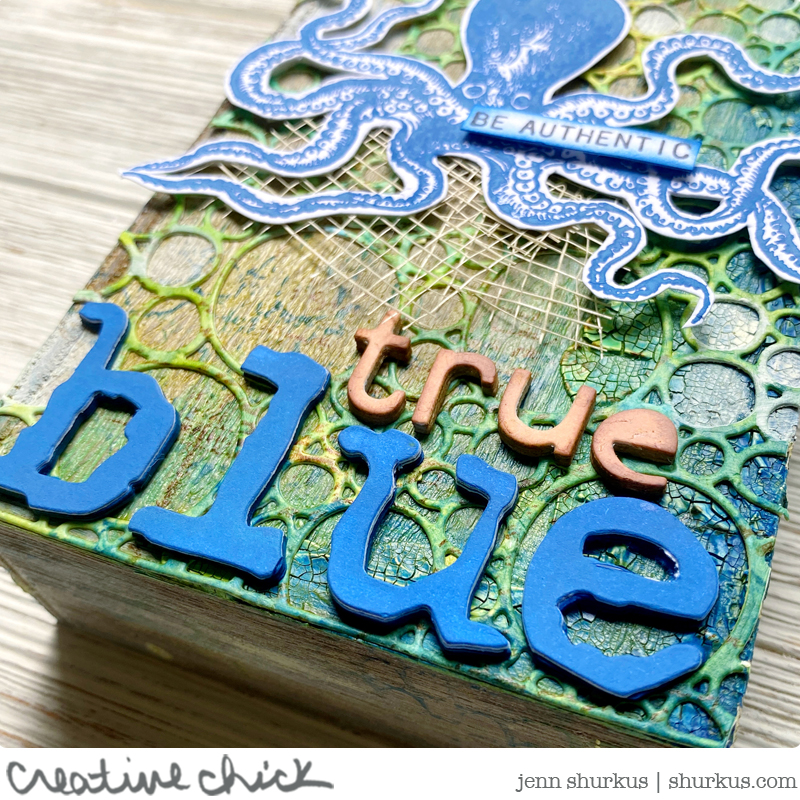
Next, I die-cut the word “blue” with Tim’s Typo Lowercase die. This is an older Bigz die, but I love it and still use it a lot.
I diecut one set with Distress White Heavystock, and ink blended Prize Ribbon Distress Oxide over it.
I then diecut 4 more sets of the word with Lawn Fawn Blue Jay cardstock. Using Collage Medium I stacked these letters together to make a chunky letter, almost like an idea-ology embellishment.
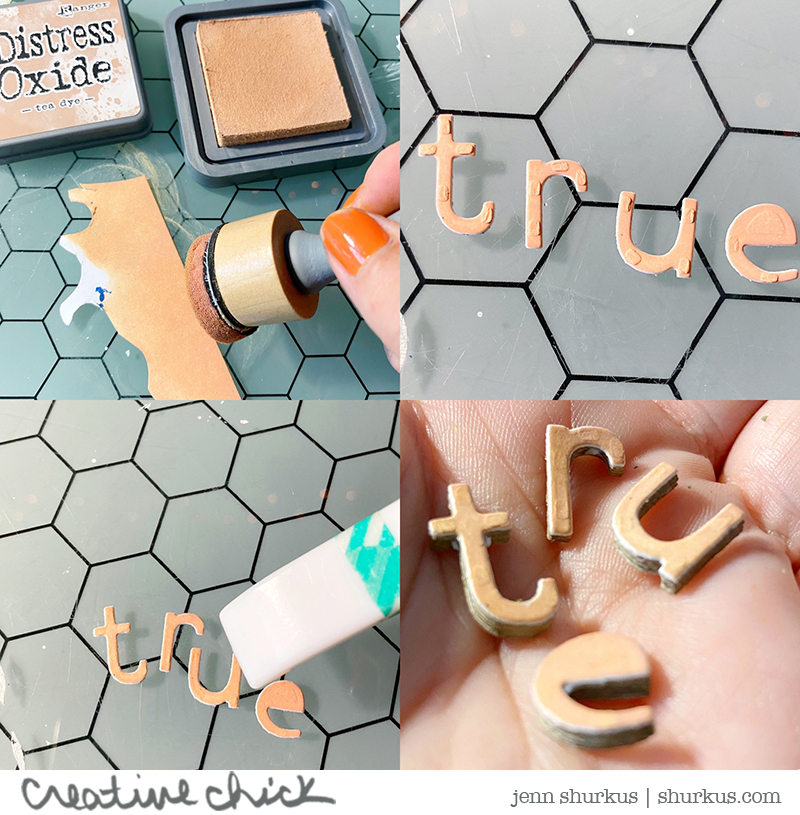
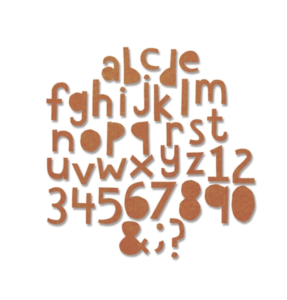
Next, I ink blended some Distress White Heavystock with Tea Dye Distress Oxide, and die-cut “true” with Alpha-Numeric Cutout Lower. I also cut four more sets out of Kraft cardstock. You can see in the top right photo above that the die leaves impressions where the poke holes are. I’m glad those poke holes are there to help get the paper letters out, but they are a bit distracting. So I took the flat edge of my Teflon bone folder and rubbed those bumps right out.
Again using Collage Medium I stacked the letters to make my own chunky letters.
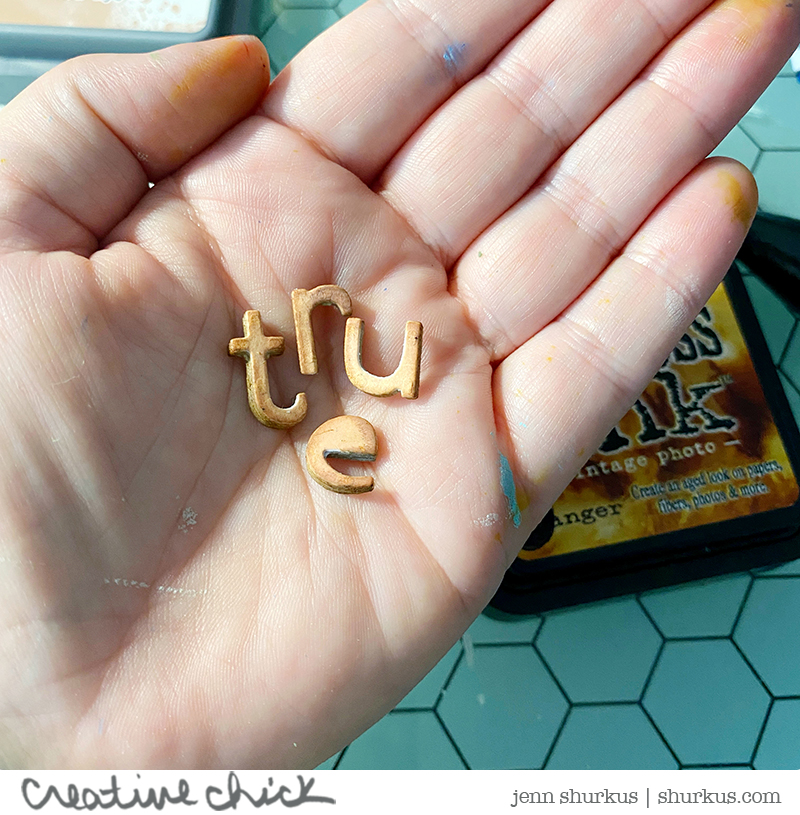
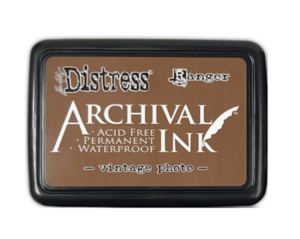
I inked up the edges of the letters with some Vintage Photo Distress Ink.
Fun Fact: the Vintage Photo Distress Ink Pad you see above is my original ink pad from 2004 when Distress Inks were first released!!
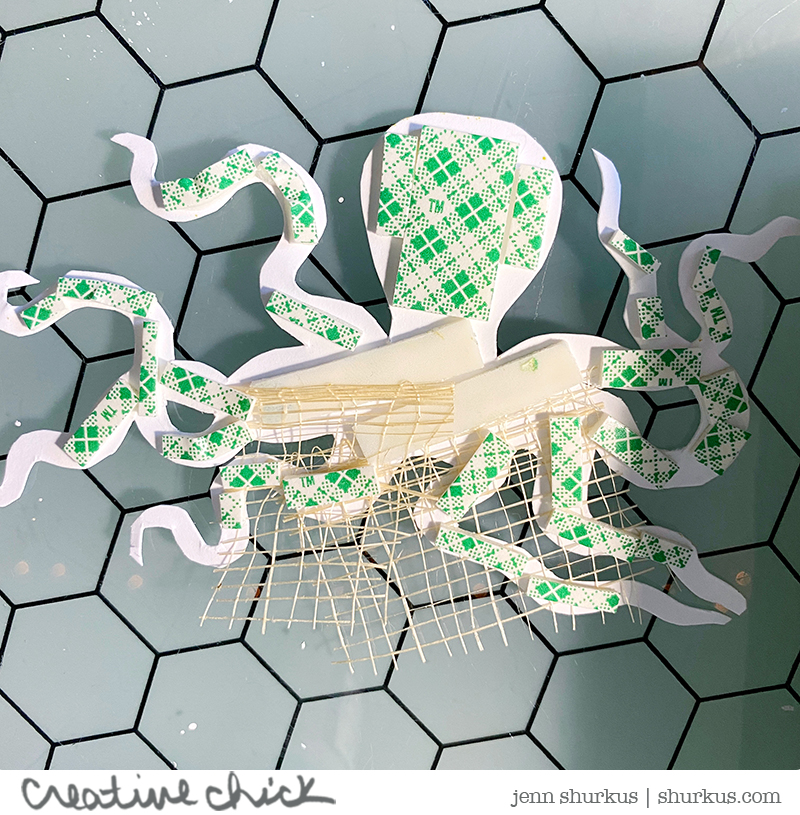
I added some foam tape all over the back of the octopus, securing some sinamay for some texture. I then used Distress Collage Medium on the foam tape to secure the Octopus to the Vignette Panel.
Lastly, I stamped “Be Authentic” from Tim’s Tiny Text Stamp set, in Prize Ribbon Distress Oxide, and inked the edges a bit with Prize Ribbon Distress Ink
Here are some more detailed shots so you can really see the project. You can see a complete supply list, with links to shop *Jennabler Alert* below the pictures.

I really hope you found this tutorial inspiring, let me know either way in the comments.
Don’t want to miss any of my shares? You can subscribe to my email newsletter and choose to get an email each time I update my site- subscribe here.
Supplies Used:
Supplies I used are linked below. Click on the picture and you will be taken to the product. I use affiliate links when available which means if you make a purchase I get a small commission at no extra cost to you. Thank you for your support!
Tim Holtz, Prize Ribbon Distress Products Shop at: SSS |
 Tim Holtz/Ranger Ink, Prize Ribbon Distress Oxide Shop at: SSS |
 Tim Holtz/Ranger Ink, Prize Ribbon Distress Shop at: SSS |
 Tim Holtz, Distress Paint – Prize Ribbon Shop at: SSS |
 Tim Holtz/Ranger Ink, Prize Ribbon Distress Spray Stain Shop at: SSS |
 Tim Holtz/ Idea-ology Vignette Set Shop at: SSS |
 Tim Holtz/Sizzix, Alpha-Numeric Cutout Lower Shop at: SSS |
 Tim Holtz/Sizzix, Bubbling Thinlits Shop at: SSS |
 Tim Holtz/Stampers Anonymous, Sea Life, Tim Holtz Shop at: SSS |
 Tim Holtz/Stampers Anonymous: Tiny Text Shop at: SSS |
 Tim Holtz/Stampers Anonymous, Graph & Croc CMS185 Shop at: SSS |
 Tim Holtz/Stampers Anonymous, Entomology Shop at: SSS |
 Darice Sinamay Roll, Natural Shop at: MISC |
 Tim Holtz Distress Archival Ink Pad, Vintage Photo Shop at: SSS |
 Dina Wakley Media, Palette Knife Shop at: SSS |
 Tim Holtz/Ranger Crackle Distress Texture Paste Shop at: SSS | Ranger |
 Tim Holtz/Ranger Ink, Salvaged Patina Distress Spray Stain Shop at: SSS | Ranger |
 Tim Holtz Distress Spray Stain Crushed Olive Shop at: SSS | Ranger |
 Tim Holtz, Vintage Photo Distress Ink Shop at: SSS | Ranger |
 Tim Holtz/Ranger Ink, Salvaged Patina Distress Paint Shop at: SSS | Ranger |
 Distress White Heavystock Shop at: SSS | Ranger |
 Ranger Ink, Mini Domed Ink Blending Foam Shop at: SSS |
 Ranger Mini Round Ink Blending Tools Ibt40965 Shop at: SSS | LF | Ranger |
 Flour Sack Cloths Shop at: SSS | MISC |
 Tim Holtz Distress Paint, Twisted Citron Shop at: SSS | Ranger |
 Lawn Fawn, Kraft Cardstock Shop at: SSS | LF |
 Tim Holtz Distress Sprayer Ranger 4 Ounces Shop at: SSS | Ranger |
 Tim Holtz, Distress Oxide Tea Dye Shop at: SSS | Ranger |
 Dina Wakley Media, White Gesso Shop at: SSS |
 Dina Wakley Media, Brushes Shop at: SSS |
 Lawn Fawn, Blue Jay Cardstock Shop at: SSS | LF |
 Fiskars Microtip Scissors Shop at: SSS |
Fiskars Fingertip Control Knife Shop at: SSS |
 Tim Holtz/Tonic, Replacement non-stick mat Shop at: SSS |
 Lawn Fawn, Bone Folder Shop at: SSS | LF |
 Ranger, Heat Tool Shop at: SSS | Ranger |
 Ranger Non Stick Craft Sheet Shop at: SSS | Ranger |
 Altenew, Mini Blossom Die Cut machine Shop at: SSS | MISC |
 Spellbinders Platinum Shop at: SSS | MISC |


Some interesting products used on this piece. Loved it.
Loved how you wrapped Prize Ribbon and all those amazing Tim Holtz products around your project!
Amazing!! Thank you for the detailed instruction. Totally inspiring!!