I offered another Facebook LIVE in my {creative chick} studio share facebook group, and I wanted to recap some of that information here. I really love offering these LIVES, and the members seem to love them too, you can join my facebook group and watch the replay here.
At the end of this post, I have also embedded the replay as well.
I would recommend reading my “Copic 101, all you need to know to get started” post here first. In that post I go over:
- Why do Copics cost “a lot”?
- Do you need them all?
- Storage
- Why do I use the square ones?
- 3 Main Types of Copics
- What paper and ink pad should you use?
- What do the letters and numbers mean on the cap?
- Little unknown facts about Copics
- How many colors do you need to blend? Do you blend light to dark or visa versa?
- my favorite 2 color blends
- 50 Copic colors to start with
After you go through this post if you would like to learn even more about coloring with Copics and alcohol-based markers, be sure to register for my online Copic 101 class!
More about Copic coloring
I am the first to admit I am not the best with Copic markers, I don’t tend to color with advanced techniques. I am ok with this. I love to color with Copics, and I like to keep it relatively quick and easy. Some of the questions posed to me in my Facebook group are not ones I can teach, but I knew exactly who to ask. My friend Kelly Latevola is AHHHHMAZING with Copics, and I am constantly in awe by her. I asked her if I could share with you some of her best videos to answer some of your questions. Bonus: her stories are always fun to hear in her videos.
How to create woodgrain with Copic Markers, by Kelly Latevola
Skin Tones with Copic Markers, by Kelly Latevola
The Creative Scoop
Another FABULOUS resource is Mindy, she is a member of my Facebook group and she is over at the Creative Scoop. She offers all kinds of tutorials and online classes- definitely check her out!
Another thing we talked about in the Facebook LIVE is participating in Kathy Racoosin’s Coloring Challenges gives you time to practice. She has a new challenge going on for the month of February, so join in, more details here
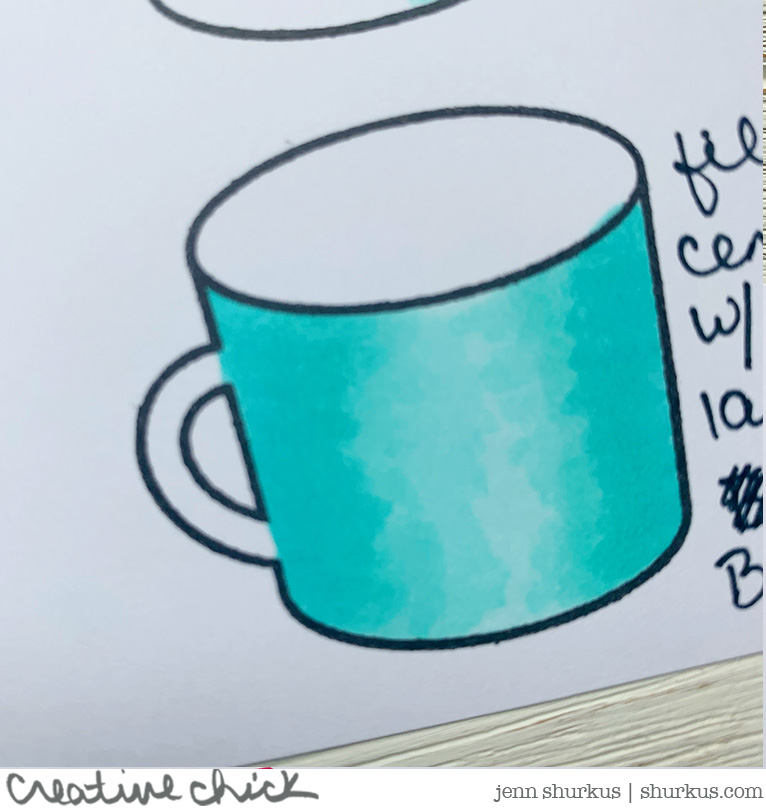
Coloring an item that is circular, like a coffee mug
Because I usually color with just 2 markers this is how I demonstrated this. You can see the image below. I started by flicking the darker color (BG13) from the left edge of the mug. Then on the edge of BG13, blend BG32. Do one more layer of BG13 on the outer left edge. Turn the paper and do the same thing on the right side. Then fill in the center line with just one layer of BG13. Remember with one Copic marker, if you keep going over it and layering the ink it will get darker and darker so, if you want a true light area you should use just one layer of color there.

Can I ruin the tips of my markers?
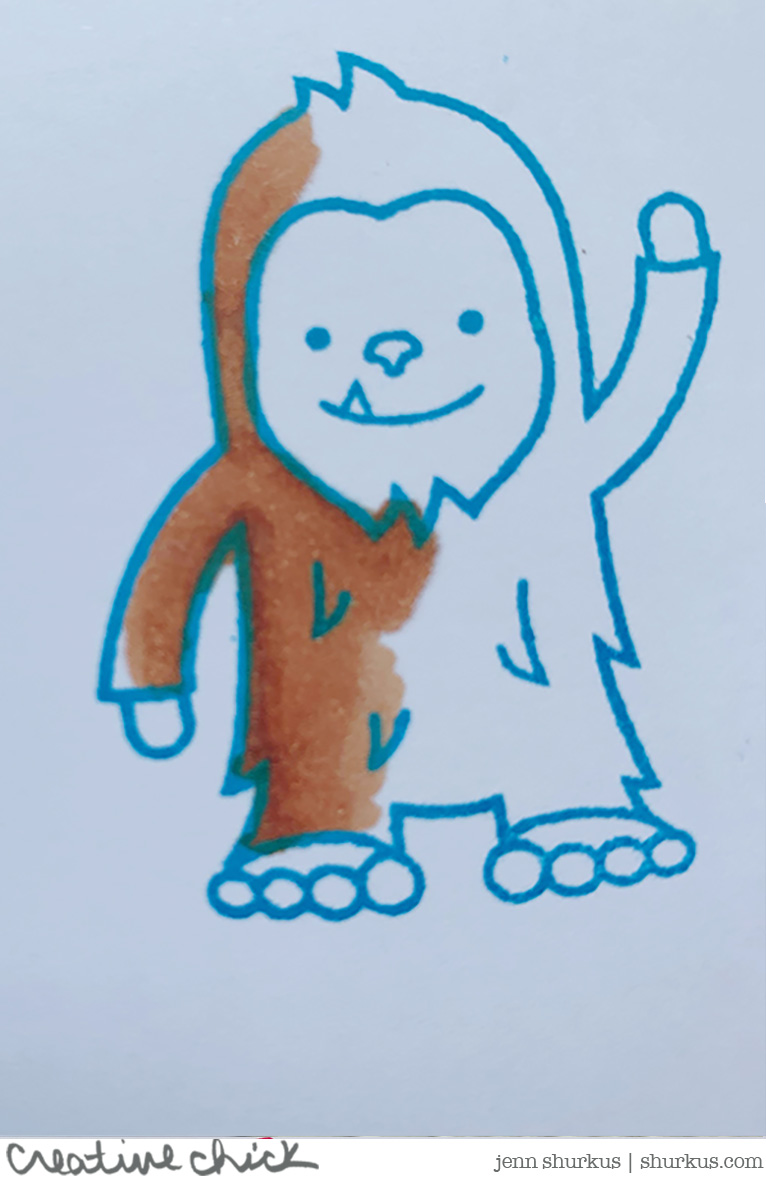
Copics have nibs that are handmade. The quality of them is very high. It is very rare to ruin your nibs however over time your nibs could wear out. Lucky for us the nibs are replaceable. I even demo how if you touch a green marker to the tip of a yellow one, just color it out, it will come clean. This is actually a technique used for blending.

Can I use Distress Inks or Lawn Fawn inks to stamp and color with?
You can do anything 😉 but you will find with waterbased inks such as Distress and Lawn Fawn when you color there is more chance of the ink bleeding. The stamped line also won’t stay crisp.
Is there a more economical paper to use or other paper varieties?
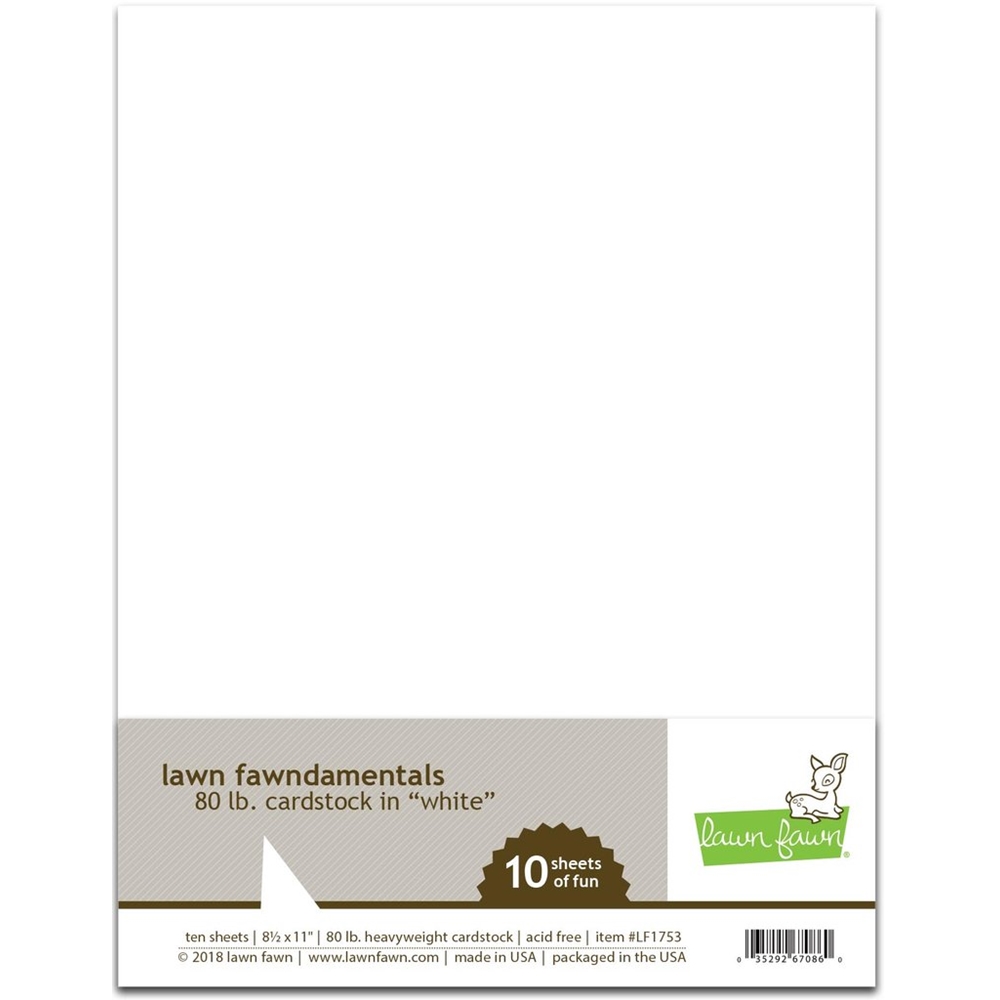
As far as more economical, the short answer is no. The cardstocks that you find that are cheaper and less money are not going to produce good coloring results. I only use Neenah classic crest cover solar white super smooth 80# I inserted a picture of it here because you may find something similar, but if the ream is not in this package it is not the same thing.
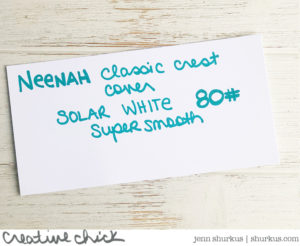
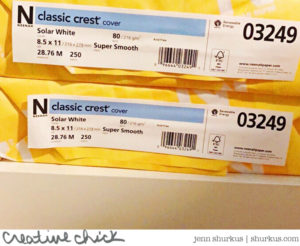
The same paper in 110# is very nice too, I am just not organized enough to keep the two separated, so I only use one to make my life easier. If you want to conserve how much paper you use, only use this for your images you are coloring. Don’t use it for layers or card bases.
Copic also has Xpress It paper for Copic coloring, and I have heard great things about it, I just haven’t used it personally.
Should I store my Copic Markers away from the sun? Do they need to be stored horizontally?
Copic markers are airtight and alcohol based so it will take a lot for them to freeze or boil due to extreme temperatures. You also can store your markers whichever way works for you. Vertical, Horizontal, Diagonal, hanging from the ceiling 😉
Can you go back and blend on an image hours or even days later?
Sure. You will just need to re-saturate the paper to get the blends to work.
Does the blender pen blend?
The short answer, no. And if you are new to Copic coloring, I would avoid the blender pen altogether. The solution in the blender pen actually takes away color. And it is pretty harsh on what you are coloring, it tends to make things worse. If you go out of the lines a little, use a white gel pen to touch it up. However, the blending solution can be really fun to add details and texture. I shared wetting a paper towel with blending solution and dabbing it on a Copic colored area.
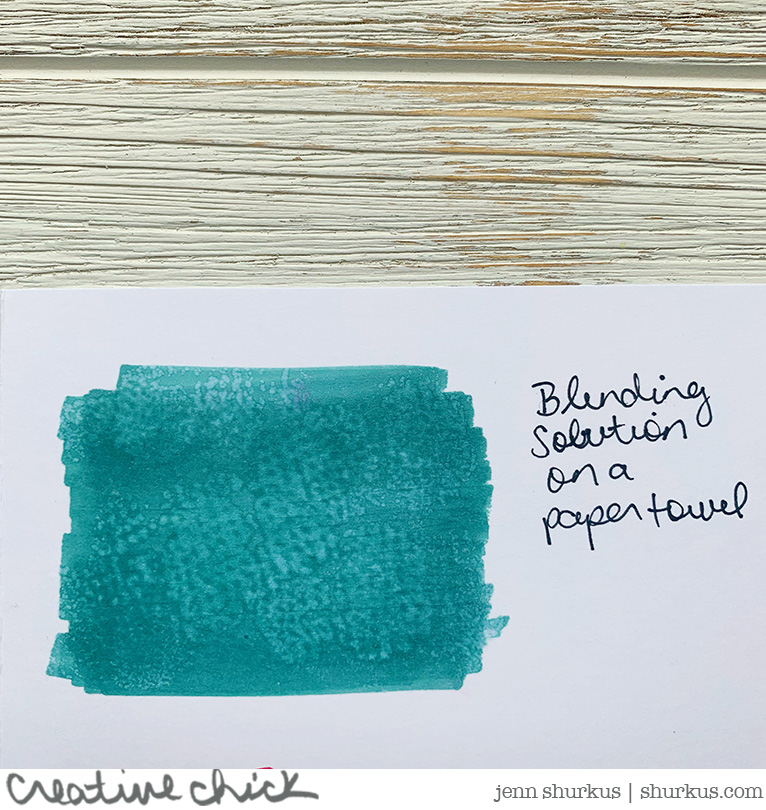
Blending colors from different color families, white highlights, and easy texture
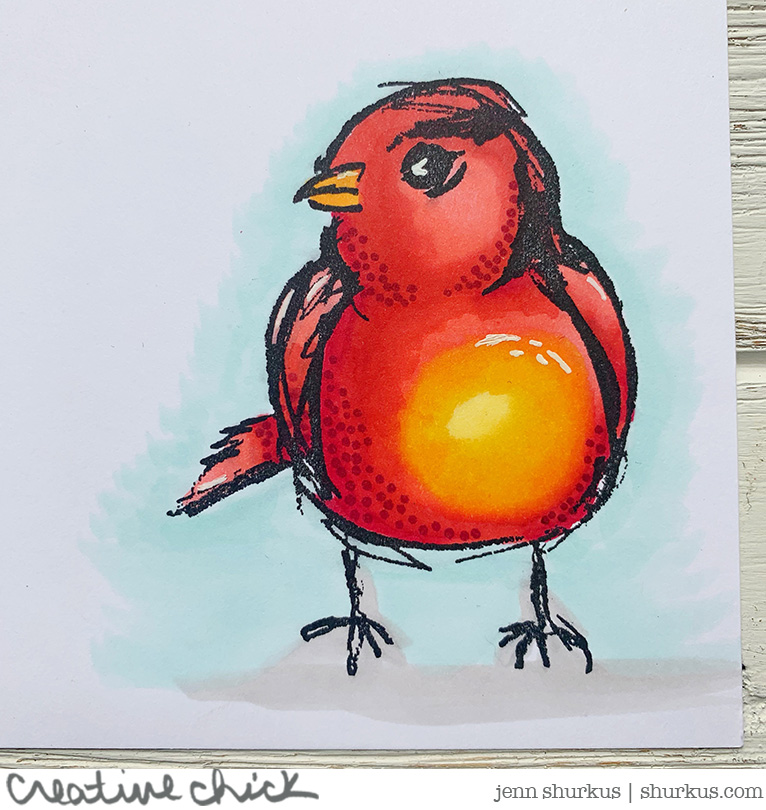
Another demo I did during the Facebook LIVE was this beautiful bird. I was sharing how to blend with colors from different color families, as well as add white gel pen highlights and using simple dots for added texture.
Homework
If I could assign you homework this is what I would do. I would have you stamp out coloring sheets. One image multiple times. Sit and just color. As soon as you don’t like where the image is going X it out and move on. These coloring sheets are just for practice, they won’t go on a card. Ok, maybe they will, but don’t let yourself think about that part. We focus too much on making things perfect we don’t give ourselves time to learn. That’s why I think working with coloring sheets will really help!
Facebook LIVE: More on Copic Coloring REPLAY
After you go through this post if you would like to learn even more about coloring with Copics and alcohol-based markers, be sure to register for my online Copic 101 class!
Cardmaking Supplies Used
Cardmaking Supplies I used are linked throughout the post. Click on the picture and you will be taken to the product. I use affiliate links when available which means if you make a purchase I get a small commission at no extra cost to you. Thank you for your support!










Thanks,Jenn! Your information is wonderful. Are you going to do a 3rd COPIC Info class on How to clean your comics and how to replace the nibs? I have seen a few different ones but like I said, they are all different. I figured I would ask you the best way to do these. Thanks so much!
Fantastic post! I missed the Live so I will watch soon. Thank you for sharing Kelly’s videos, she is so so good!! Love the skin tone ones. You are the best! Love this.
I love Kelly’s videos. So informational and inspiring. and I love her stories.
Ferrule is the metal part on a paintbrush. good video
Thank you Jenn!! Amazing info and tips!! Just love it!!