

Hi everyone! I am here today to share with you a fun project I created with the new Tim Holtz/Sizzix release. I am honored to be a Tim Holtz maker and am so excited to inspire you more with his products!!! It was fun to create some 3-d projects, and break free of a card base. Today I have a photo tutorial for you, and I will be back in the next couple days with a couple more projects I created too.
Don’t want to miss any of my shares? You can subscribe to my email newsletter and choose to get an email each time I update my site- subscribe here.
Don’t Just Fly- SOAR
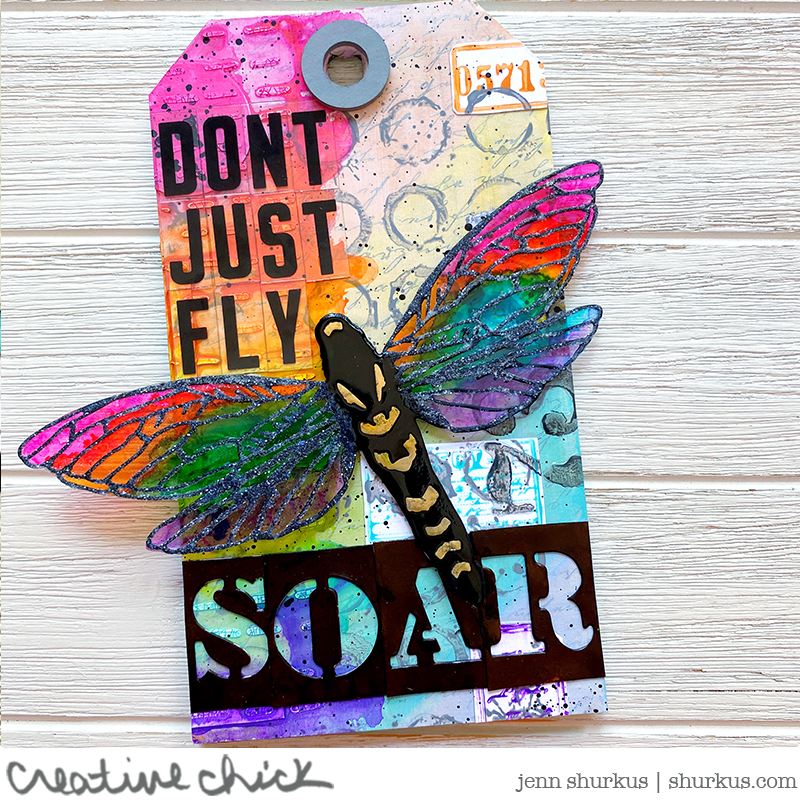
Some of you might not know but I used to manage a papercrafting store here on Cape Cod. I would teach so many different classes. Cardmaking, Mixed Media, Copic Coloring etc. Over the past few years, I have gotten away from Mixed Media and playing in my Art Journal because I have been so busy traveling and teaching cardmaking classes. That is one of the many reasons why I was so excited when Tim asked me to be a maker because I knew it was the push I needed to get my hands inky and creative PLAY again! That is how I see mixed media, it truly is a chance to play and experiment and just enjoy the process.
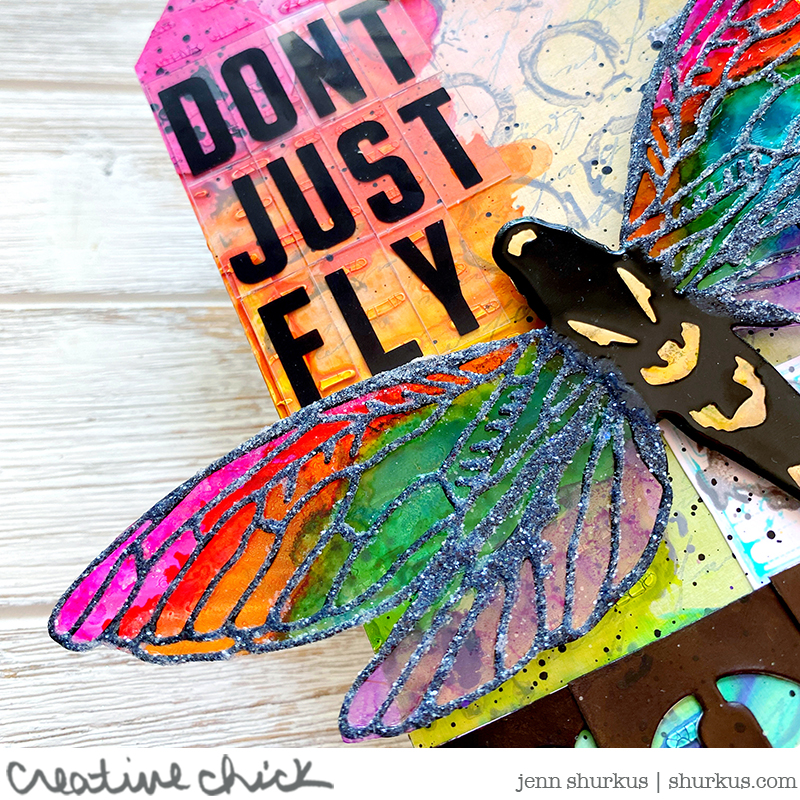
I am not going to admit how long this SOAR tag took me to make, I am a little rusty, but as I was creating it if I had questions about how a product was going to play with another product I was checking out Tim’s demo’s on YouTube and Facebook- they are SO helpful and full of SO much info.
I wanted to share a tutorial with you so you can see how this project came together. Let me know if you like these and if so I will plan to do more in the future!
All products are linked throughout the post, and a complete list is at the end of the post.
The base of this project is the Tim Holtz MINI Etcetera Tag, it measures 4.5 x 8.
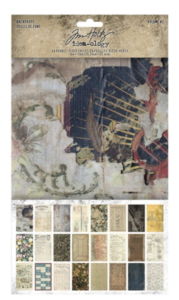
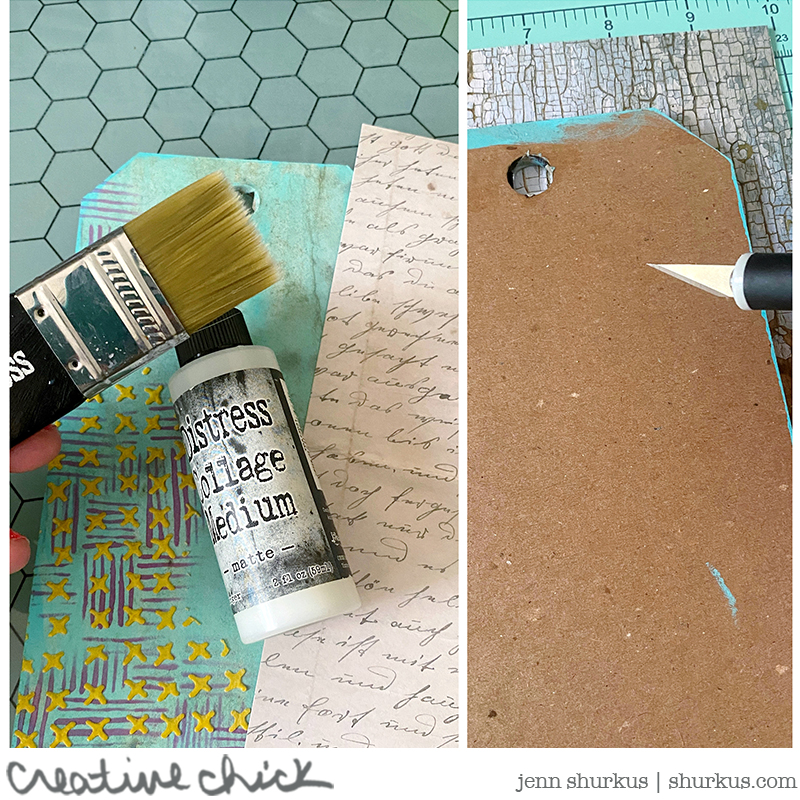
I started in one direction on this project which you can see in the above photo on the left and didn’t like how it was turning out, so I covered it with some patterned paper I got from Tim Holtz/Idea-ology backdrops volume 2. I spread Collage Medium all over the tag with a Collage brush, and stuck the paper down. I then flipped the tag over, and with an X-Acto, I trimmed along the edge of the tag to cut the extra paper off.
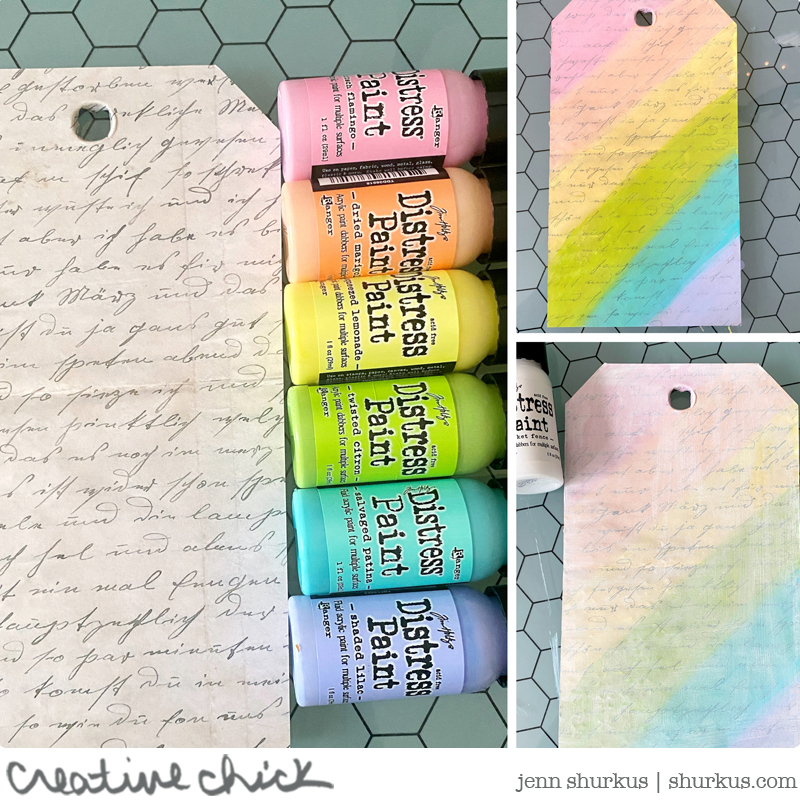
Next using Distress Paints, I painted diagonal stripes across the tag
- Kitsch Flamingo
- Spiced Marmalade
- Squeezed Lemonade
- Twisted Citron
- Salvaged Patina
- Shaded Lilac
and then did a wash of Picket Fence Distress Paint over the whole tag to mute the colors. What is nice about Distress Paints is they are translucent, so we are able to still see the fun patterned paper underneath.
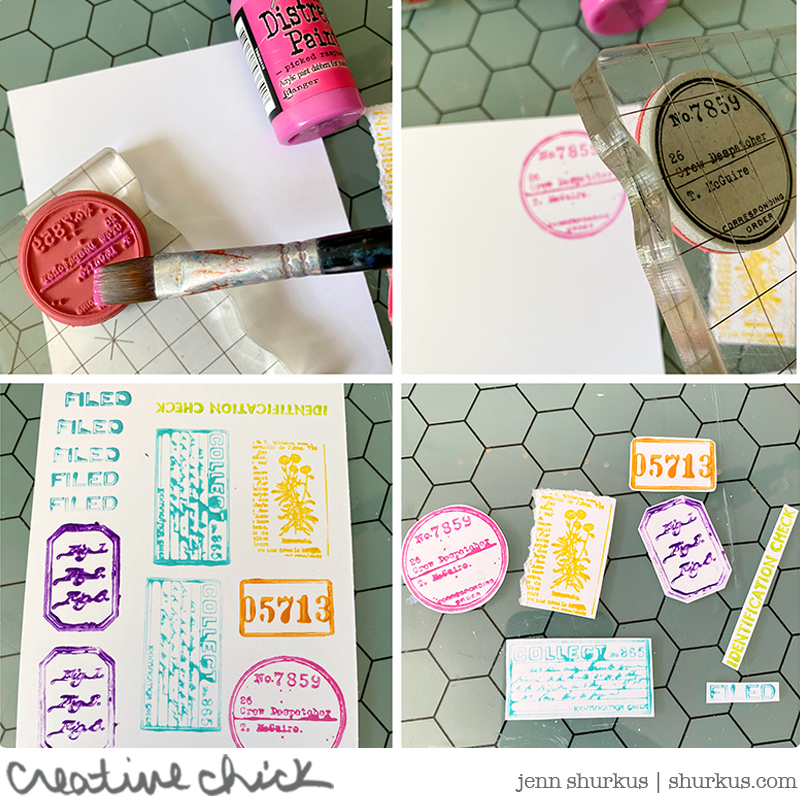
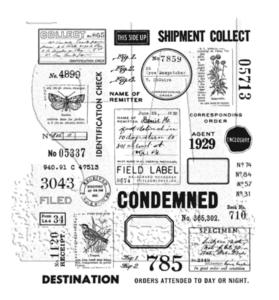
Next, I wanted to create my own ephemera so that it would match my project. I used the Tim Holtz/Stampers Anonymous Field Notes Stamp set, and brushed Distress Paint on them, and stamped them on some Distress White Heavystock cardstock.
I like using paint instead of an ink pad because it gives a fun texture. Some of the stamp impressions will have little blobs, and some will stamp crisply. This to me is perfect for ephemera and for texture on a background. I used Picked Raspberry, Spiced Marmalade, Mustard Seed, Twisted Citron, Salvaged Patina, and Wilted Violet, swapping out some of the colors for more bold and bright. I fussy cut them out or tore along the edge.
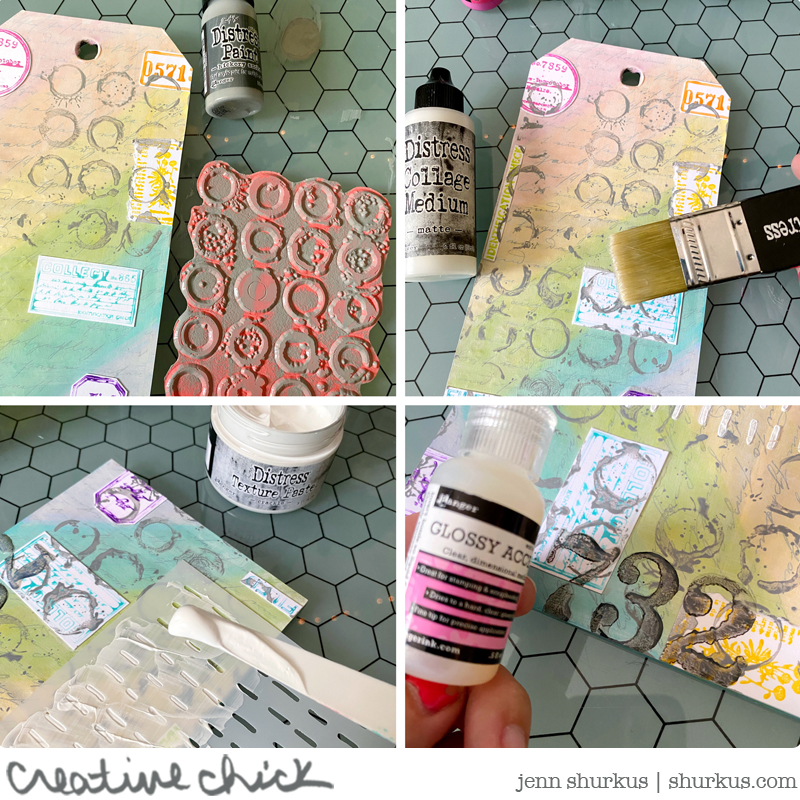
Next, I adhered the ephemera pieces with Collage Medium on the background. Some are going off the edge, some going up the side etc.
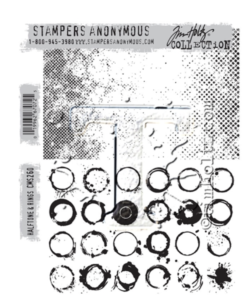
I then stamped the circle background from Halftone and Rings using Hickory Smoke Distress Paint. I then coated the whole tag with Collage Medium. I did this because I wanted to be sure my next layers wouldn’t interfere with what I have laid down so far. All the Distress Paint is reactive with water and wet. And I wanted those images that I stamped with Distress Paint to stay as they are.
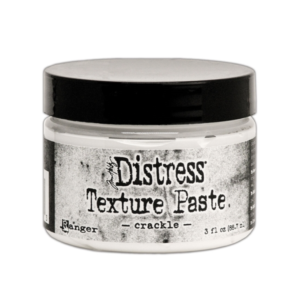
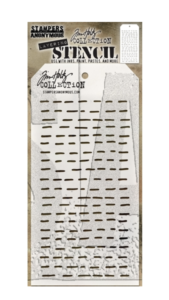
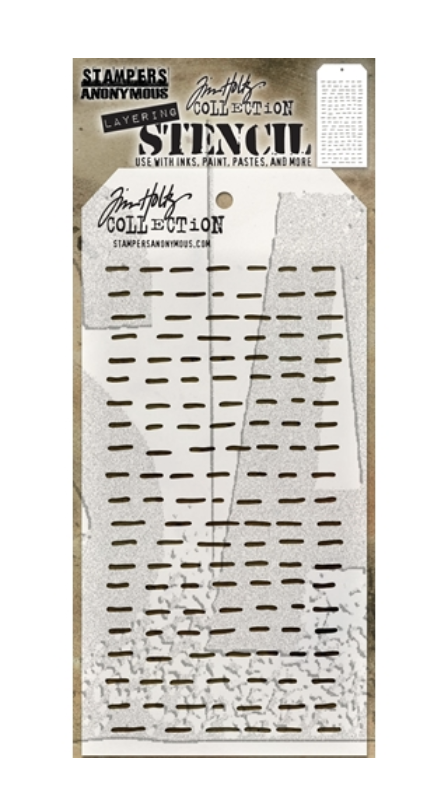
The collage medium dries very quickly, and once it was dry I then spread some Crackle Distress Paste through the Dashes Layering Stencil with a palette knife.
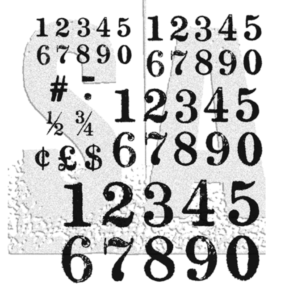
I then stamped some numbers up the side, using Tim’s Merchant stamp set and Hickory Smoke Paint. I LOVE numbers, and this set is perfect as it comes with many different sized numbers, and I love that they have little imperfections to them and don’t stamp perfectly. I coated the numbers with a generous amount of glossy accents so they almost appear to be an embellishment.
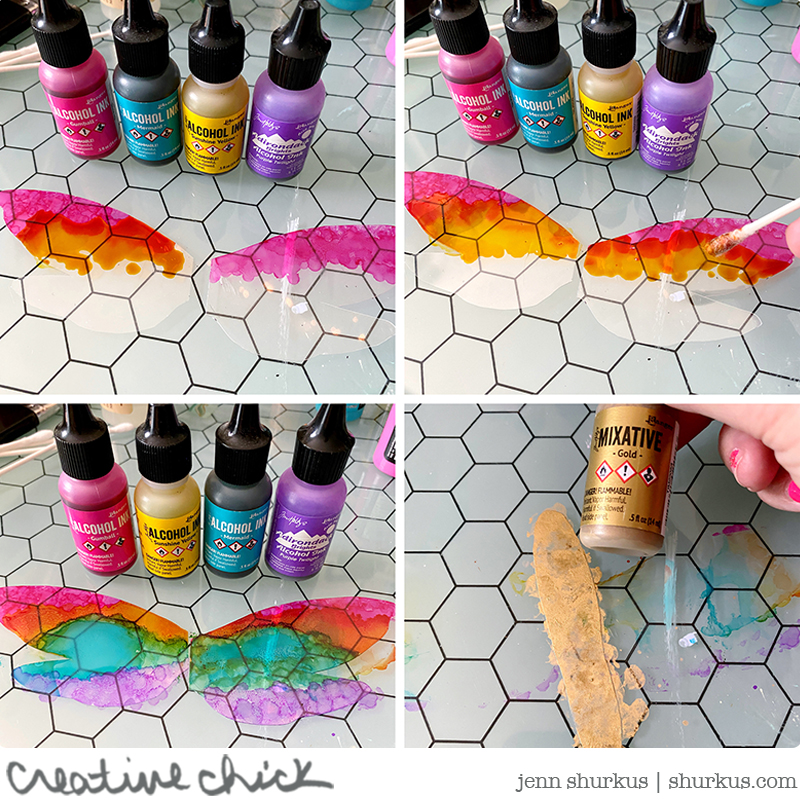
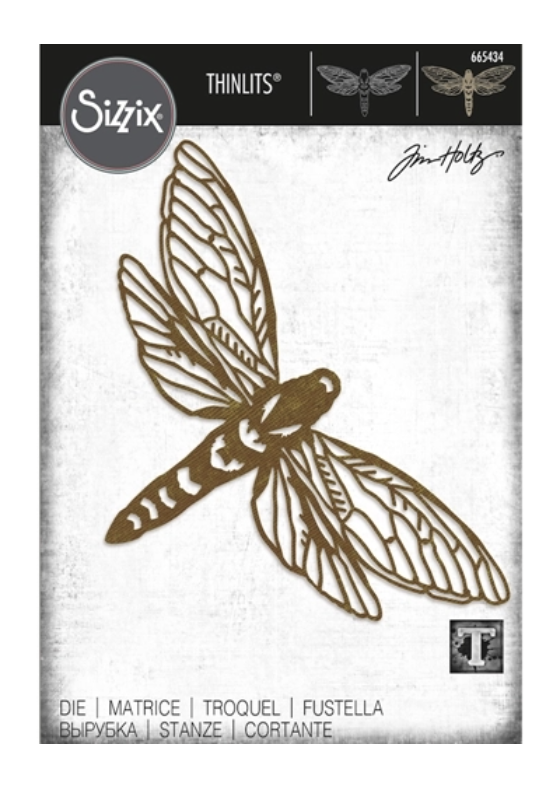
While the texture paste, and the glossy accents was drying I started to work on the Perspective Moth. I diecut it out of black cardstock. I then traced the wings and body onto Acetate with a fine point sharpie. I used Lawn Fawn’s Acetate, which is my fave! It is heat resistant.
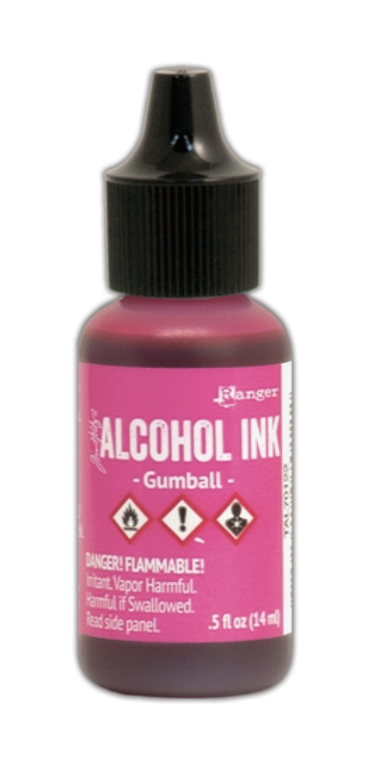
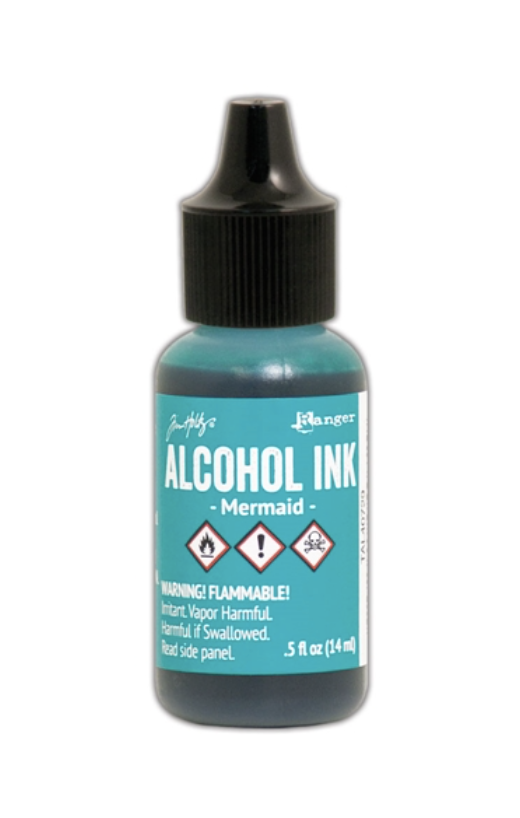
I cut the solid shape of the wings and body out and proceeded to add color with Alcohol Inks.
- Gumball
- Sunshine Yellow
- Mermaid
- Purple Twilight
- Gold Mixative
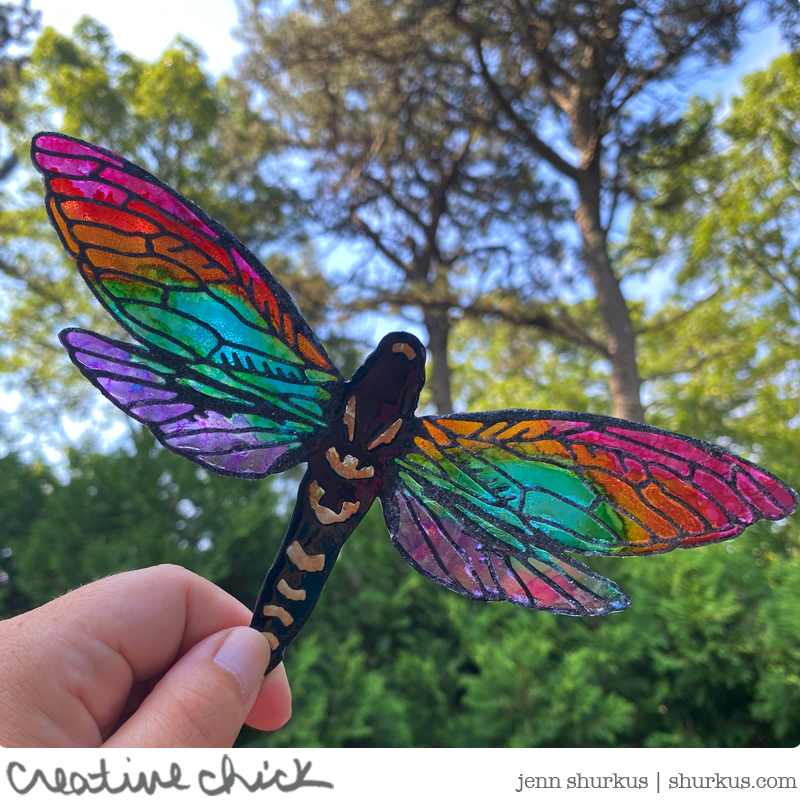
I knew the colors would mix and blend in between so I didn’t need an orange or green to create a rainbow. I also used Q-tips to move the color around and fill in any spaces. I adhered the acetate to the back of the Perspective moth, the one I cut out of black cardstock. I wanted to give texture to the wings, so I added collage medium to the detail veins and sprinkled Distress Rock Candy to them. I really love how this turned out! I also added a VERY generous amount of Glossy Accents to the moth’s body.
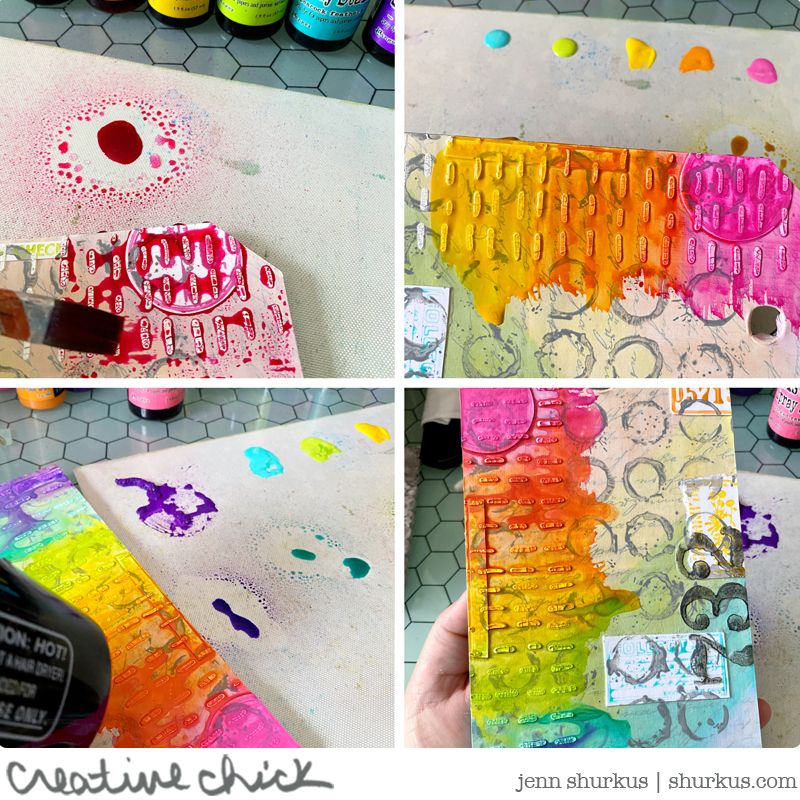
Back on the tag, I mixed Distress Spray Stain, and Distress Paints with water along the edge where I put the Distress Crackle Paste, to create some drips. Utilizing a paintbrush helped me control the color a bit, but you also need to be ok with whatever happens when creating this sort of inky mess. Once I got the drips and colors the way I liked, I used Ranger’s heat tool to heat set it, so it wouldn’t run or move anymore. Using a heat tool vs. an embossing gun for this is really important because I can keep the heat tool focused on my project for a long time without the risk of burning it.
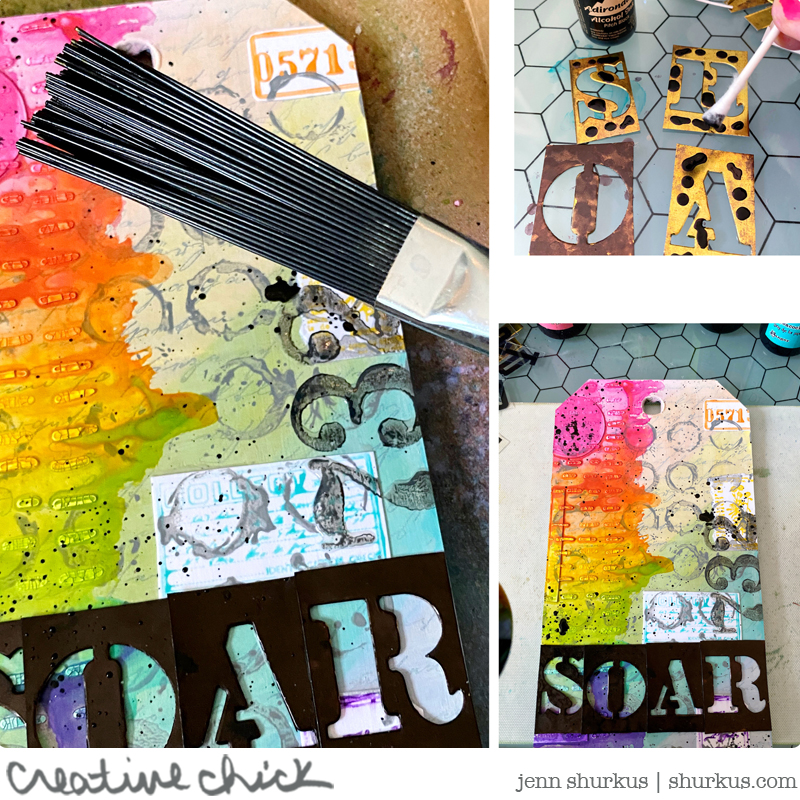
Next using the Stencil Chips, I changed their color using Pitch Black Alcohol Ink and a Q-Tip. I then used Black Soot Distress Paint and a splatter brush to add some splatters all over the tag.
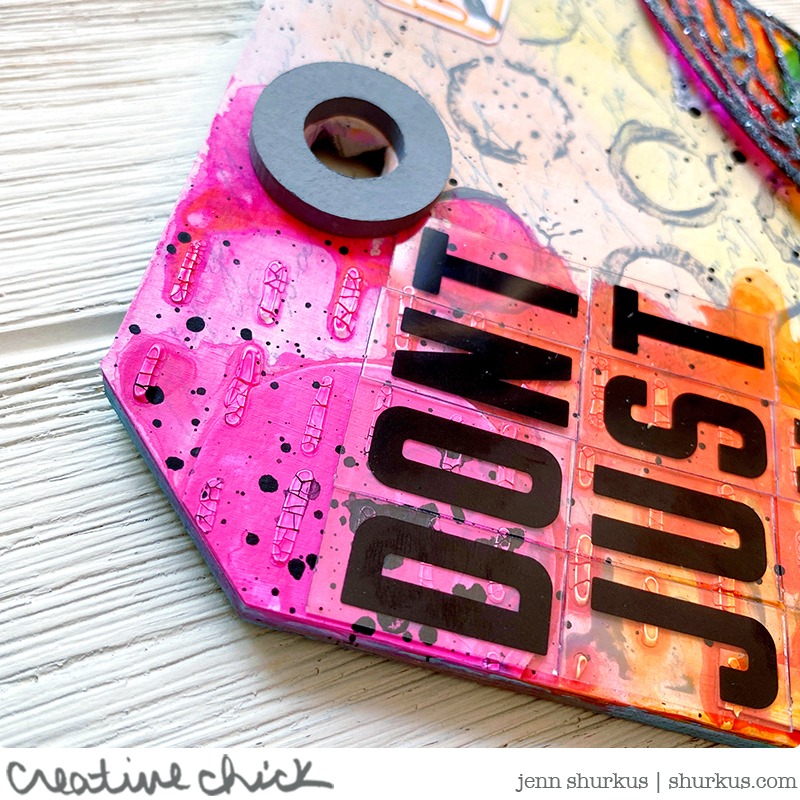
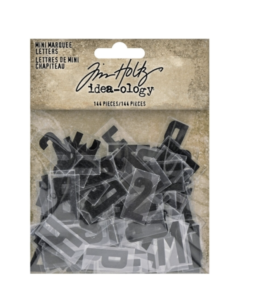
I finished off my quote using the Mini Marquee letters, I just LOVE these. I added little dots of collage medium behind the letters to adhere.
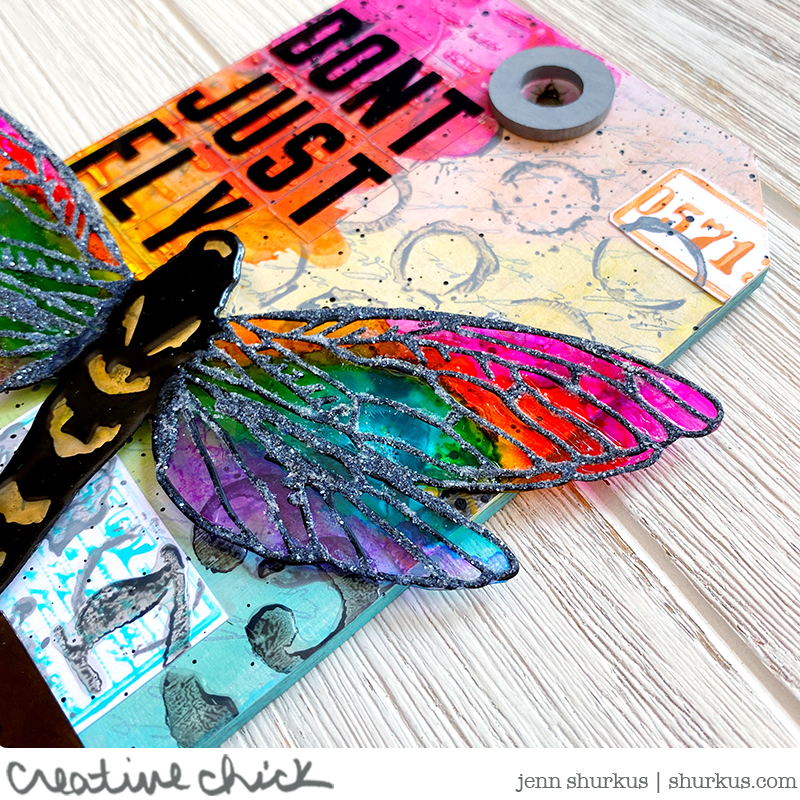
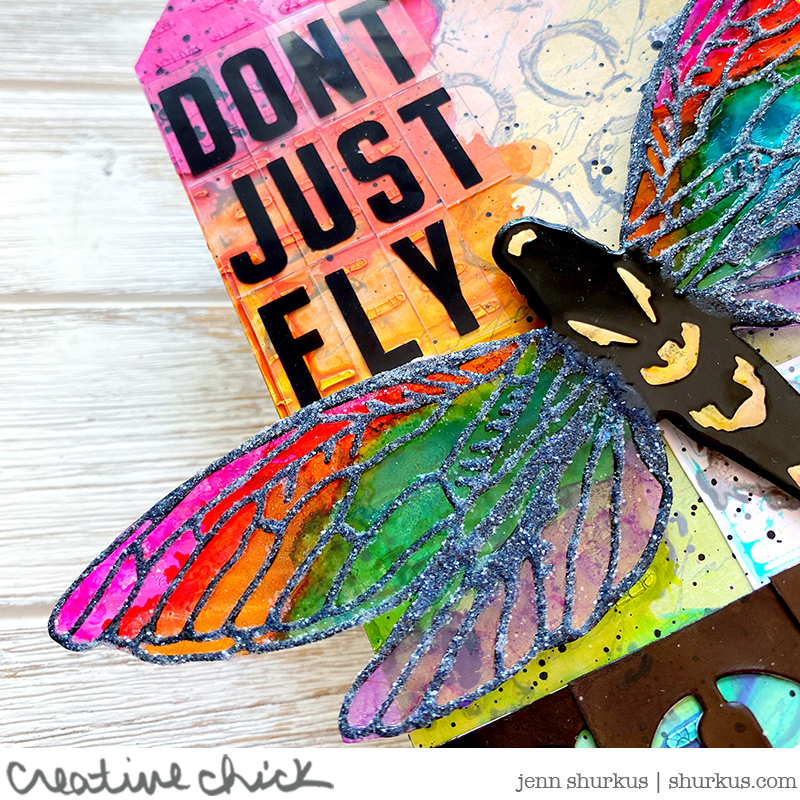
I added the moth with some foam squares, and collage medium so that it would stick for life! Here are some more detail shots so you can really see the project. You can see a complete supply list, with links to shop *Jennabler Alert* below the pictures.
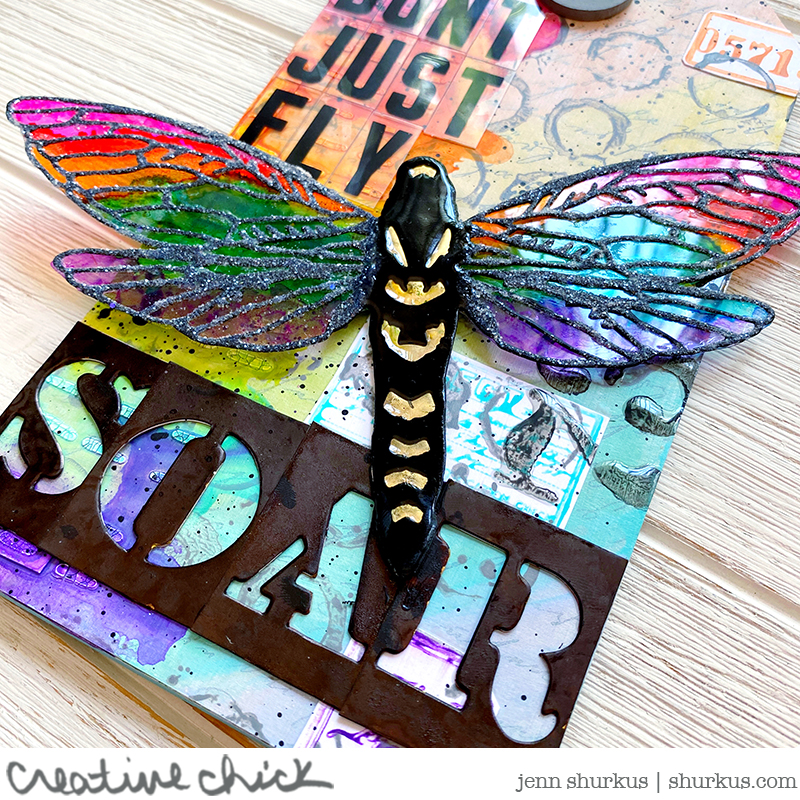
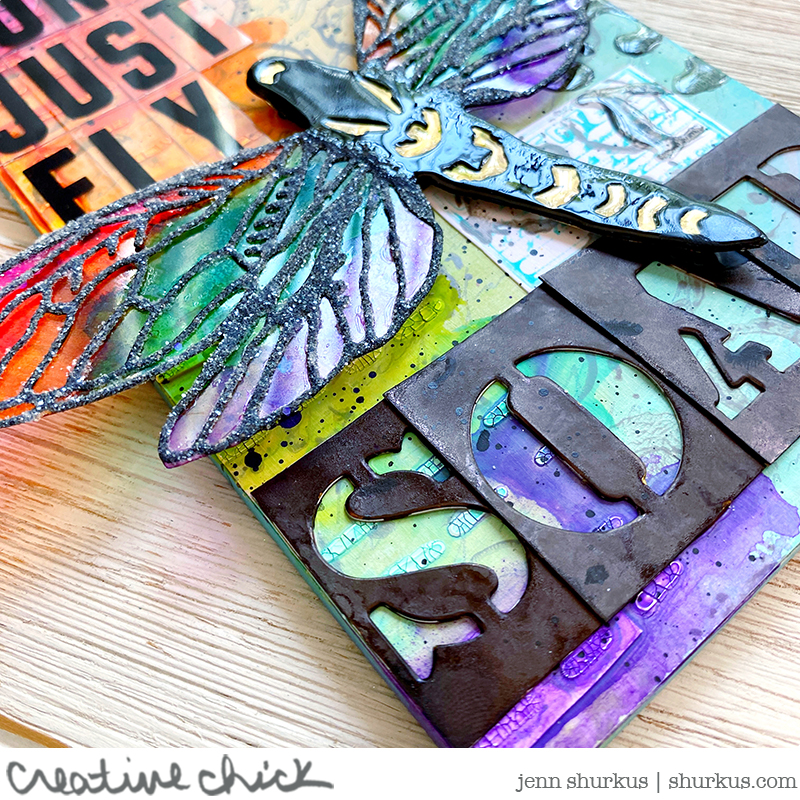
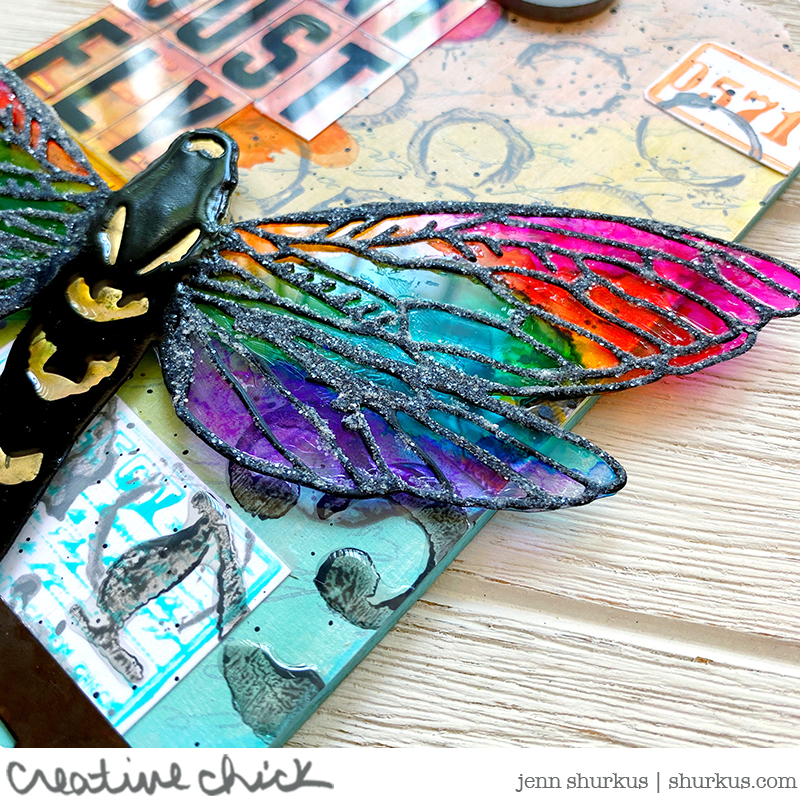
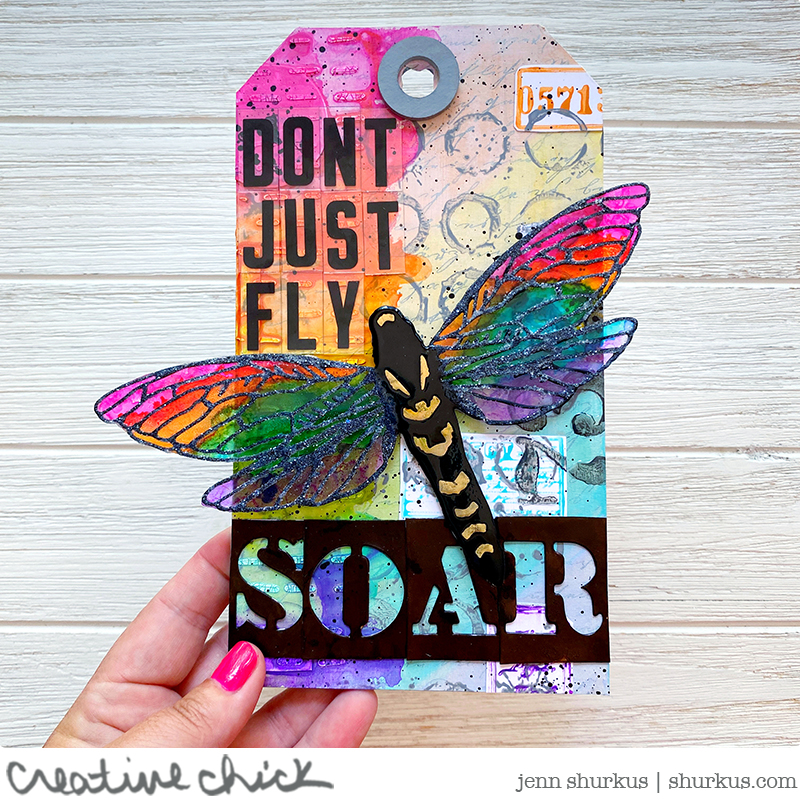
I really hope you found this tutorial helpful, let me know either way in the comments. I will be back in the next few days to share my other Tim Holtz projects.
Don’t want to miss any of my shares? You can subscribe to my email newsletter and choose to get an email each time I update my site- subscribe here.
Supplies Used:
Supplies I used are linked below. Click on the picture and you will be taken to the product. I use affiliate links when available which means if you make a purchase I get a small commission at no extra cost to you. Thank you for your support!
“”
 Tim Holtz/ Sizzix Perspective Moth Thinlits Die 665434 Shop at: SSS |
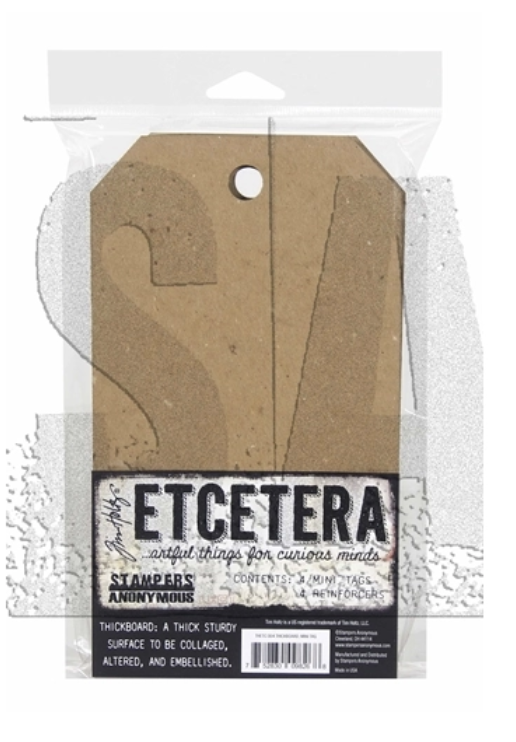 Tim Holtz/ Stampers Anonymous, Etcetera MINI TAG Thickboards Shop at: SSS |
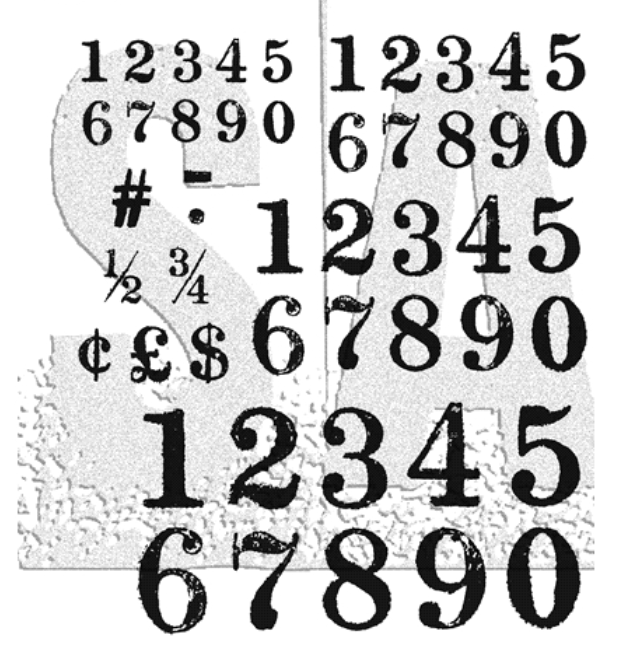 Tim Holtz/Stampers Anonymous, Merchant CMS331 Shop at: SSS | Ranger |
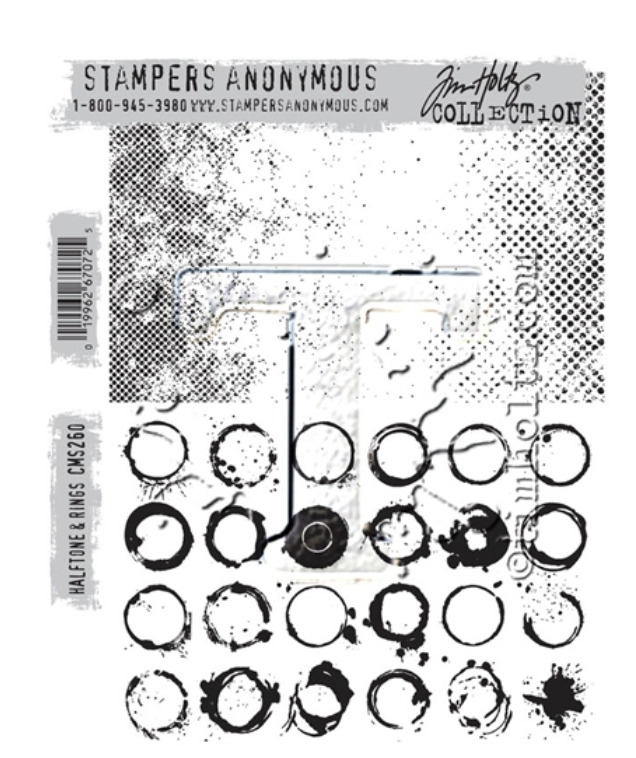 Tim Holtz/Stampers Anonymous, Halftone and Rings CMS260 Shop at: SSS |
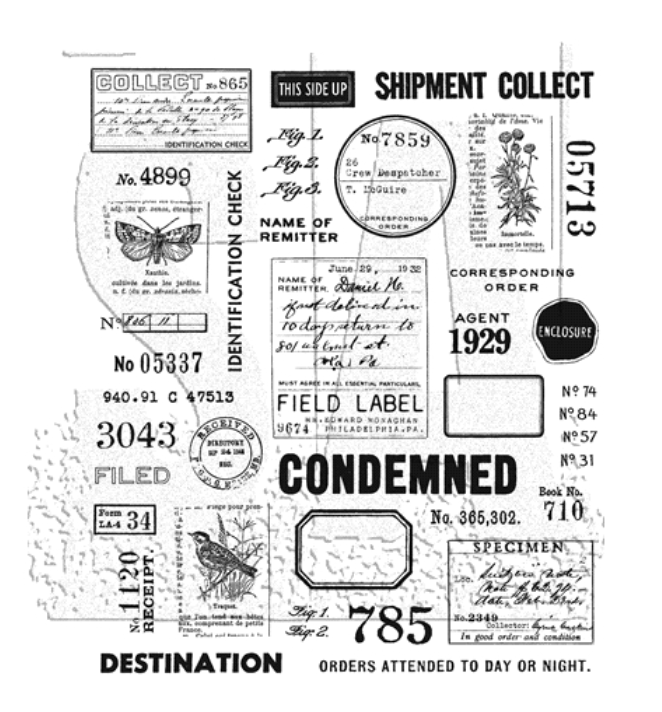 Tim Holtz/Stampers Anonymous, Field Notes CMS396 Shop at: SSS |
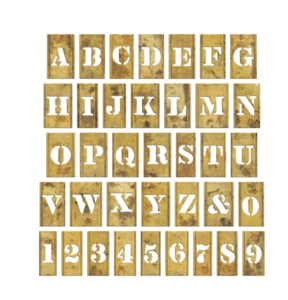
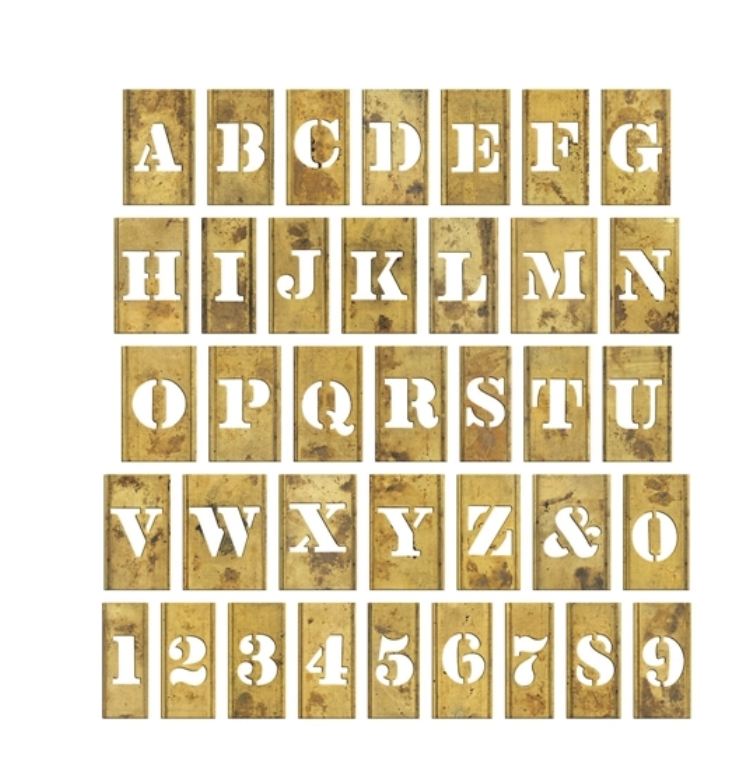 Tim Holtz Idea-ology, Stencil Chips, TH93954 Shop at: SSS |
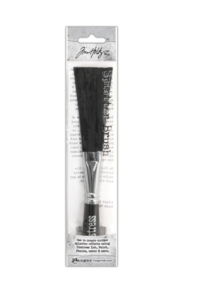
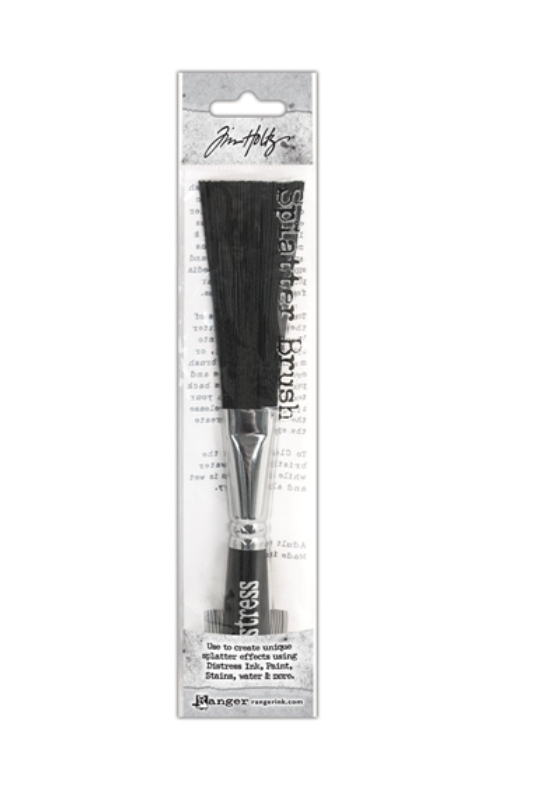 Tim Holtz Distress Splatter Brush Shop at: SSS | Ranger |
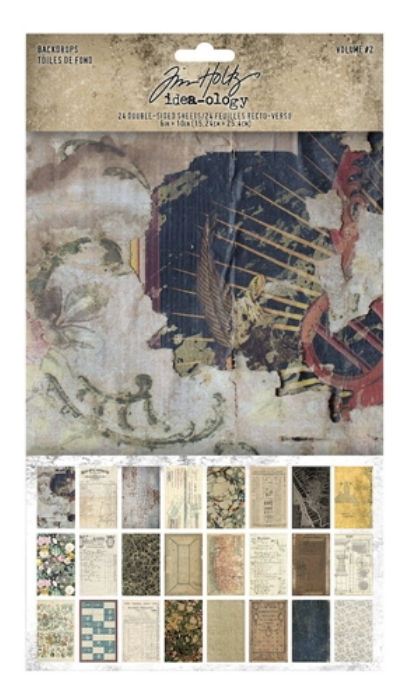 Tim Holtz/Idea-ology backdrops volume 2 TH94118 Shop at: SSS |
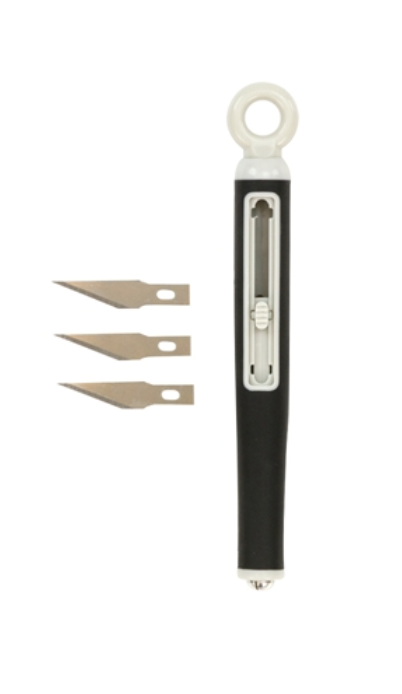 Tim Holtz/Tonic Craft Knife Shop at: SSS |
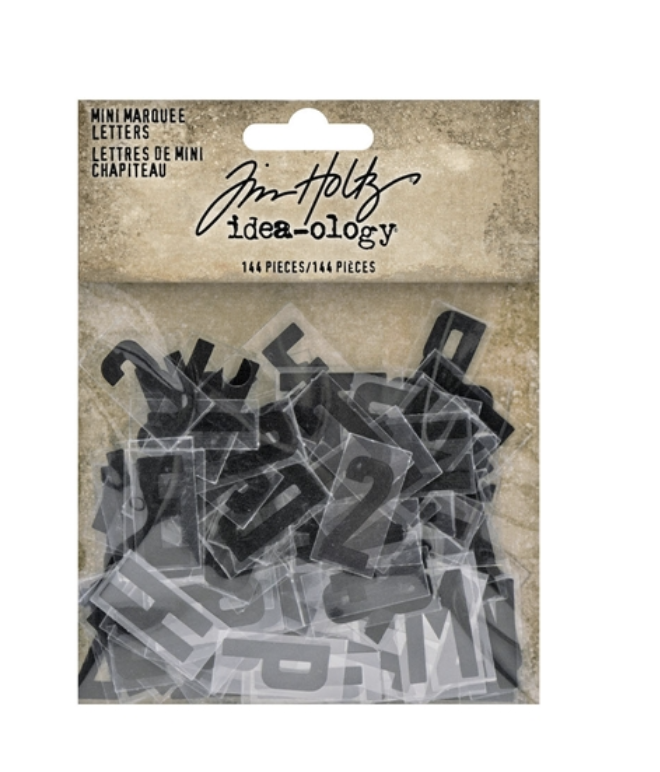 Tim Holtz Idea-ology, Mini Marquee Letters TH94127 Shop at: SSS |
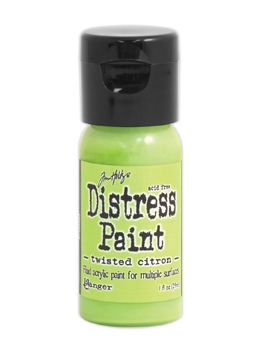 Tim Holtz Distress Paint, Twisted Citron Shop at: SSS | Ranger |
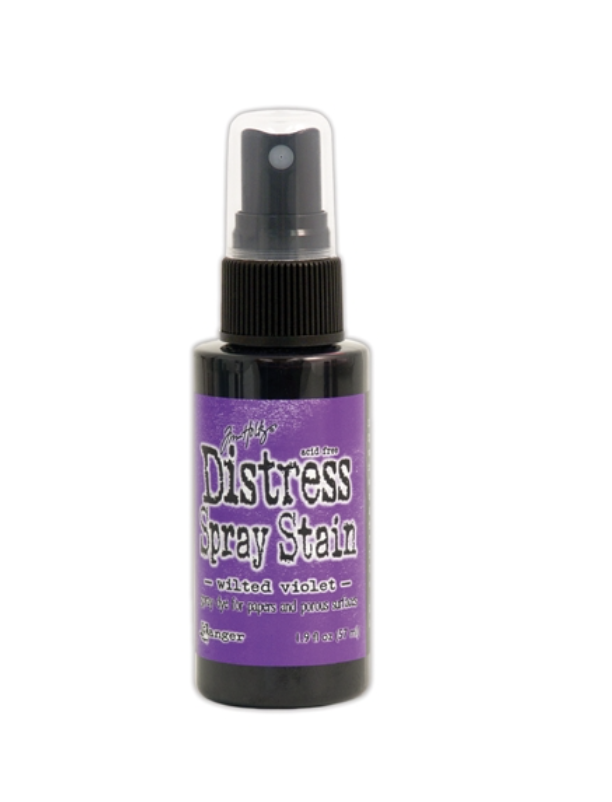 Tim Holtz, Wilted Violet Distress Spray Stain Shop at: SSS | Ranger |
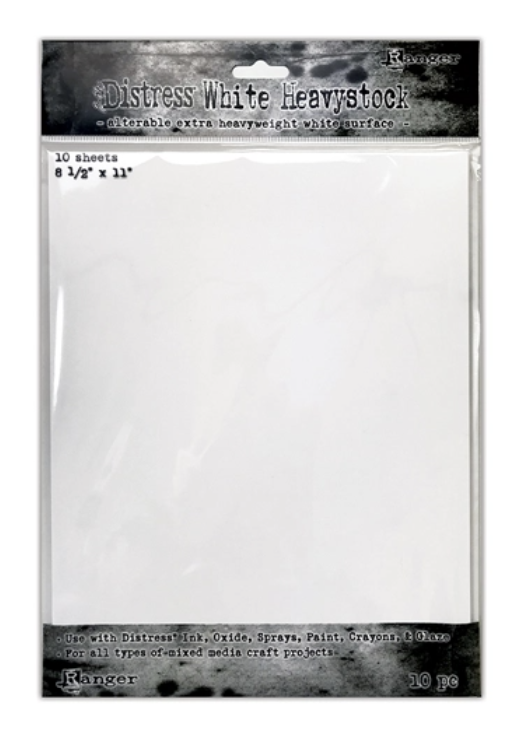 Distress White Heavystock Shop at: SSS | Ranger |
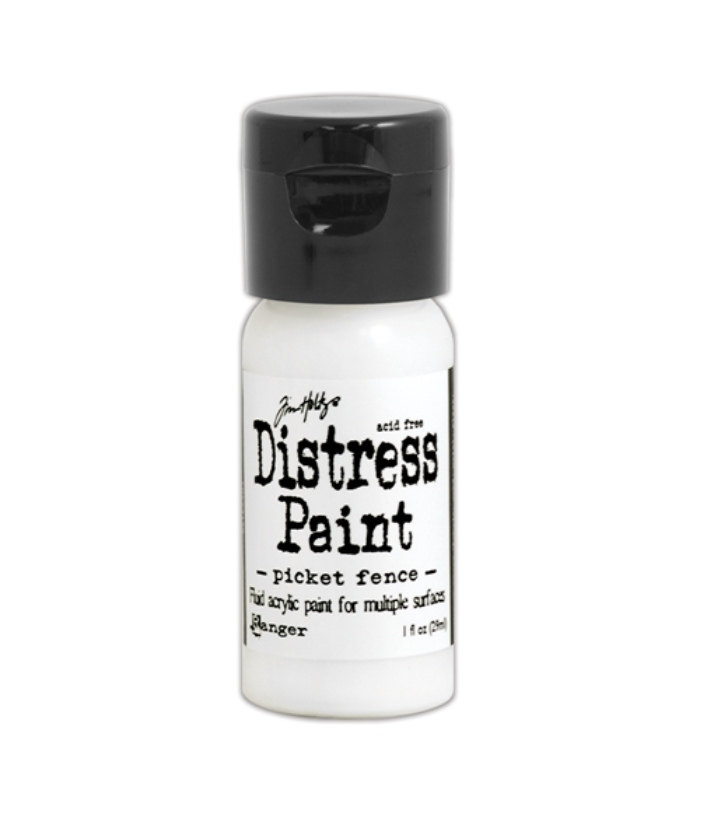 Tim Holtz, Distress Paint – Picket Fence Shop at: SSS | Ranger |
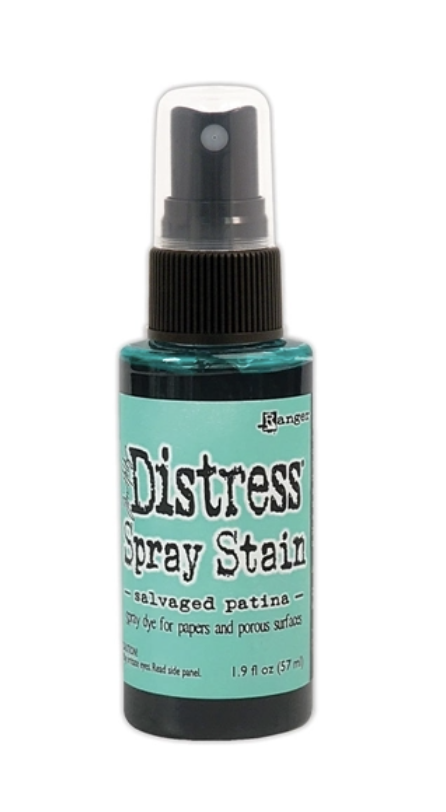 Tim Holtz/Ranger Ink, Salvaged Patina Distress Spray Stain Shop at: SSS | Ranger |
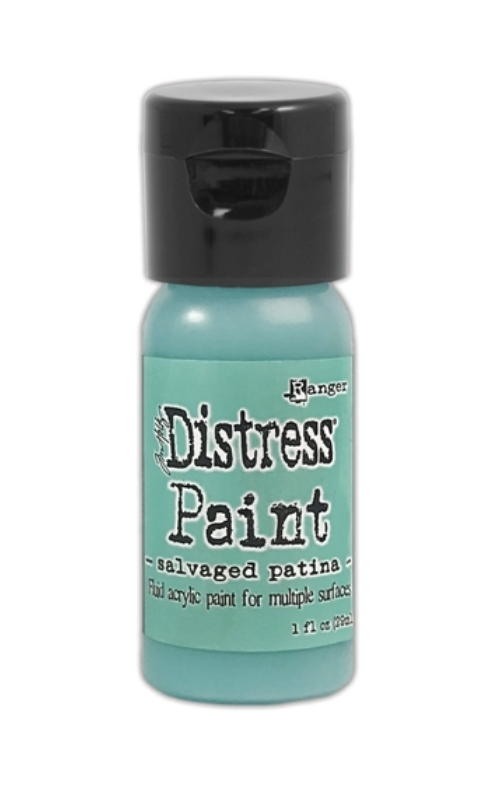 Tim Holtz/Ranger Ink, Salvaged Patina Distress Paint Shop at: SSS | Ranger |
 Flour Sack Cloths Shop at: SSS | MISC |
 Tim Holtz Distress Sprayer Ranger 4 Ounces Shop at: SSS | Ranger |
 Tim Holtz, Black Soot Distress Paint Shop at: SSS | Ranger |
 Tim Holtz, Distress Collage Medium Shop at: SSS |
 Tim Holtz, Sunshine Yellow Alcohol Ink Shop at: SSS | Ranger |
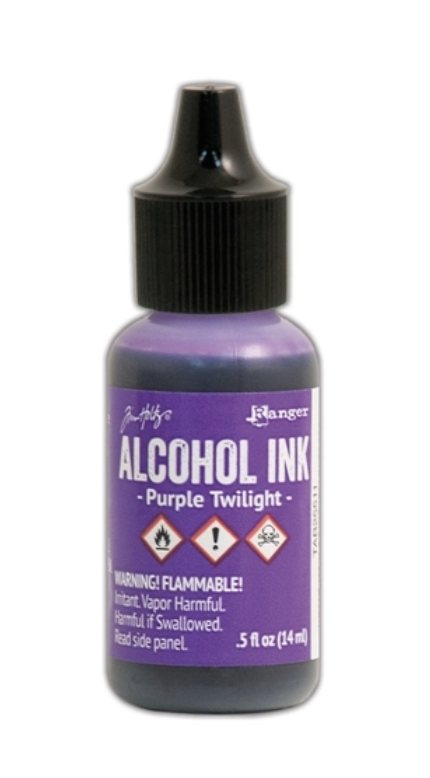 Tim Holtz, Purple Twilight Alcohol Ink Shop at: SSS | Ranger |
 Ranger, Alcohol Ink Air Blower Shop at: SSS | Ranger |
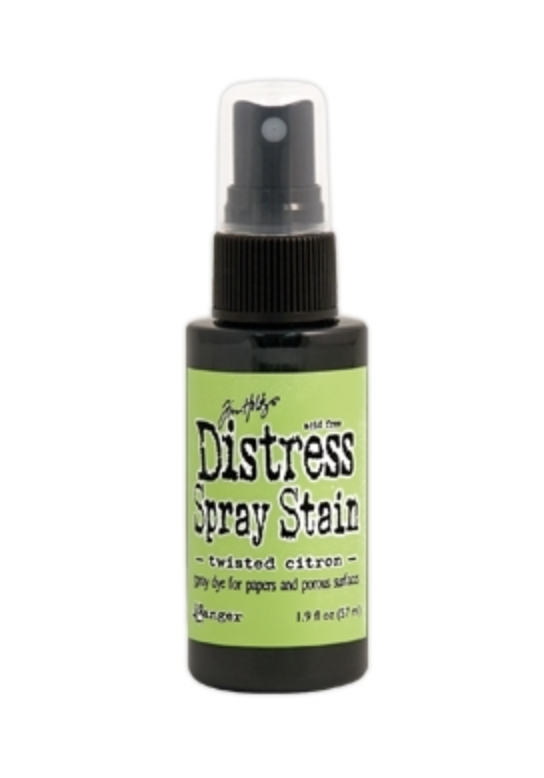 Tim Holtz, Distress Spray Stain Twisted Citron Shop at: SSS | Ranger |
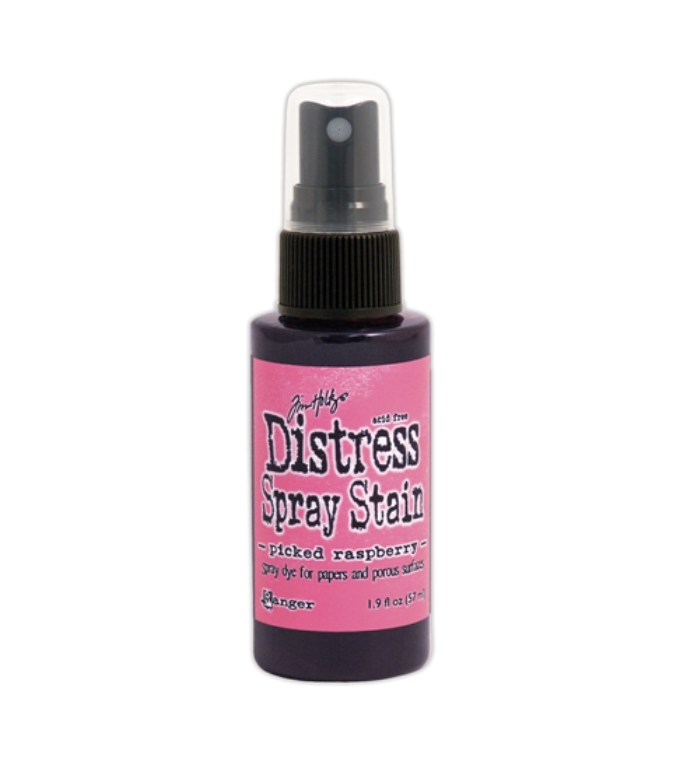 Tim Holtz Distress Spray Stain Picked Raspberry Shop at: SSS | Ranger |
 Lawn Fawn, Black Licorice 8.5 x 11 Cardstock Shop at: SSS | LF |
 Ranger Paintbrush Set Shop at: SSS | Ranger |
 Faber-Castell, Collapsible Water Cup Shop at: SSS |
 Lawn Fawn, Acetate Shop at: SSS |
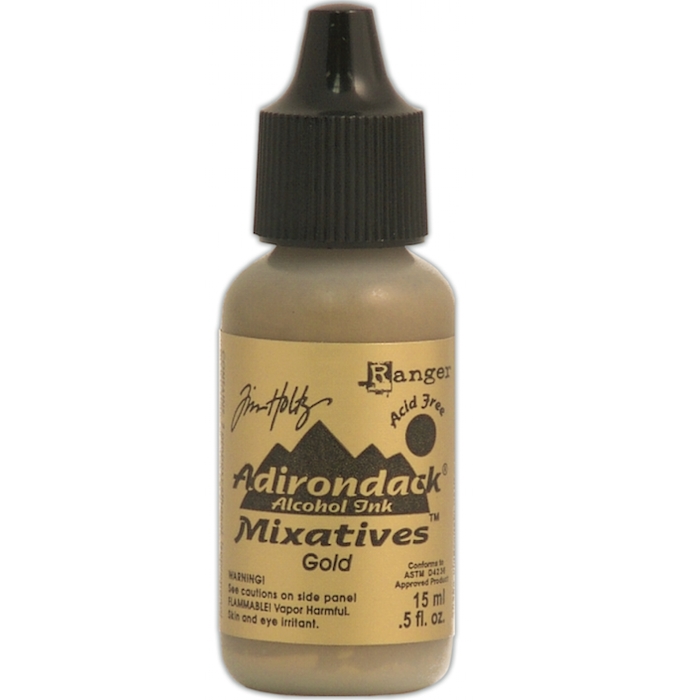 Tim Holtz, Gold Metallic Mixative Shop at: SSS | Ranger |
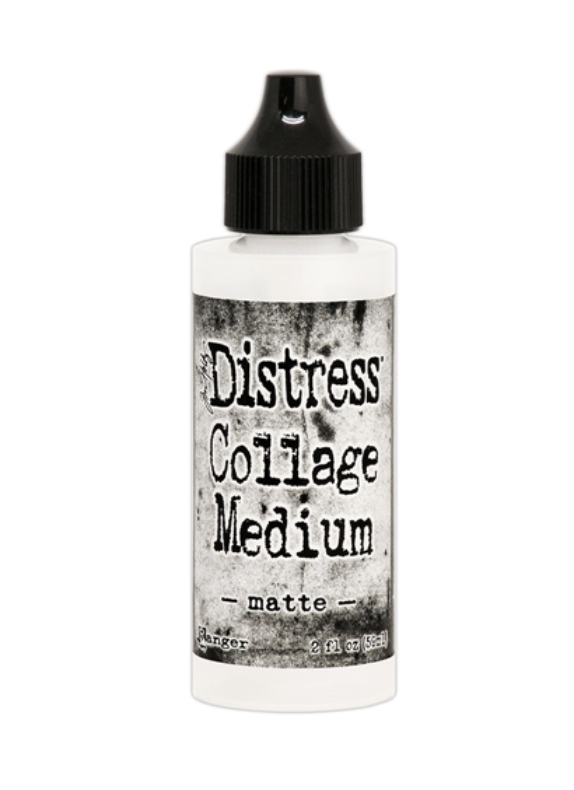 Tim Holtz, Distress Collage Medium Shop at: SSS | Ranger |
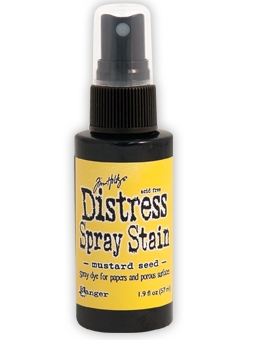 Tim Holtz Distress Spray Stain Mustard Seed Shop at: SSS | Ranger |
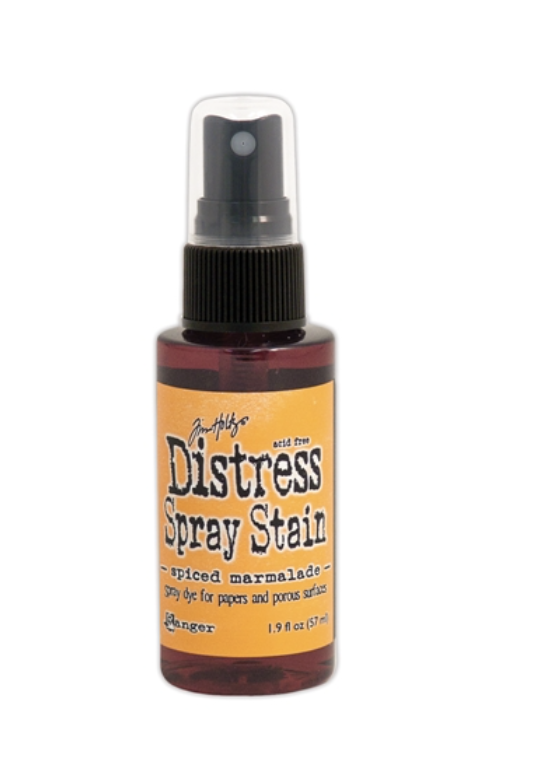 Tim Holtz, Spiced Marmalade Distress Spray Stain Shop at: SSS | Ranger |
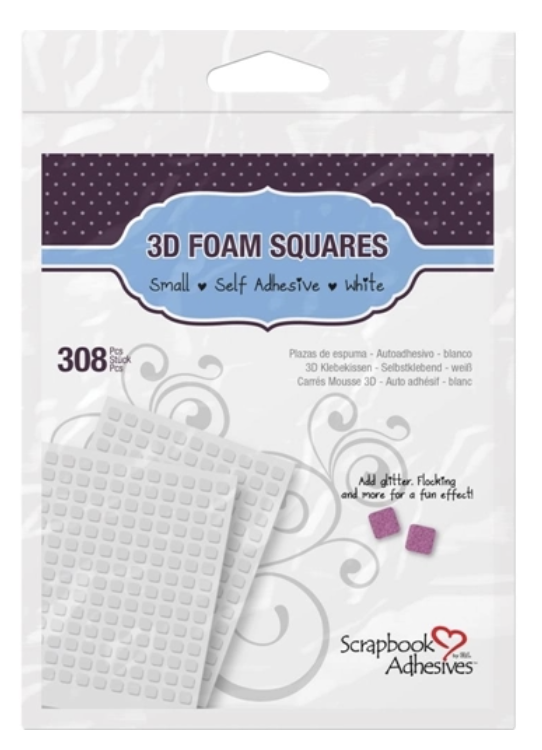 Scrapbook Adhesives, 0.25″ white foam squares Shop at: SSS |
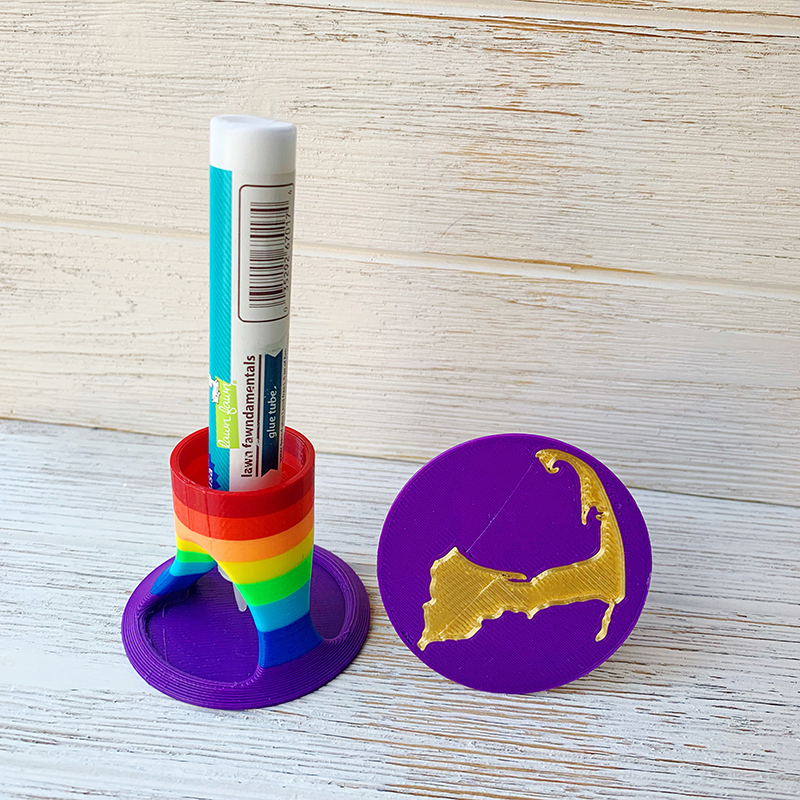 Rainbow Glue Tube Holder Shop at: Shurkus |
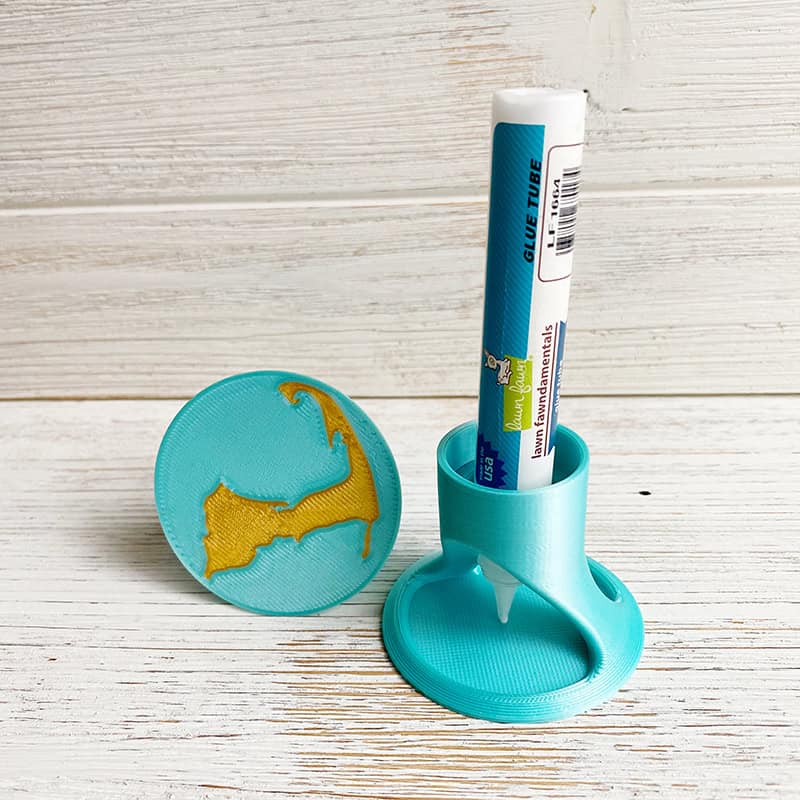 Mint Glue Tube Holder Shop at: Shurkus |
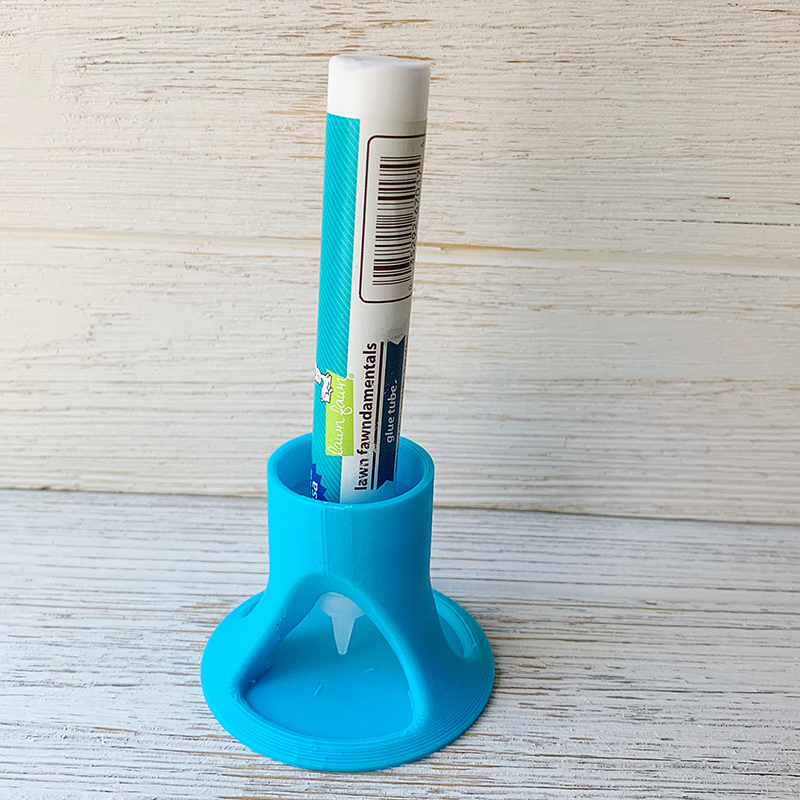 Glue Tube Holder Shop at: Shurkus |
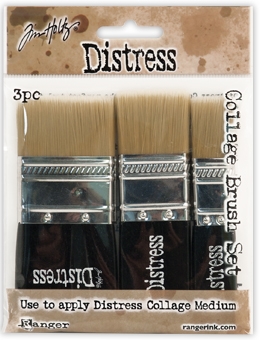 Tim Holtz, Distress Collage Brush Set Shop at: SSS | Ranger |
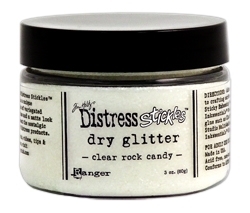 Tim Holtz, Distress Glitter Dust Clear Rock Candy Shop at: SSS | Ranger |
 Fiskars Microtip Scissors Shop at: SSS |
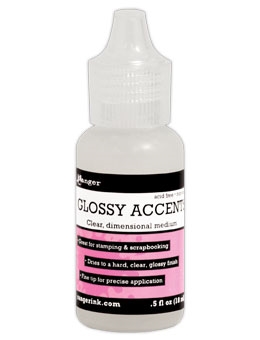 Ranger Glossy Accents Shop at: SSS | Ranger |
3M Scotch DOUBLE-SIDED FOAM TAPE Permanent Shop at: SSS | LF |
 Lawn Fawn Stamp Shammy Shop at: SSS | LF |
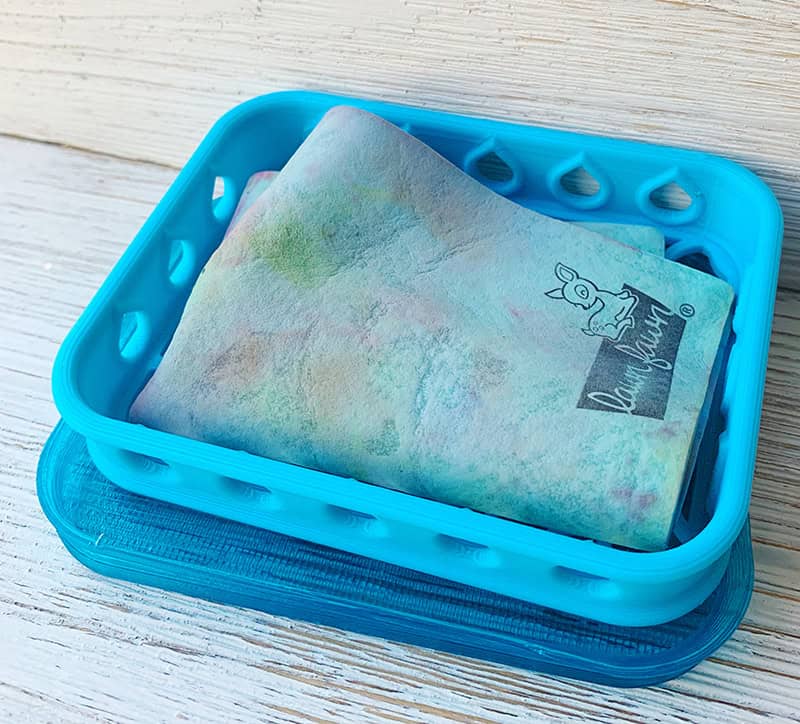 Mermaid, Stamp Shammy Holder Shop at: Shurkus |
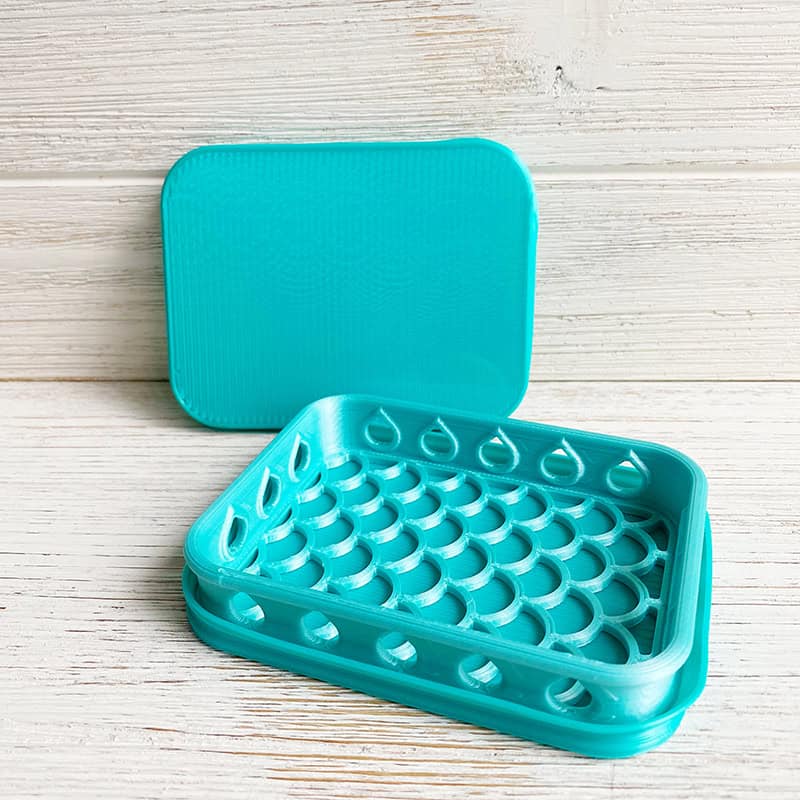 Mermaid Mint Shammy Case Shop at: Shurkus |
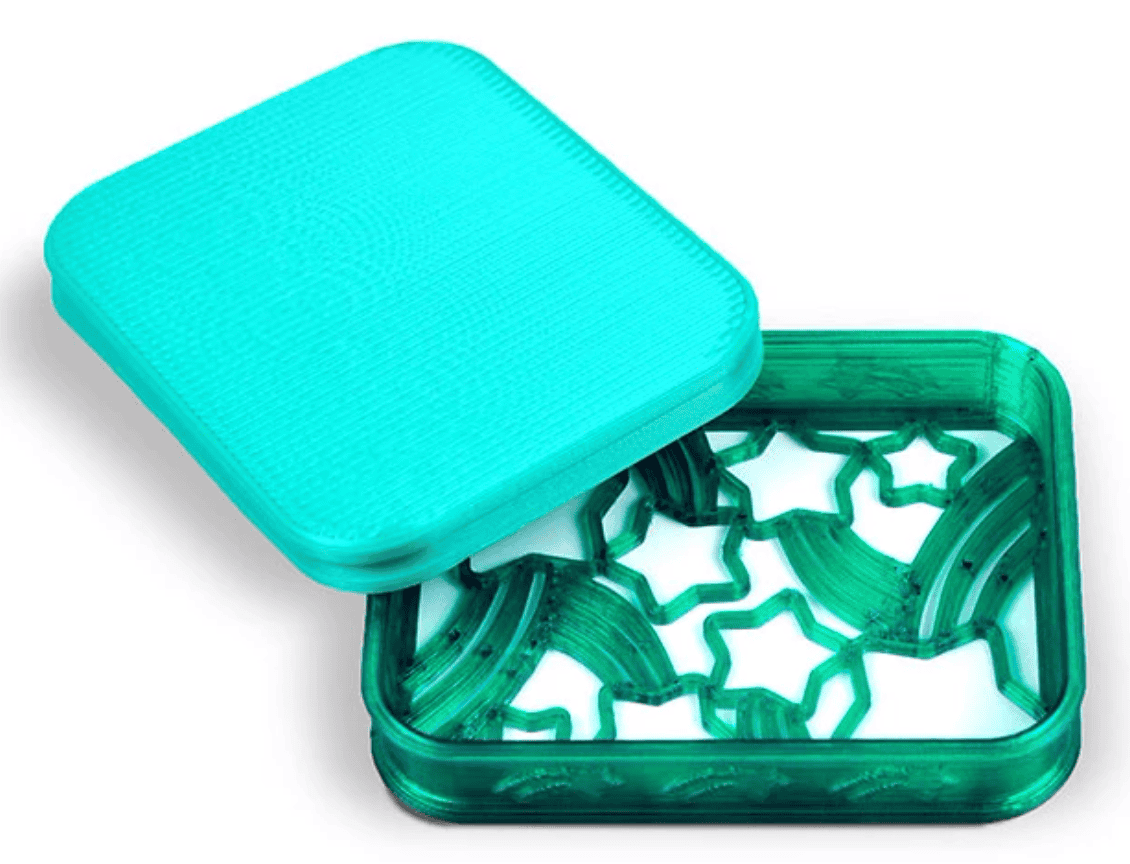 Lawn Fawn, Starry Shammy Case Shop at: SSS | LF |
 Tim Holtz/Tonic, Replacement non-stick mat Shop at: SSS |
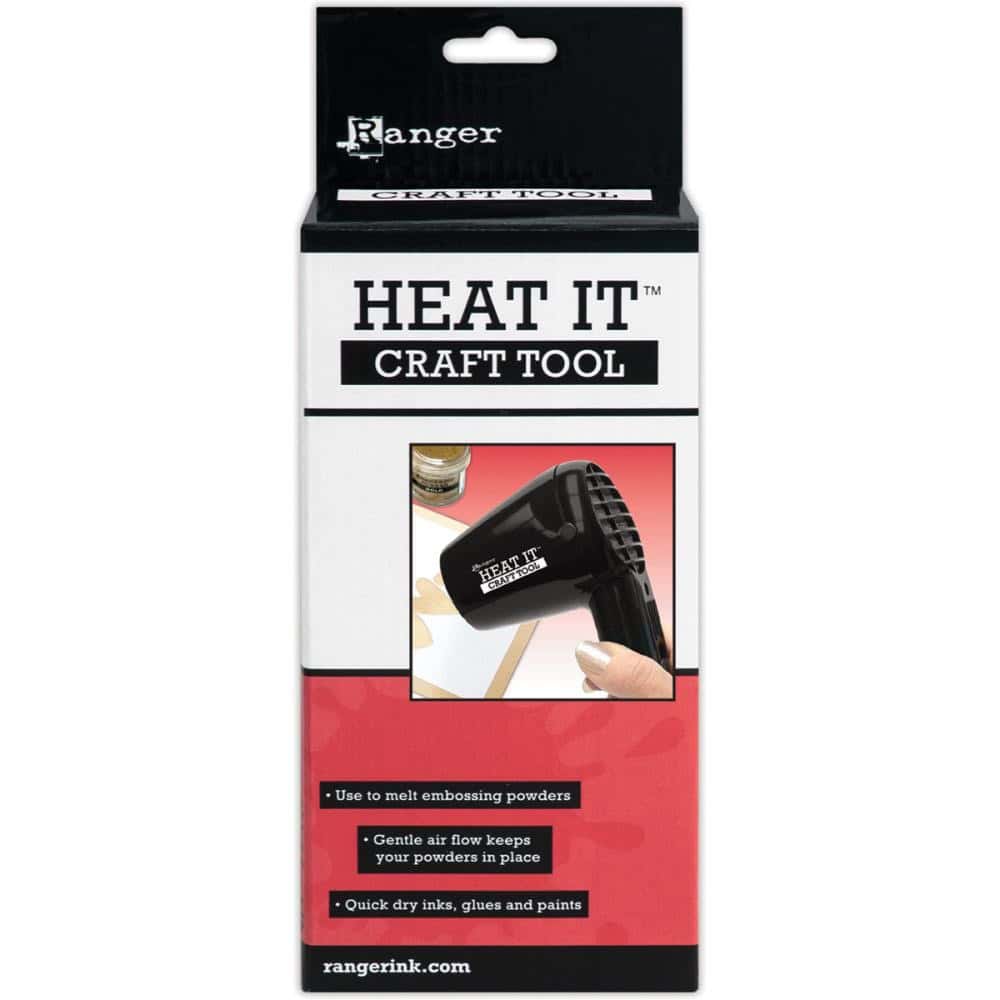 Ranger, Heat Tool Shop at: SSS | Ranger |
 Spellbinders Platinum Shop at: SSS | MISC |
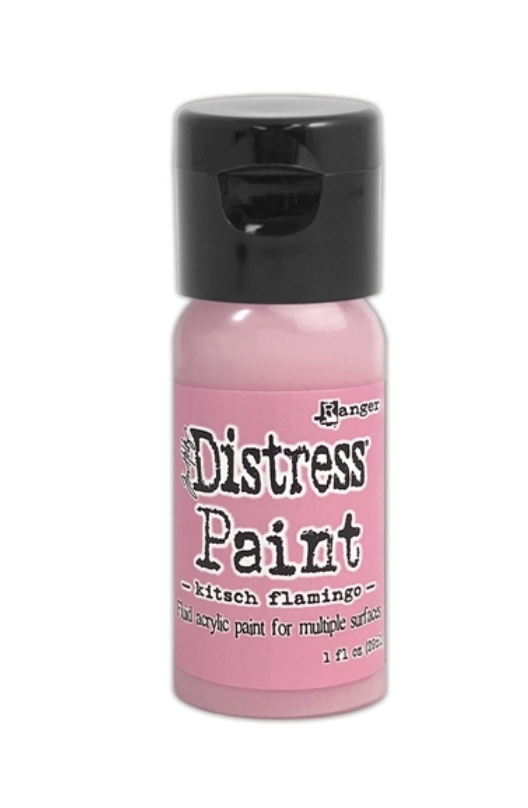 Tim Holtz/Ranger Ink, Kitsch Flamingo Distress Paint Shop at: SSS | Ranger |
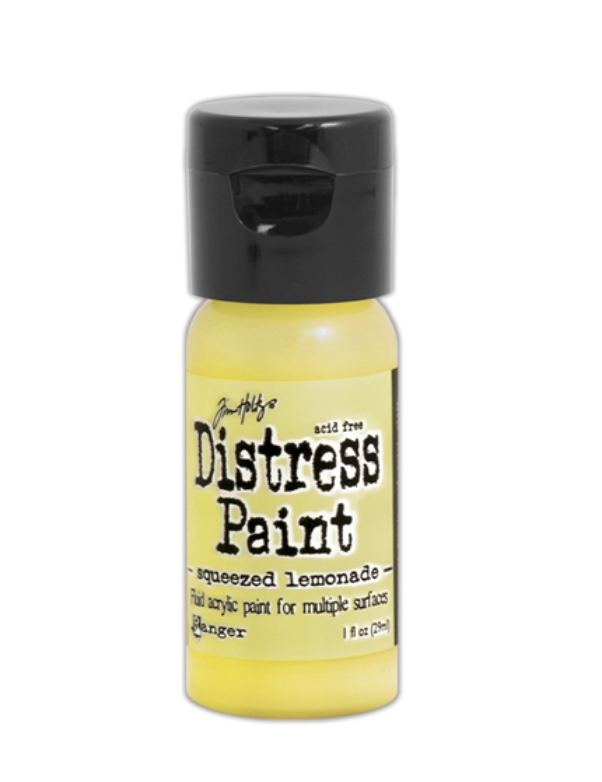 Tim Holtz, Distress Paint – Squeezed Lemonade Shop at: SSS | Ranger |
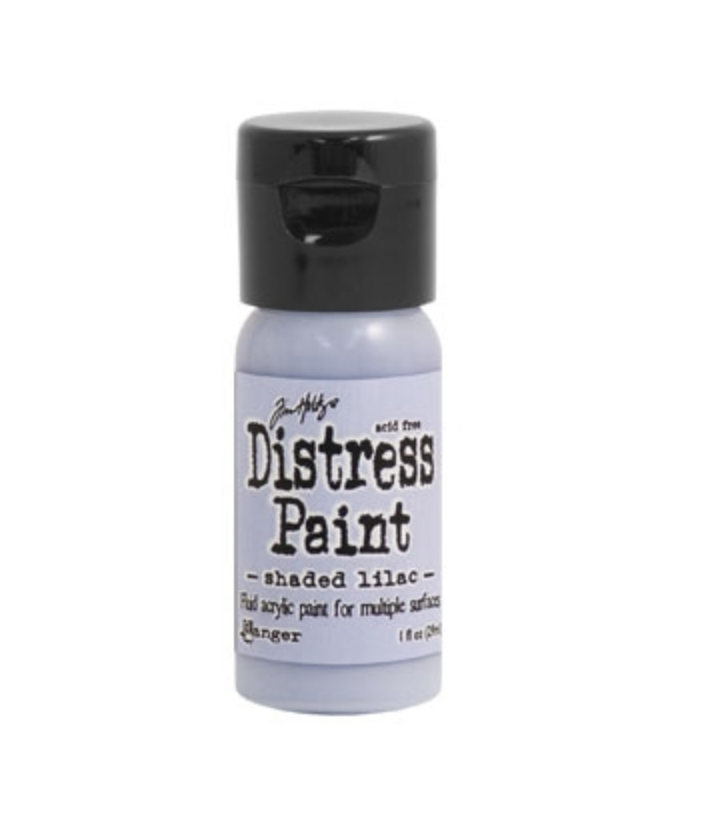 Tim Holtz, Distress Paint – Shaded Lilac Shop at: SSS | Ranger |
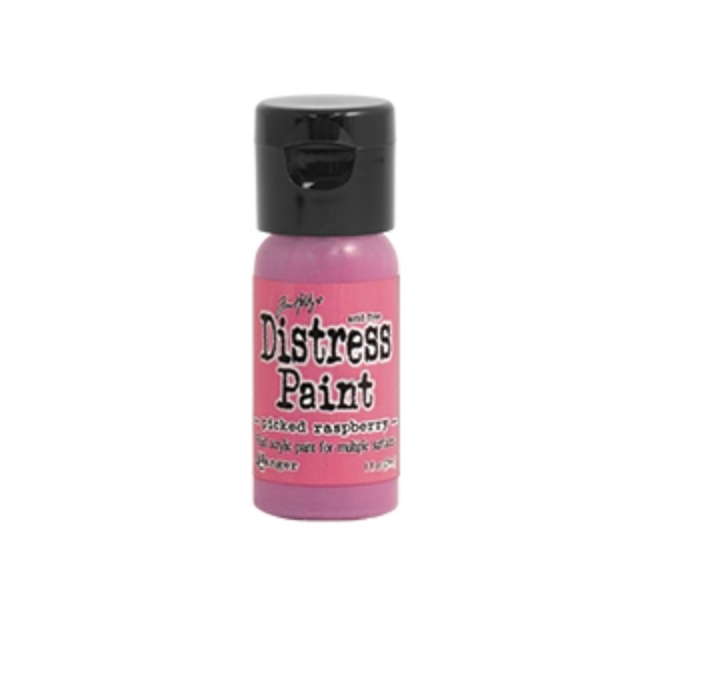 Tim Holtz, Distress Paint – Picked Raspberry Shop at: SSS | Ranger |
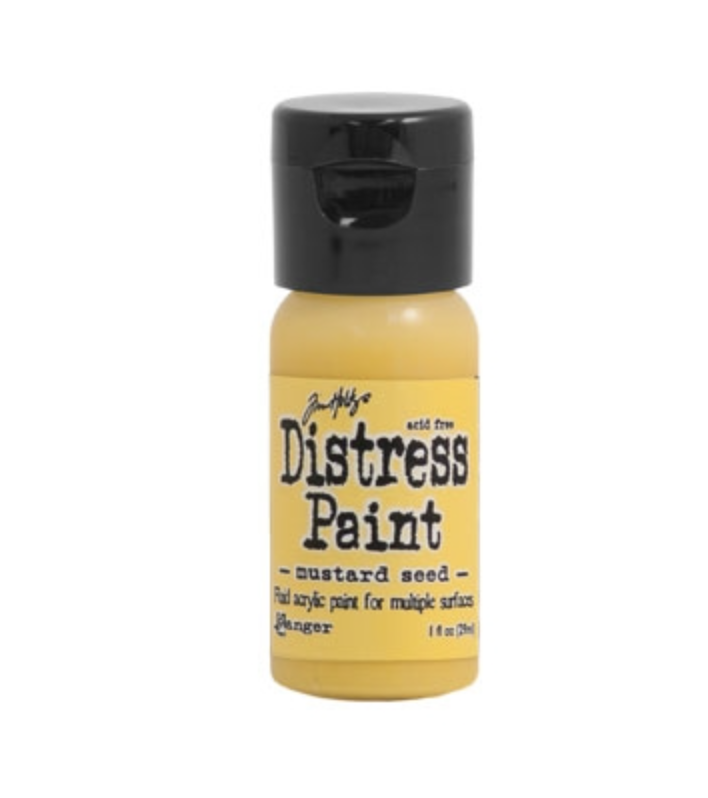 Tim Holtz, Distress Paint – Mustard Seed Shop at: SSS | Ranger |
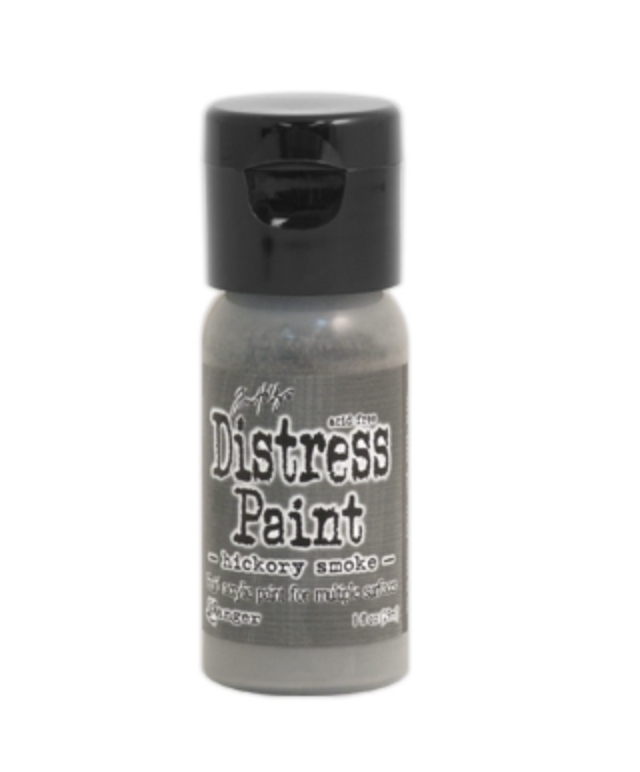 Tim Holtz, Distress Paint – Hickory Smoke Shop at: SSS | Ranger |
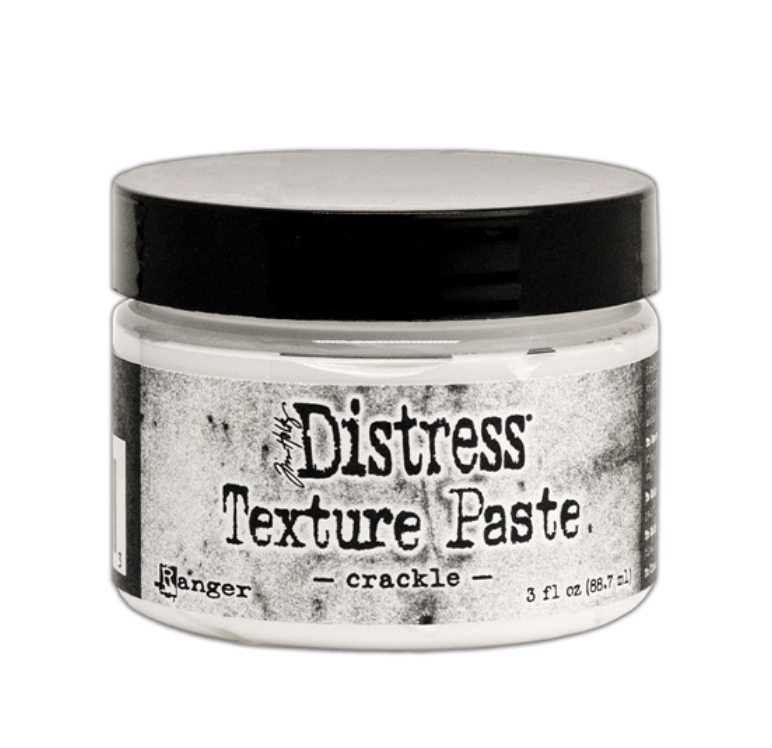 Tim Holtz/Ranger Crackle Distress Texture Paste Shop at: SSS | Ranger |
 Tim Holtz/Stampers Anonymous: Layering Stencil Dashes, THS101 Shop at: SSS | Ranger |
 Dina Wakley Media, Palette Knife Shop at: SSS |
 Tim Holtz Alcohol Ink, Gumball Shop at: SSS | Ranger |
 Tim Holtz Alcohol Ink, Mermaid Shop at: SSS | Ranger |










Loved this tutorial! It is such a good one, really explains clearly . This tag is lovely.
You really outdid yourself with this one! Every aspect of it is spectacul;ar!
This project is spectacular! I love that you are part of Tim’s makers. Your colorful take on things appeals to me!❤💙💜
Ms. Jen…that Perspective Moth, alone 🤭 my goodness!!! I can’t say I have ever tried to use this many colors, in one make, but you have sure inspired me to give it a go! Just terrific work (and so happy you share it with us)!
Love this, thank you for sharing!
This tag is a labor of love, the amount of detail you put into it is amazing. Yep, that moth is fabulous but the rest of what you did is what put it over the top!
Your project is stunning! We can always count on a gorgeous rainbow in some form with your inspired creations. How fortunate for us that you are a Tim Holtz maker! I really appreciate your detailed tutorial . I would love to see more like this, and eagerly soak up all of the tips and tricks from talented makers like yourself.
You write the absolute BEST instructions — so thorough and clear. This moth is so gorgeous I wouldn’t even mind him munching on my cashmere sweaters. A terrific project — thank you!
You out did yourself on this one Jenn! I love how you saw a simple moth and created such a beautiful piece of art 💕 Love it, love it, love it!
Wowed by your process. Thanks for taking us through your journey. The finished product is outstanding! Who knew the mermaid had wings? Looking forward to more.
Wonderful background, gorgeous butterfly, so much going on. Looks like so much fun to try this and that and loved your step-by-step. More tutorials like this? Yes please!
This is so amazing
Thank you for the tutorial!! I love your make and the step by step instructions really help a beginner in mixed media learn new techniques!! 💕
Such a stunning, creative piece…..keep posting your projects! Your instructions are very detailed as always.
Absolutely beautiful!! I thought the dragonfly was vellum so I’m gonna give that a try. I may change it to a butterfly because I have stamps with matching dies. Thanks for the push to get my fingers sticky and inky.
That is amazing. Can’t afford to start a new hobby but I still loved the artistry .You started me with Lawn Fawn and now I owe them my heart and my soul and most of my savings account. It doesn’t matter that this scrap booker is now a maniacal card maker. I am to old to jump in again. I still enjoy your creative juices. Keep them flowing.
Looks like you had fun throughout your process! Love everything about it!
At last some mixed media, now I just have to get my mojo going. More tutorials please
I remain amazed at your versatility and broad scope of talent, Jenn! It is rare that someone who shines doing this gorgeous mixed media artsy piece is the same person who creates cute Copic coloring, interactive little animals and such.
I loved this tutorial because it is thorough and completely understandable. I think I could actually imitate this piece, not as perfectly as yours, but the directions and explanations are great!
We won’t even go into the perfection of colors. They’re soooo stellar! Please do.more tutorials such as this one.