Hi everyone!! I am back with some more STAMPtember fun! I was so excited when I went to my mailbox only to find the Tim Holtz/Stampers Anonymous STAMPtember set! I was so inspired by this stamp set and the stencil I have 2 projects to share with you and a tutorial!
STAMPtember is a month long party hosted by Simon Says Stamp. Throughout the month they release exclusive products from themselves and other companies. There are limited quantities of these products so you have to act fast!
Rustic Holiday Tiny House & Carved Snowman Card, Tim Holtz STAMPtember Exclusive
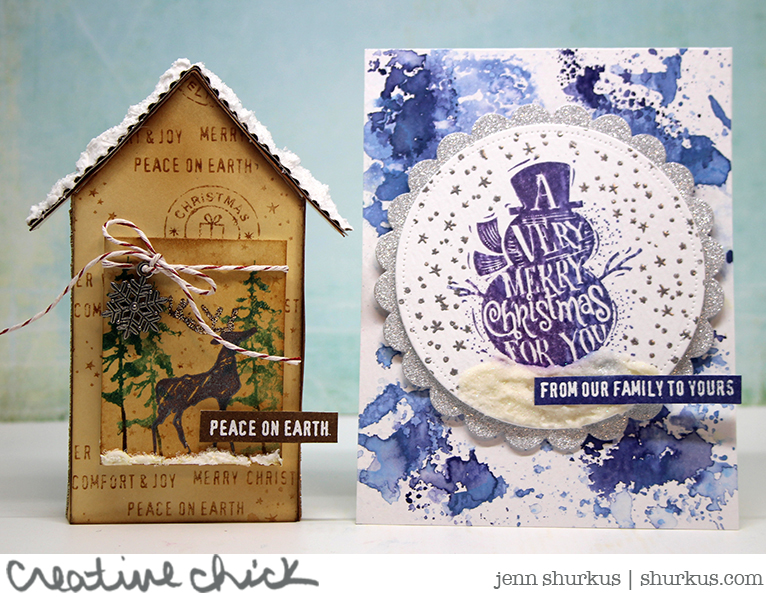
Carved Snowman Card
First I want to share with you the card I created with the carved snowman image from the stamp set. (I have linked all the supplies below as well)
I inked up the stamp with Chipped Sapphire and Dusty Concord Distress Ink, I stamped it on Distress Watercolor Cardstock. I then covered the image with a mask so I could stamp the snow/star sprinkle stamp throughout the background. I used Versamark ink and Lawn Fawn Silver Embossing Powder.
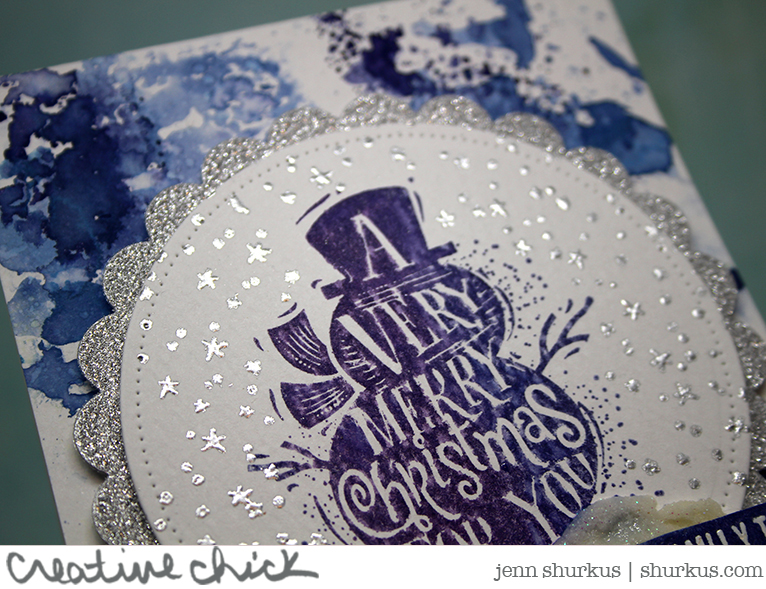
I then cut this out with the Lawn Fawn Small-Dotted Circle Stackable Dies. I also cut out a Lawn Fawn Scalloped Circle from Tim Holtz’s Idea-ology Deco Sheets in silver. I set these aside and worked on the background of my card.

For the background, I used another piece of Distress Watercolor Cardstock and did my version mixed with Laura Bassen’s version of Ink Smooshing.
My version (which I believe I learned from Tim Holtz years ago) is to take the Distress Ink Pad, and press and twist right on the Ranger Craft Sheet. Spritz the ink with water until you have large droplets. Then pluck your paper into the ink as little or as much as you want. Pressing here and there. I then heat it in between layers. Laura Bassen’s version is to put the ink onto a clear piece of acetate, spritz with water and then flipping the acetate over you can press the acetate to the cardstock here and there, and specifically where you want the
Laura Bassen’s version is to put the ink onto a clear piece of acetate, spritz with water and then flipping the acetate over you can press the acetate to the cardstock here and there, and specifically where you want the ink to go.
I used Stormy Sky, Faded Jeans and Chipped Sapphire Distress Inks. Heat setting in between layers.
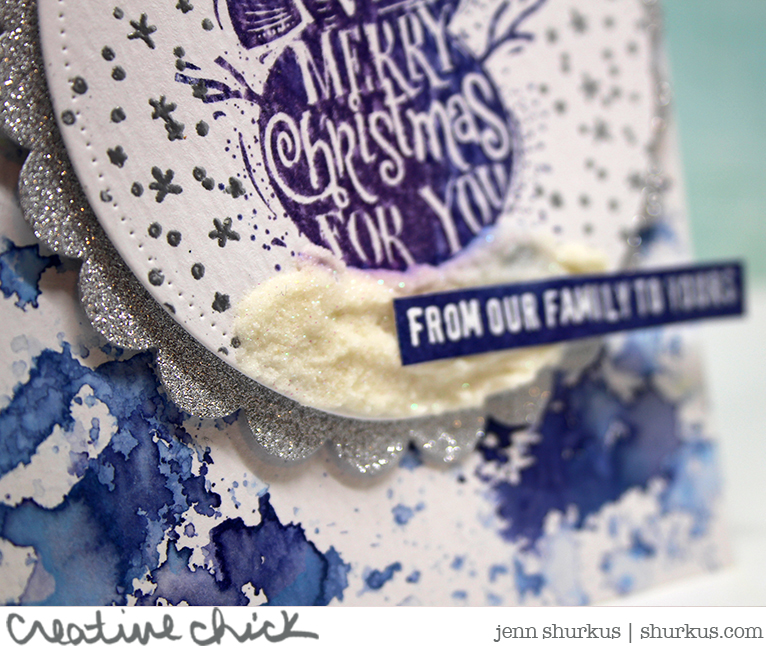
To finish off the card I heat embossed the sentiment with Lawn Fawn white embossing powder, and ink blended over it, then cut it with scissors making my own tiny sayings. Assembling the card, I dabbed on some Texture Paste and sprinkled in some Lawn Fawn Prisma Glitter while it was still wet. I used some glossy accents to adhere the sentiment.

Rustic Holiday Tiny House Tutorial
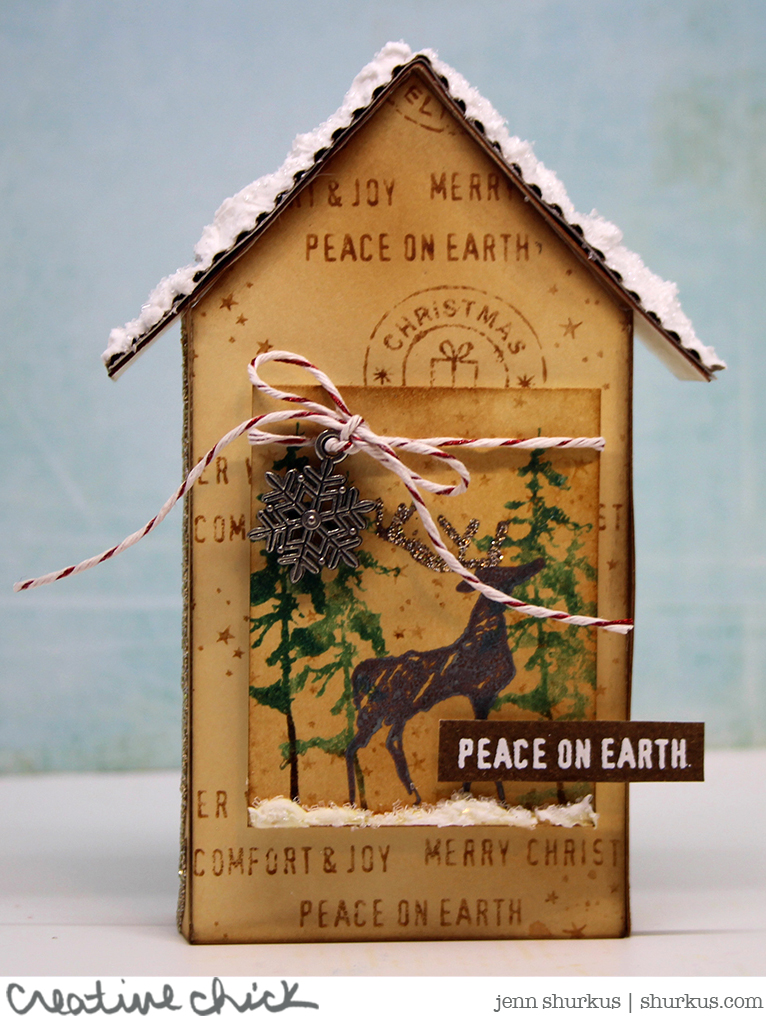
I fell in love with the Tim Holtz/Sizzix Tiny Houses Die when I saw my friend Cheiron’s projects she created for the booth at CHA. I know sometimes when you see a mixed media project online it might seem more difficult to put together than it really is, so I wanted to share with you a quick tutorial of how I put this house together! (I have linked all the supplies below as well)
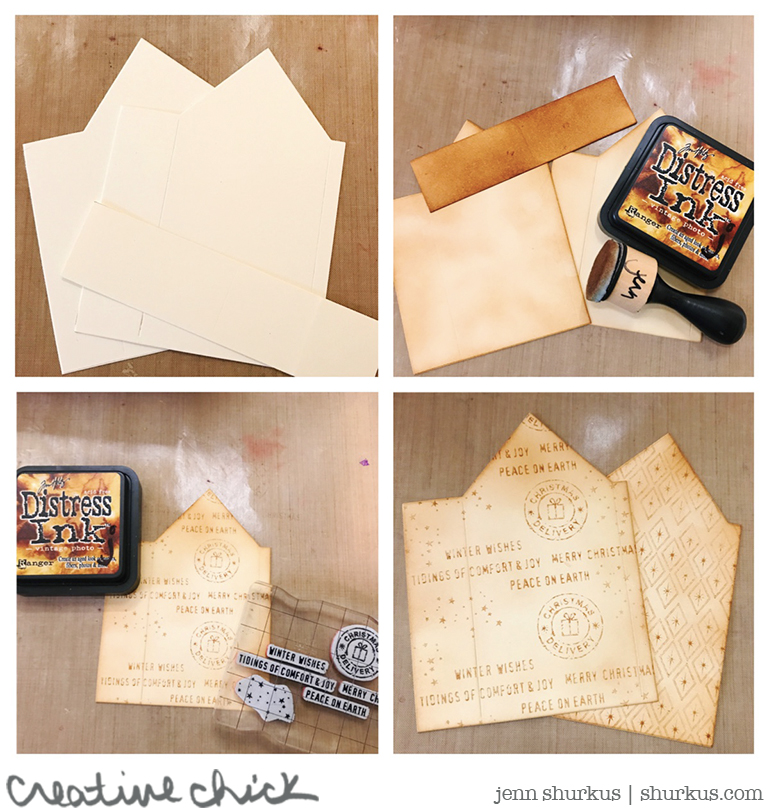
Step 1: I cut the larger of the 2 tiny houses from Distress Mixed Media Heavy Stock.
Step 2: I inked up the paper with Vintage Photo Distress Ink. I went pretty light on the house panels, and much darker on the roof.
Step 3: I set up some of the cling stamps from Tim Holtz’s STAMPtember set on an acrylic blog and proceeded to stamp the background on the front of one of the house panels. When I inked up the stamp I stamped it off on scratch paper then stamped it onto the house panel so that it would be a lighter version.
Step 4: I did the same with the back panel, but this time I used the border design included in the STAMPtember stamp set. I then inked the edges a bit darker with Vintage Photo Distress Ink.

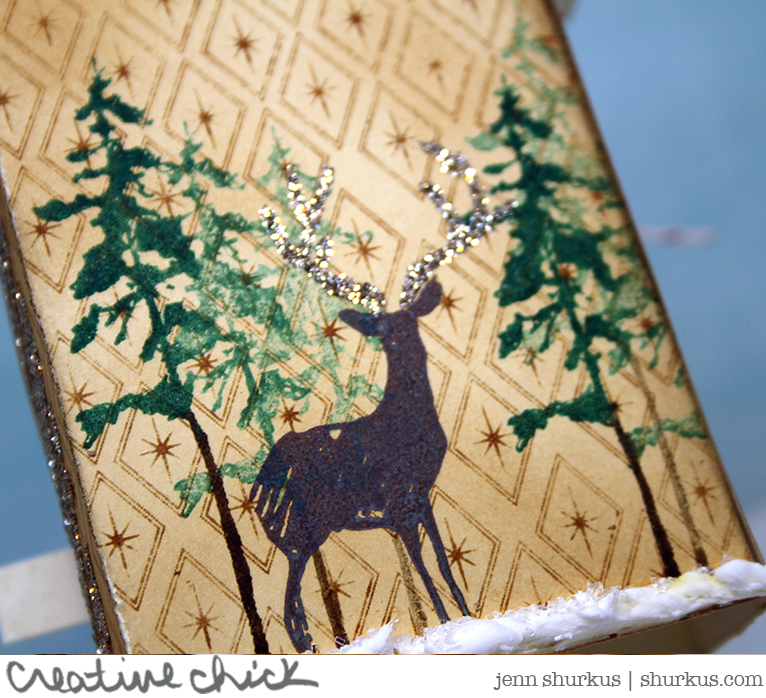
Step 5: On the back panel I proceeded to stamp some trees. I used Pine Needles and Ground Espresso Distress Ink. I inked up the whole tree with the 2 inks, and stamped it multiple times on the background to get a variety of images.
Step 6: I stamped one of the deer with Distress Oxide Walnut Stain Ink. I like how the Oxide Ink really pops on top of the regular Distress Inks. Also, Distress Oxide Ink has some Pigment Ink properties, so you get a really crisp stamped image.
Step 7: I cut a small panel of Distress Mixed Media Heavy Stock that will fit on the front panel of the house and replicated the steps I did with the back panel.
Step 8: I stamped a sentiment with Versamark and embossed with white embossing powder. I then inked heavily over it with Vintage Photo Distress Ink.
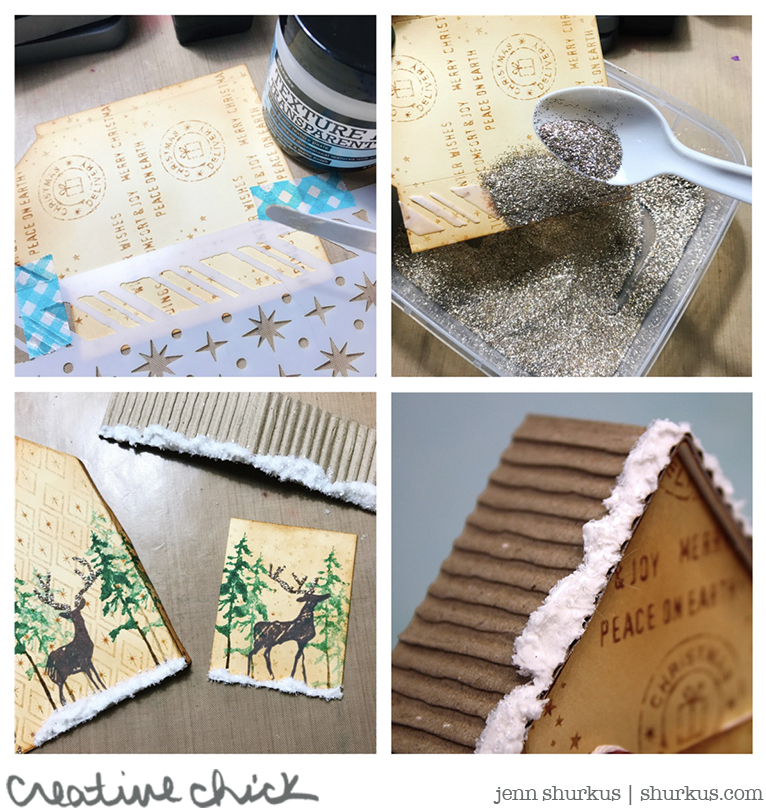
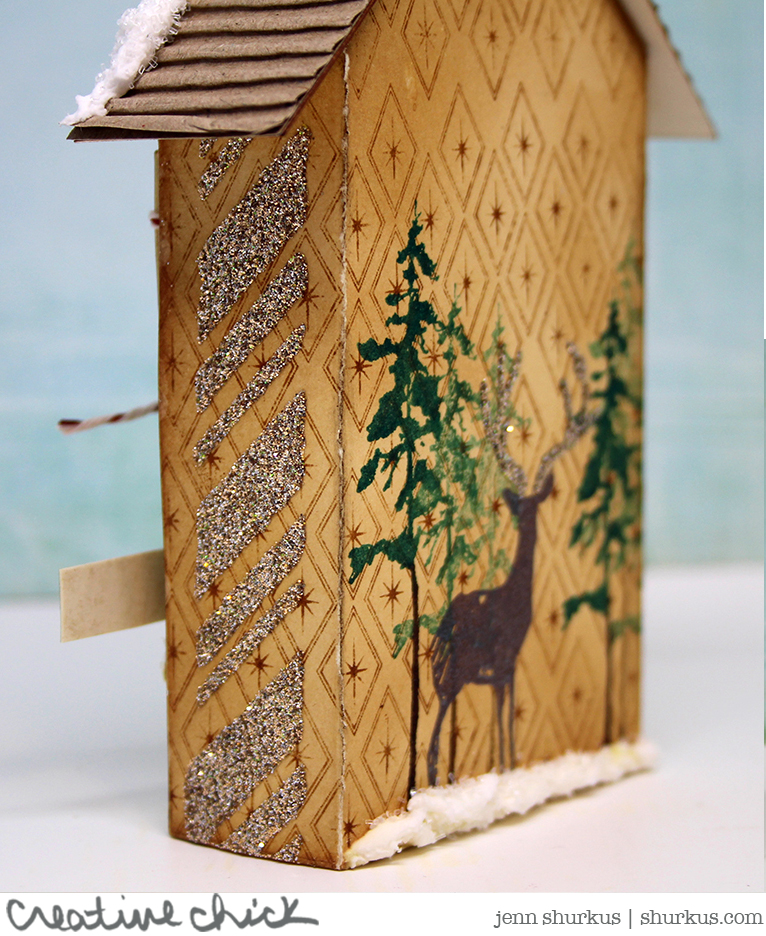
Step 9: Using Ranger Transparent Texture Paste, I spread it through the STAMPtember stencil.
Step 10: Then sprinkled Vintage Platinum Distress Glitter Dust. I did this on both side panels.
Step 11: I adhered some corrugated cardboard from Tim Holtz’s Textured Surfaces pack to the roof. I used Ranger Texture Paste as “snow” along the bottom of some of the panels and on the roof. I also used a quickie glue pen on the antlers and sprinkled some Vintage Platinum Distress Glitter Dust.
Once everything was dry I assembled the house with strong tape adhesive. Some finishing touches, I added a snowflake adornment with Lawn Fawn Red Sparkle Trimmings. I also popped up that front panel on the house with some foam tape
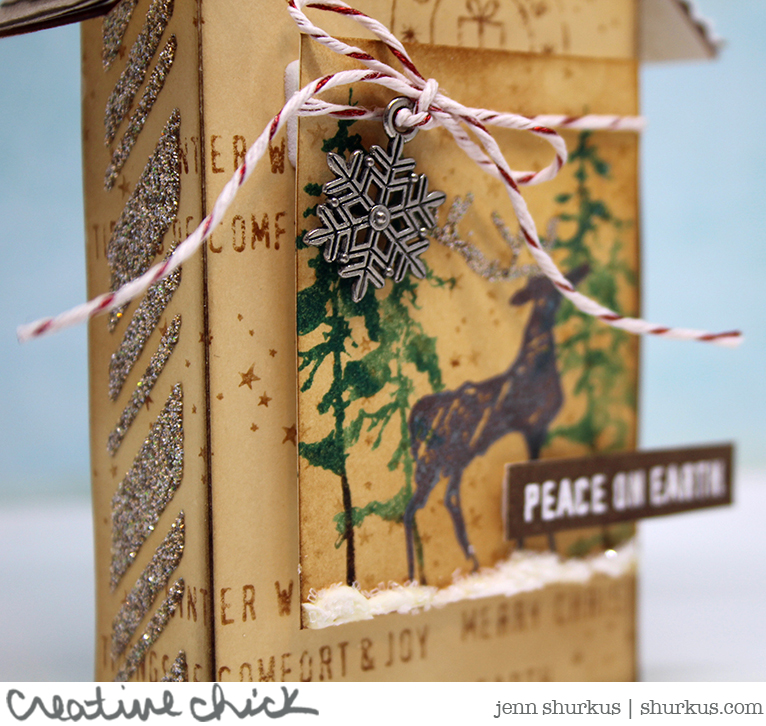
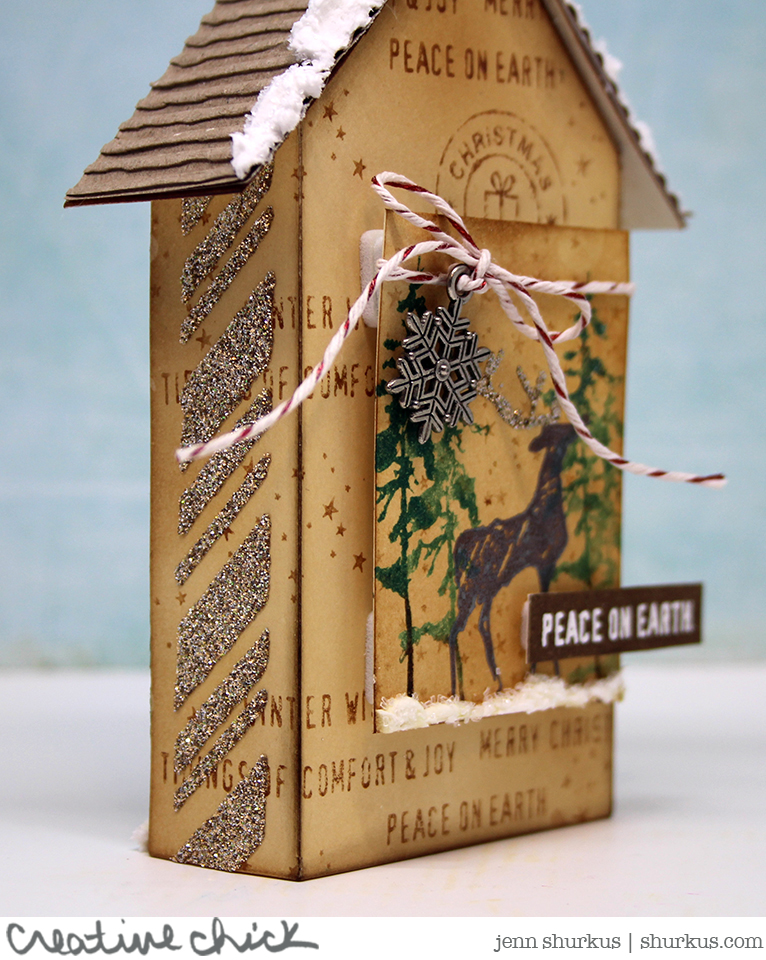

These tiny houses are super addicting to make, and wicked fun! I can see more of them in my immediate future! I hope these projects inspired you to create something! And remember, the STAMPtember exclusive sets are limited quantities and tend to sell out so you have to act fast!
Supplies Used
Supplies I used are linked throughout the post. Click on the picture and you will be taken to the product. I use affiliate links when available which means if you make a purchase I get a small commission at no extra cost to you. Thank you for your support!
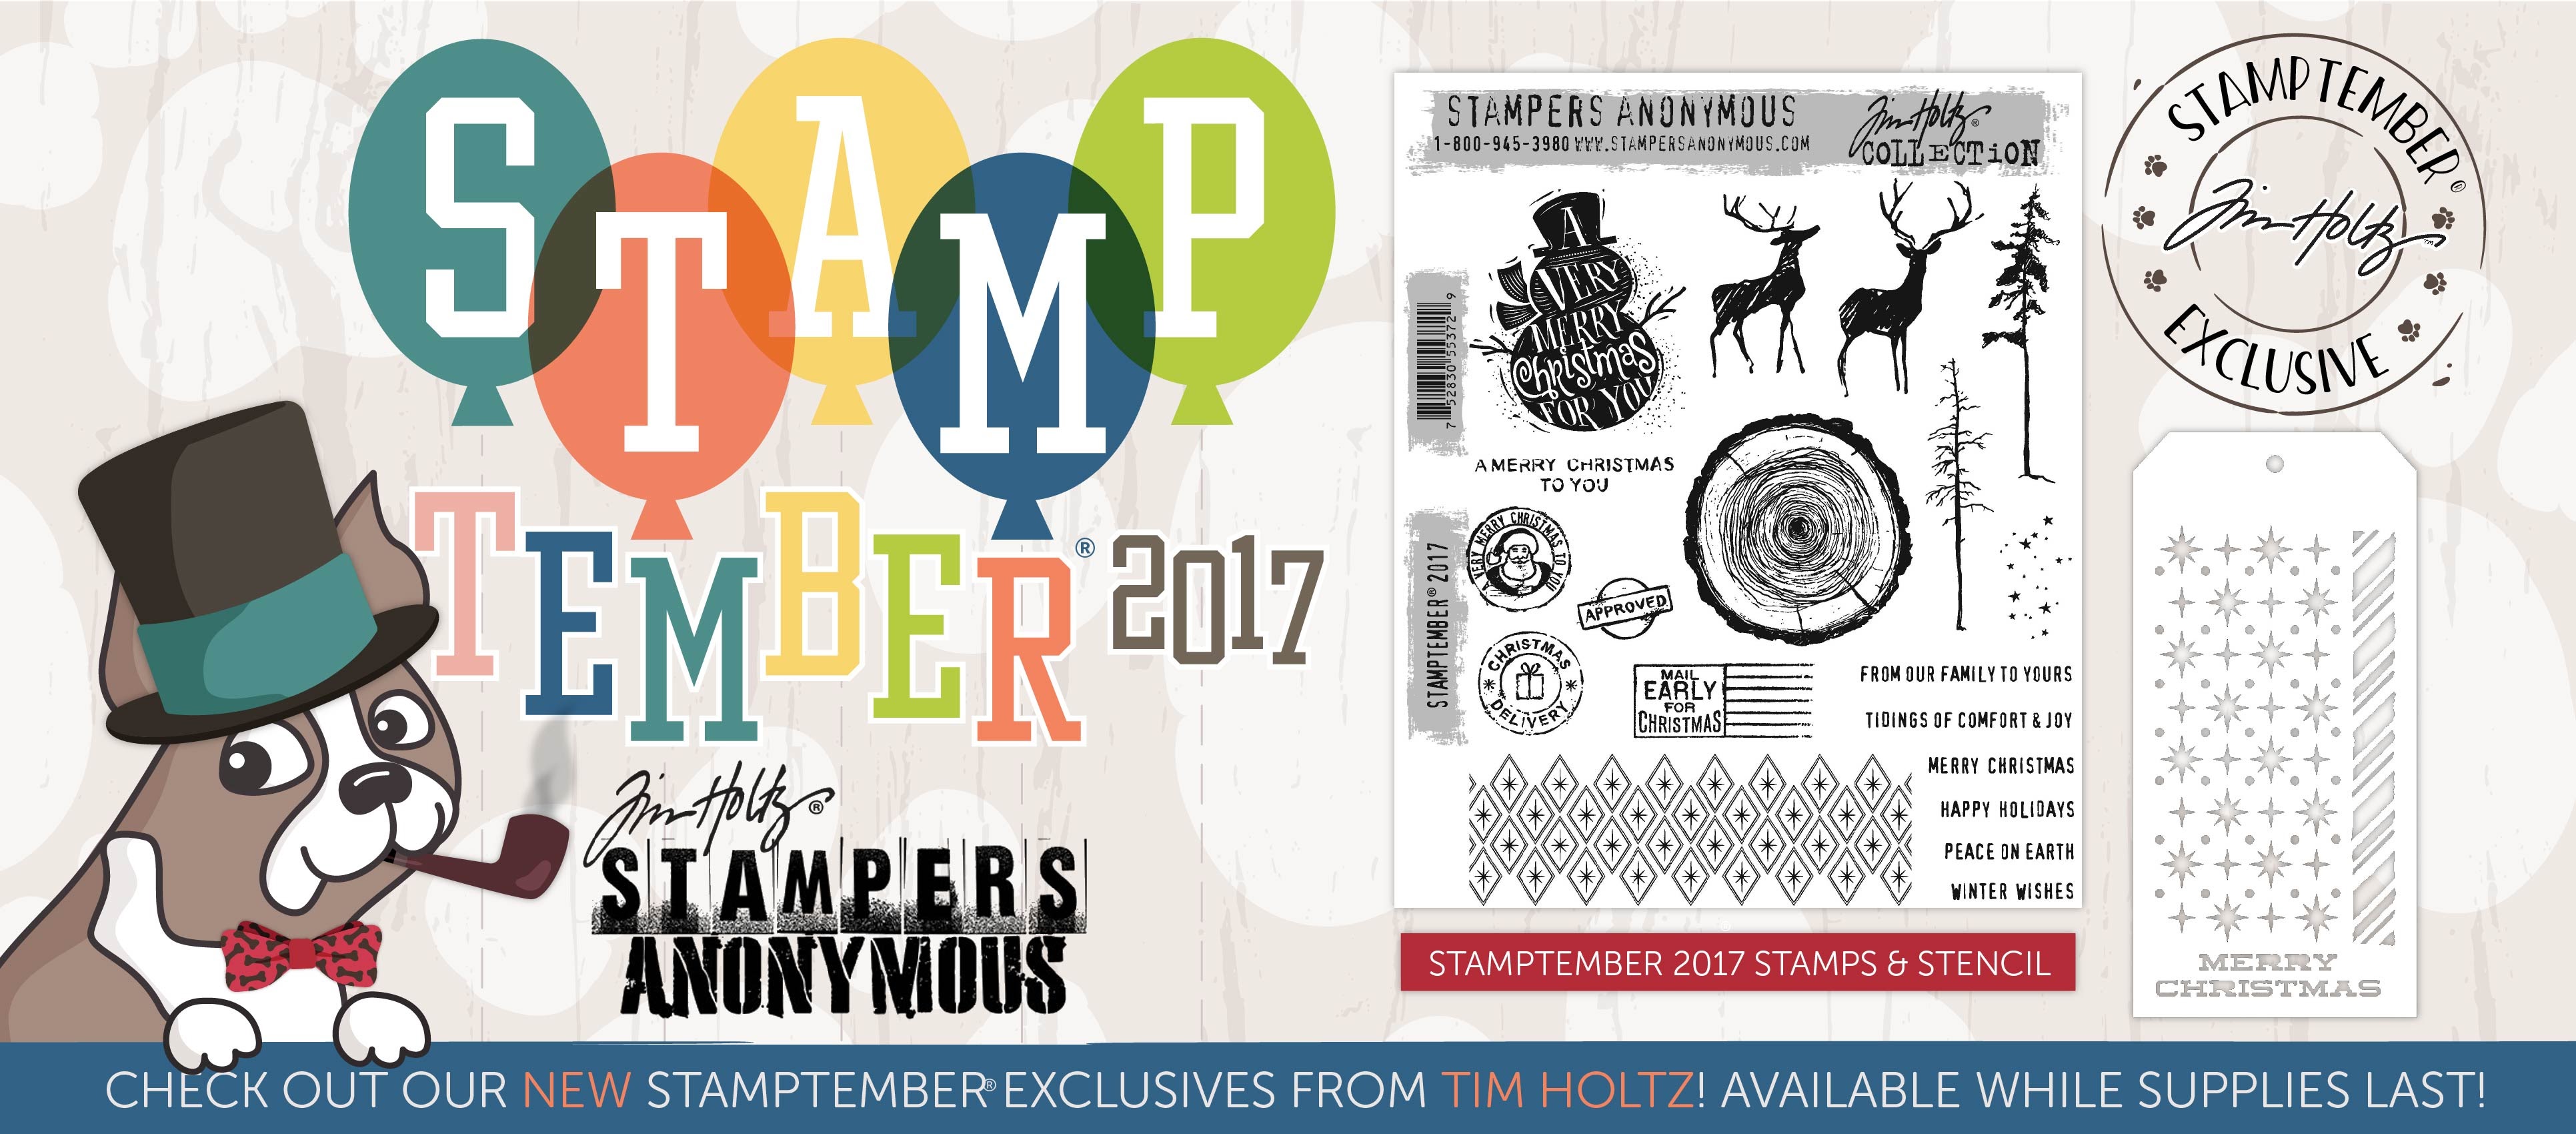
Tim Holtz/Stampers Anonymous STAMPtember Exclusive stamp set and stencil
Supplies used specifically on the carved snowman card:
- Tim Holtz Idea-ology Deco Sheets (Gold/Silver)
- Distress Watercolor Cardstock
- Distress Inks (Faded Jeans, Chipped Sapphire, Stormy Sky, Dusty Concord)
- Ranger Texture Paste
- Versamark
- Lawn Fawn Embossing Powders
- Lawn Fawn Prisma Glitter
- Ink Blending Tool
- Lawn Fawn Small Dotted Circle Stackables
- Lawn Fawn Scalloped Circle Stackables
Supplies used specifically on the rustic holiday tiny house:
- Tiny Houses Sizzix
- Distress Mixed Media Heavy Stock
- Ink Blending Tool
- Distress Inks (Vintage Photo, Ground Espresso, Pine Needles)
- Distress Oxide (Walnut Stain)
- Lawn Fawn White Embossing Powder
- Versamark
- Distress Glitter Dust, Vintage Platinum
- Ranger Texture Paste
- Ranger Transparent Texture Paste
- Tim Holtz Idea-ology Textured Surfaces
- Quickie Glue Pen
- Tim Holtz Idea-ology Snowflake Adornment
- Lawn Fawn Red Sparkle Trimmings










I love the touch of glitter on the deer antlers. I absolutely have to try that.
I <3 both of your projects, especially the tag house. Thank you for the instructions!
Jenn, you did it again! I knew there was a reason why I hadn’t started designing my Christmas cards yet! I am so in love with this set and what you have done with it. Ordered!!!
Love it!
Tiny House is fabulous. Your cards are both elegant and artsy!
The house blew me away, I forgot to comment on your card, love the color combo it is perfect and that work on your background is amazing !
OMG … I’ve smiled so much looking at these projects … love, love, love the Tiny House ! So many fun details 🙂
OMGOSH Jenn, “wickedly SWEET”! An amazing job on both!